373
Gearcase
Gearcase Disassembly (Standard Rotation)
14
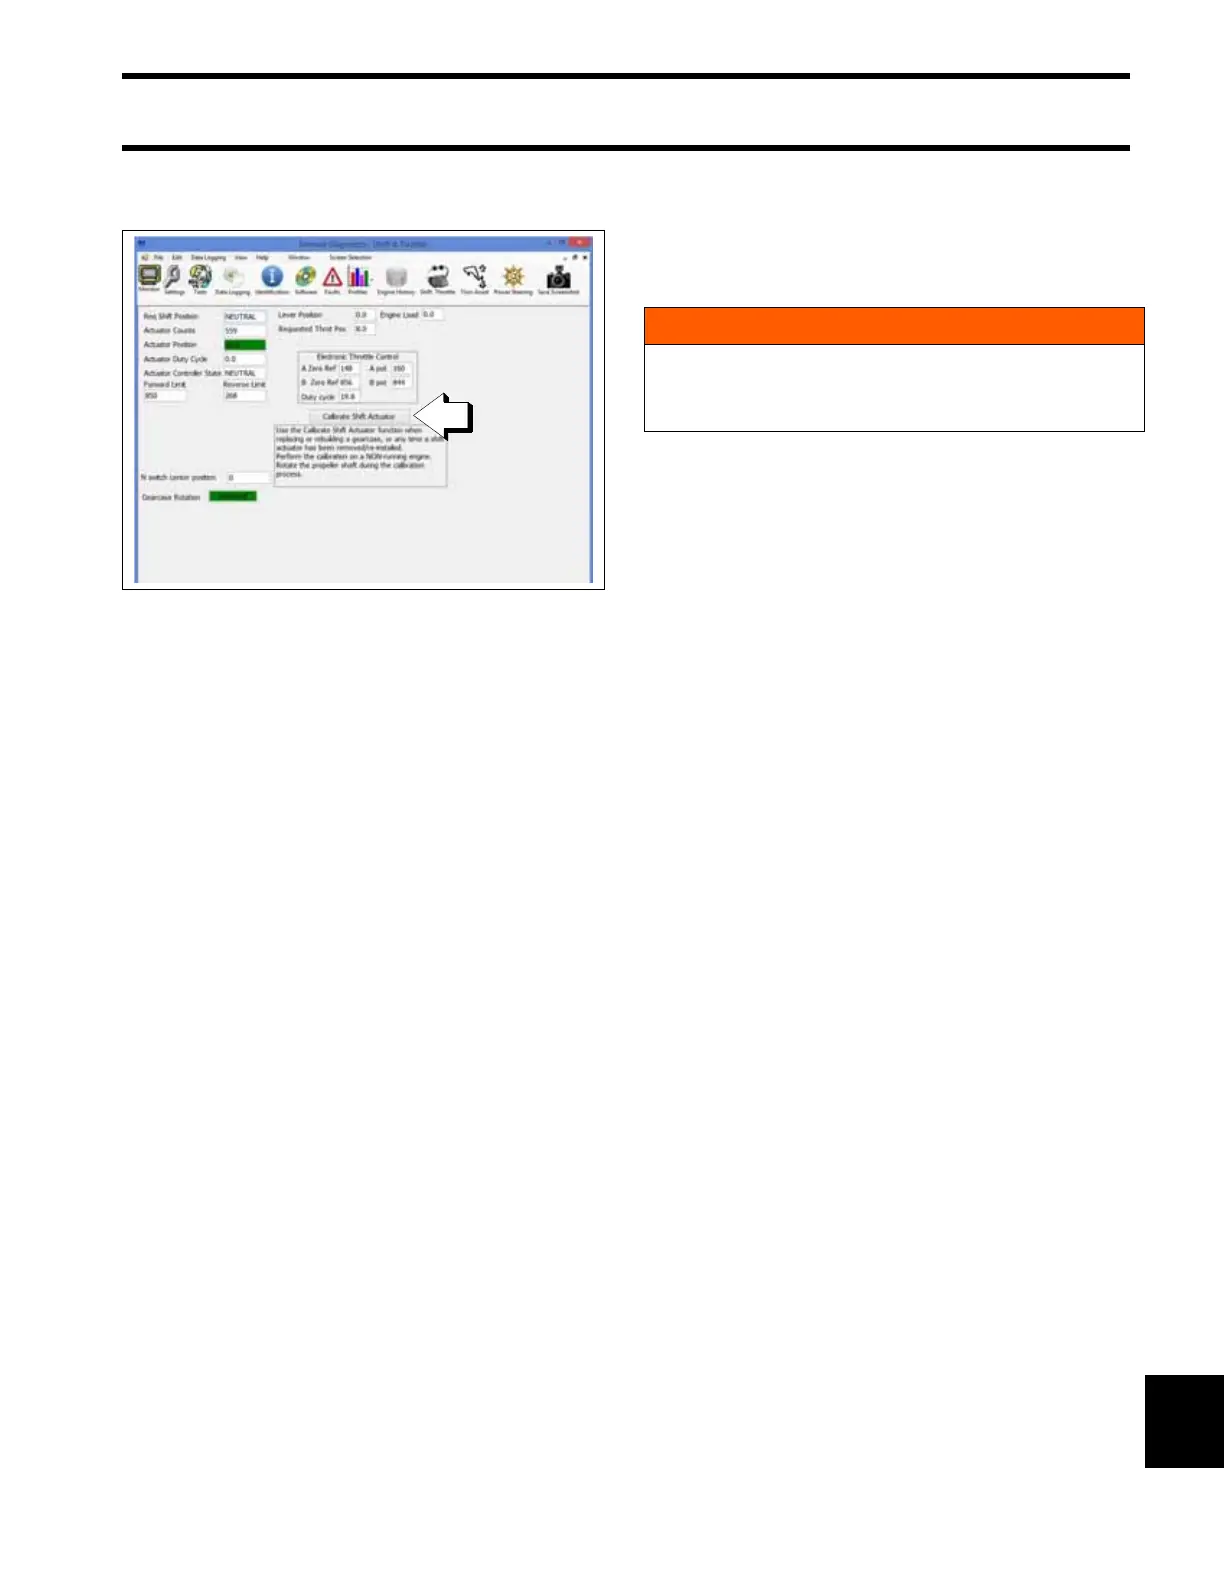
procedure is complete.
· Select the Calibrate Shift Actuator button.
After completing the calibration, turn the key
switch to the OFF position.
IMPORTANT: If the gearcase is removed from
the outboard, it must be shifted into FORWARD
gear before it is installed. Review Gearcase In-
stallation on p. 362, then disconnect the shift ac-
tuator cable from the engine harness.
Install the gearcase, refer to Gearcase Installa-
tion on p. 362.
Gearcase Disassembly
(Standard Rotation)
Pre-Disassembly Inspection
IMPORTANT: Clean and inspect all parts during
disassembly. Replace any damaged parts, seals,
O-rings, and gaskets.
Remove the propeller and mounting hardware.
Drain and inspect oil as described in Gearcase
Lubricant on p. 20.
Remove gearcase as described in Gearcase
Removal on p. 361.
Remove water pump as described in Water Pump
Service on p. 365.
Remove the shift actuator as described in Shift
Actuator Removal on p. 370.
Before disassembling the gearcase, examine the
following:
• Gearcase Housing — Check for visible dam-
age to skeg, strut, anti-ventilation plate, bullet,
and mating surface. Check seal areas for visible
signs of lubricant leakage.
• Propeller Shaft — Check for bent or damaged
shaft. Check for twisted splines and damaged
threads.
• Shift Actuator — Check for water or oil in the
shift actuator cavity.
1. Calibrate Shift Actuator button
009325
WARNING
Wear safety glasses to avoid personal injury,
and set compressed air pressure to less than
25 psi (172 kPa).