361
Gearcase
Gearcase Leak Test
14
Gearcase Leak Test
Remove the drain/fill screw and drain the lubricant
before testing. Refer to Gearcase Lubricant on p.
38.
Install Gearcase Pressure Tester, P/N 507977,
into the gearcase drain/fill.
Install hose pinching pliers on the gearcase vent
hose. Pressurize the gearcase to 3 to 6 psi (21 to
42 kPa).
If pressure gauge indicates leakage, submerge
the gearcase in water to determine source of leak.
If the gauge does not indicate leakage, increase
pressure to 16 to 18 psi (110 to 124 kPa). Check
for leaks.
Make necessary repairs and repeat test.
Install Gearcase Vacuum Tester, P/N 507982.
Apply 3 to 5 in. of vacuum (76 to 127 mm) Hg.
with pump.
If vacuum gauge indicates leakage, apply oil
around suspected seal. If leak stops or oil is
drawn in, seal is defective.
Repeat test, gearcase must hold minimum of 15
in. vacuum (381 mm) Hg.
Gearcase Removal and
Installation
Gearcase Removal
IMPORTANT: Make sure the gearcase is shifted
into NEUTRAL.
Remove the port and starboard covers and
frames. Refer to Engine Cover and Frame Ser-
vice on p. 55.
Remove all tie straps retaining the shift actuator
cable in the locations shown:
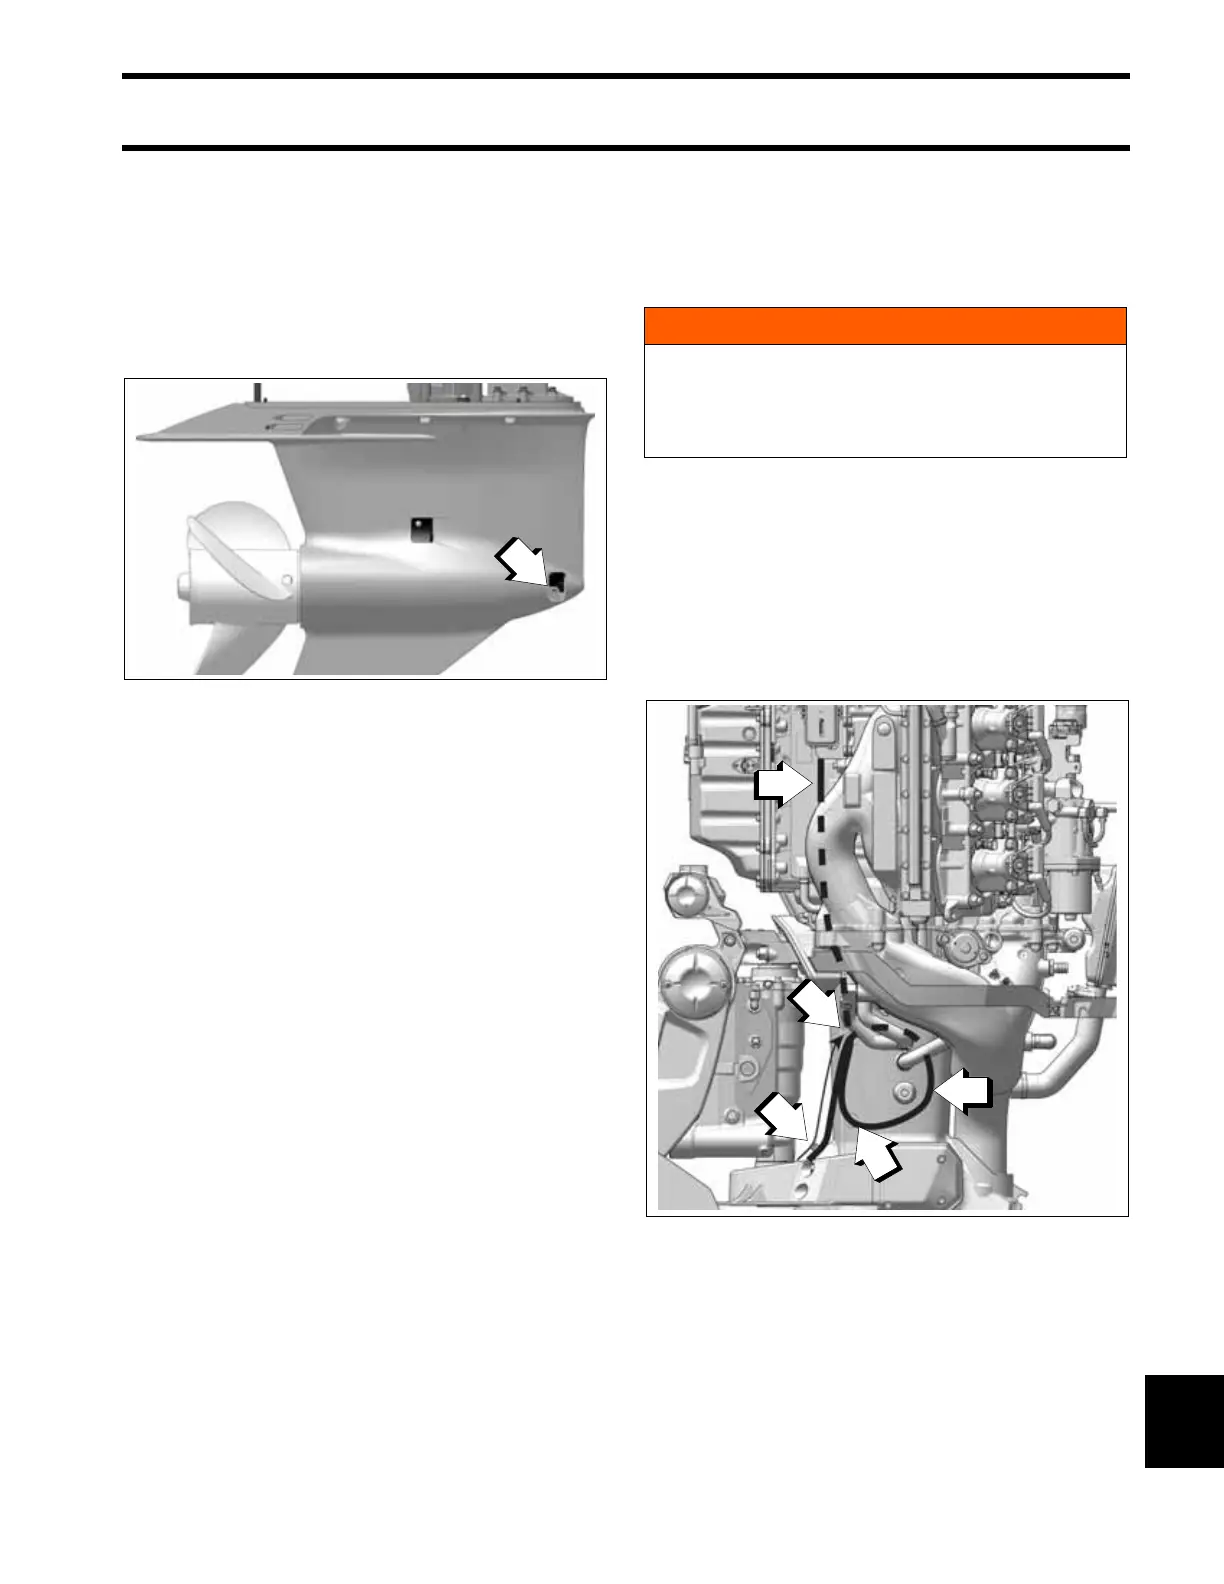
1. Gearcase drain/fill
5008933-06
WARNING
During service, the outboard may drop unex-
pectedly. Avoid personal injury; always sup-
port the outboards weight with a suitable
hoist or the trailering lever during service.
Tie Strap Locations (20 Inch “L” Model Shown)
5008933-07
1. Below shift actuator cable connector
2. Exhaust housing boss
3. Shift actuator cable retention (all models)
4. Shift actuator cable retention (20 inch “L” and 25 inch “X” models
only)