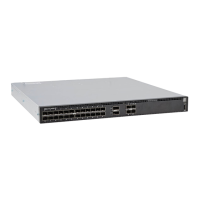
The following example shows three switches stacked together in a daisy chain topology.
stack-2#show system stack-ports
Topology: Daisy chain
Interface Connection Link Speed Admin Link Trunk
(Gb/s) Status Status Group
-------------------------------------------------------
3/36 1/36 10 up up
3/37 1/37 10 up up
3/38 1/38 10 up up
3/39 1/39 10 up up
3/44 2/36 10 up up
3/45 2/37 10 up up
3/46 2/38 10 up up
3/47 2/39 10 up up
1/36 3/36 10 up up
1/37 3/37 10 up up
1/38 3/38 10 up up
1/39 3/39 10 up up
2/36 3/44 10 up up
2/37 3/45 10 up up
2/38 3/46 10 up up
2/39 3/47 10 up up
stack-2#
Remove Units or Front End Ports from a
Stack
To remove units or front end ports from a stack, use the following instructions.
• Removing a Unit from a Stack
• Removing Front End Port Stacking
Removing a Unit from a Stack
The running-configuration and startup-configuration are synchronized on all stack units. A stack member
that is disconnected from the stack maintains this configuration.
To remove a stack member from the stack, disconnect the stacking cables from the unit. You may do this at
any time, whether the unit is powered or unpowered, online or offline.
NOTE
: If you remove a unit in the middle of the daisy chain stack, the stack is split into multiple parts and
each forms a new stack according to the stacking algorithm described throughout this chapter.
Examples of Removing a Stack Member (Before and After)
The following example shows removing a stack member (before).
Dell#show system brief
Stack MAC : 00:01:e8:8a:df:e6
Reload Type : normal-reload
-- Stack Info --
Unit UnitType Status ReqTyp CurTyp Version Ports
Stacking 1037
 Loading...