3. Make settings for the saving destinations, the inbox and/or an external memory device.
❏ To save received faxes to the Inbox:
A
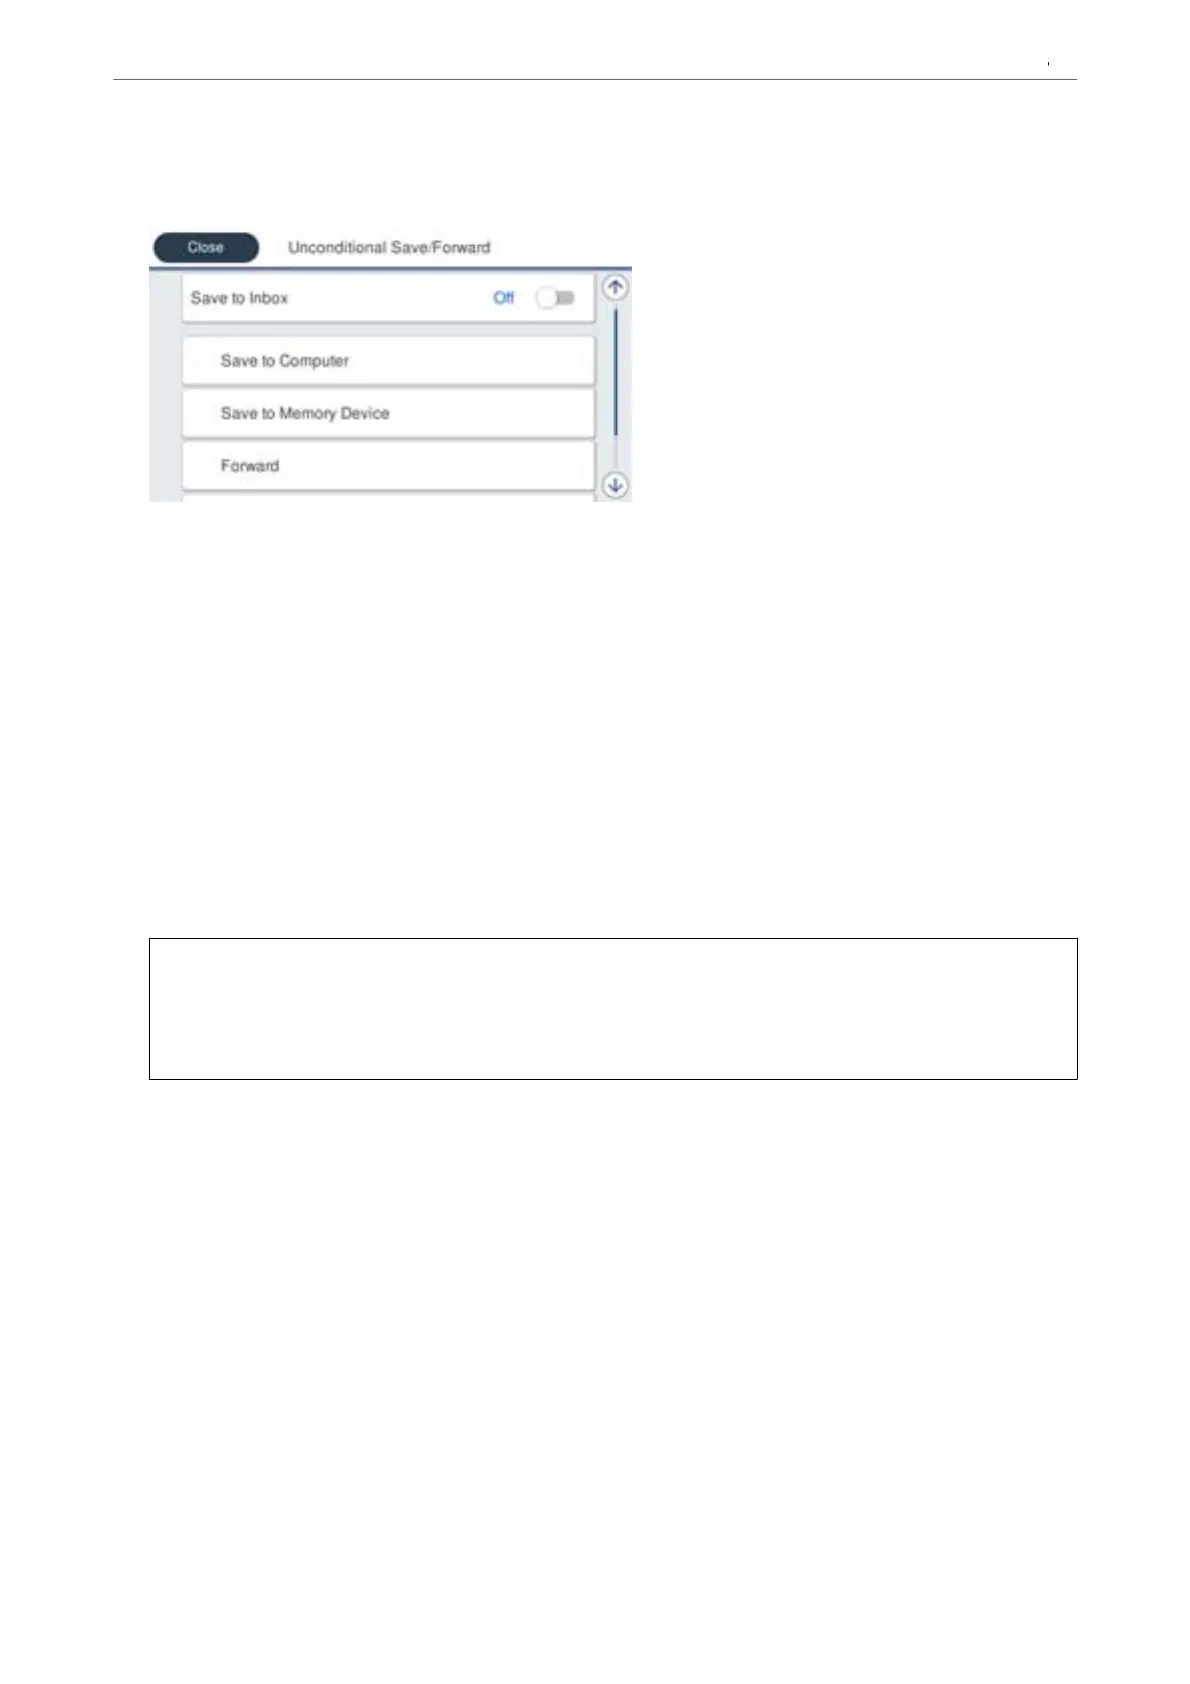
Select Save to Inbox to set this to On.
B
If a message is displayed, check the content, and then select OK.
❏ To save received faxes to an external memory device:
A
Insert a memory device into the printer's external interface USB port.
B
Select Save to Memory Device.
C
Select Ye s . To print the documents automatically while saving them in the memory device, select Ye s
and Print instead.
D
Check the message that is displayed, and then tap Create.
A folder for saving received documents is created in the memory device.
E
Check the message, tap Close or wait until the message is cleared, and then tap Close.
F
When the next message is displayed, check it, and then tap OK.
c
Important:
Received documents are saved in the printer's memory temporarily before the documents are saved in the
memory device connected to the printer. Because a memory full error disables sending and receiving faxes, keep
the memory device connected to the printer.
Note:
You can set the printer to send emails to people you want to notify about the results of saving faxes, when saving is
complete. As necessary, select Email Notications, set the processes, and then set the destination to which you want to
send
notications.
4. Select Close to complete the Unconditional Save/Forward Settings.
is completes making unconditional saving settings to receive faxes. You can set Common Settings as necessary.
For details, see the explanation for Common Settings in the Save/Forward Settings menu.
Note:
If you want to save received faxes with conditions, see the related information link below.
Related Information
& “Save/Forward Settings” on page 381
& “Viewing Received Faxes on the Printer's LCD Screen” on page 240
Preparing the Printer and Making Initial Settings
>
Settings for Printing, Scanning, Copying and F
…
125

 Loading...


