4. Select the number that you want to register, and then click Edit.
5. Select a group from Type.
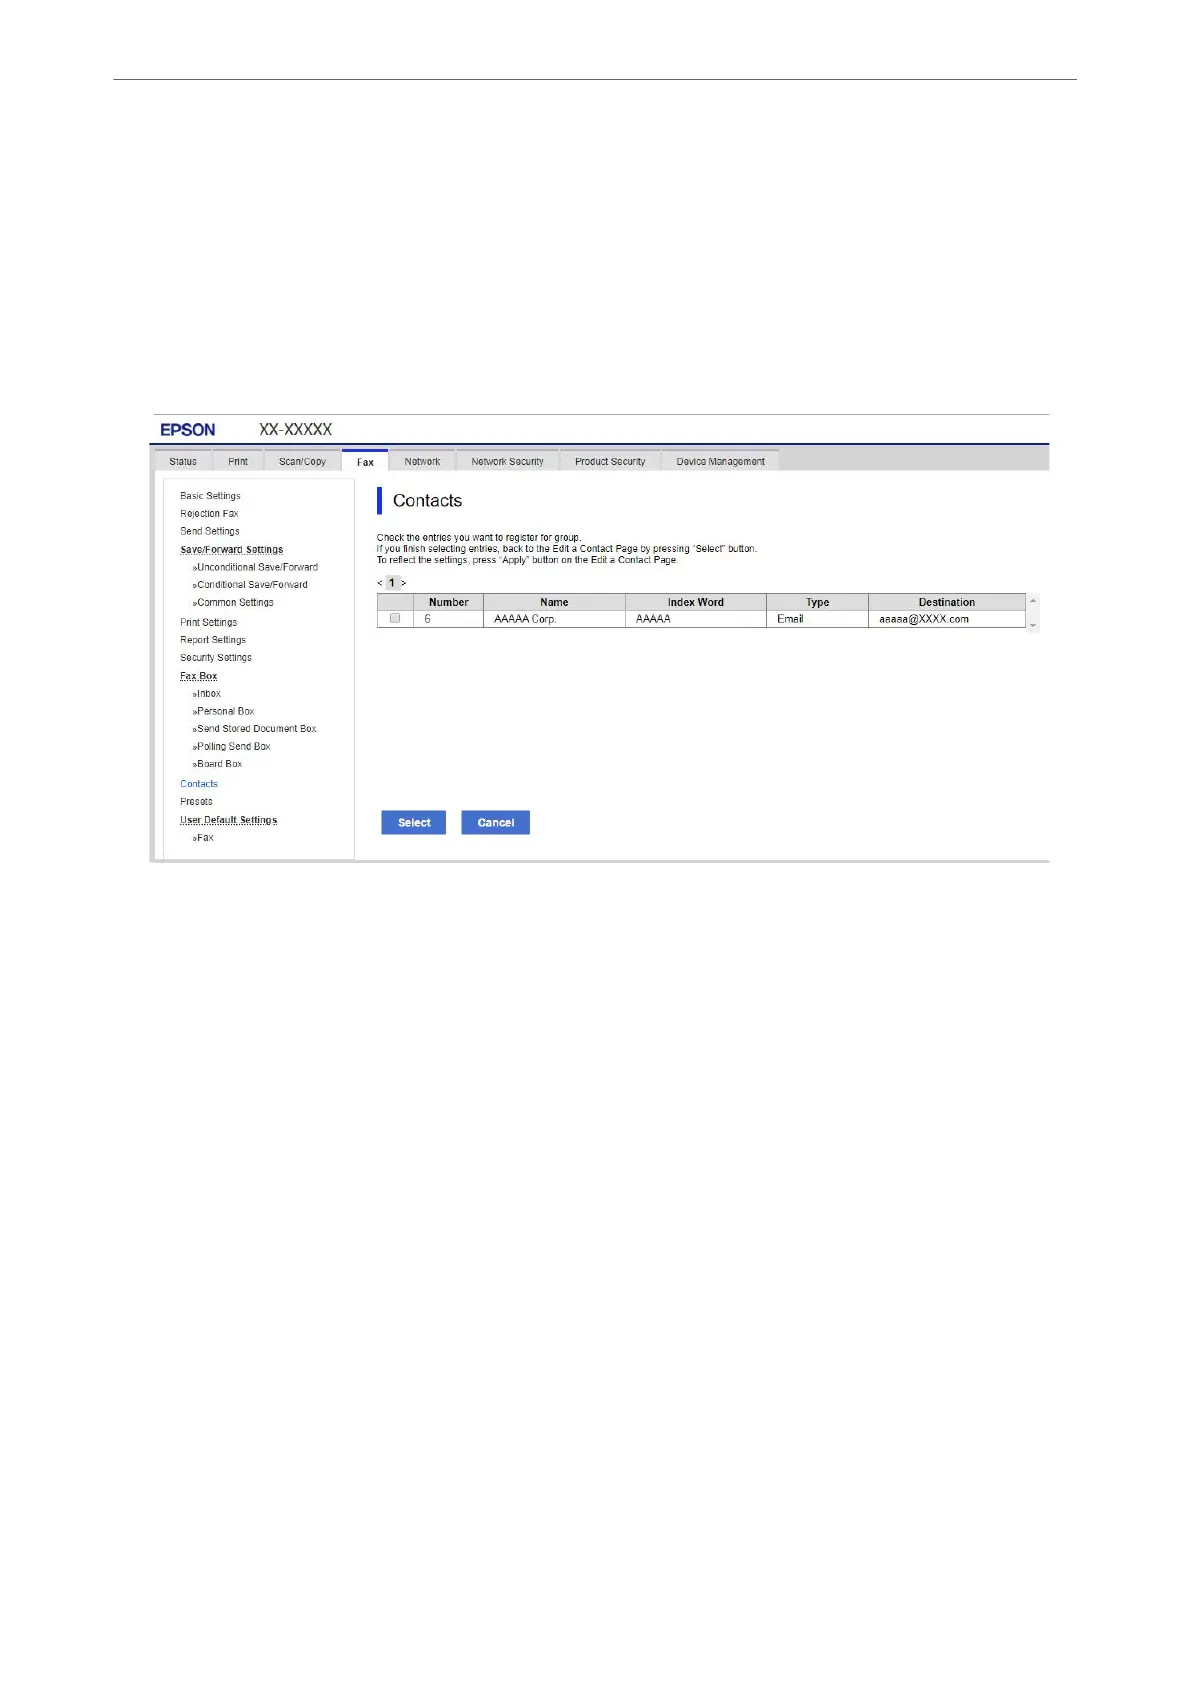
6. Click Select for Contact(s) for Group.
e available destinations are displayed.
7. Select the destination that you want to register to the group, and then click Select.
8. Enter a Name and Index Word.
9. Select whether or not you assign the registered group to the frequently used group.
Note:
Destinations can be registered to multiple groups.
10. Click Apply.
Related Information
& “Default Value of the Administrator Password” on page 19
Registering Destinations as a Group from the Printer's Control Panel
1. Select the menus on the printer's control panel as described below.
Settings > Contacts Manager
2. Select Add/Edit/Delete.
3. Select Add Entry, select Add Group.
Preparing the Printer and Making Initial Settings
>
Preparing and Setting Up the Printer Accordin
…
93

 Loading...


