258
Program description - Telemetry
SENSOR SELECT
Selecting sensors
To transmitters with older firmware than the above
mentioned it is necessary to activate the connect
sensors as described below, to enable them manually.
So, change the selection keys the left or right
touch pad for menu item “SELECT SENSOR”:
TELEMETRY
SETTING & DATAVIEW
SENSOR SELECT
RF STATUS VIEW
VOICE TRIGGER
TELEMETRY RCV
BIND. 1
VOLT.E
… and then a subsequent tap on the centre SET key
of the right touch pad, the selected sub-menu will
open.
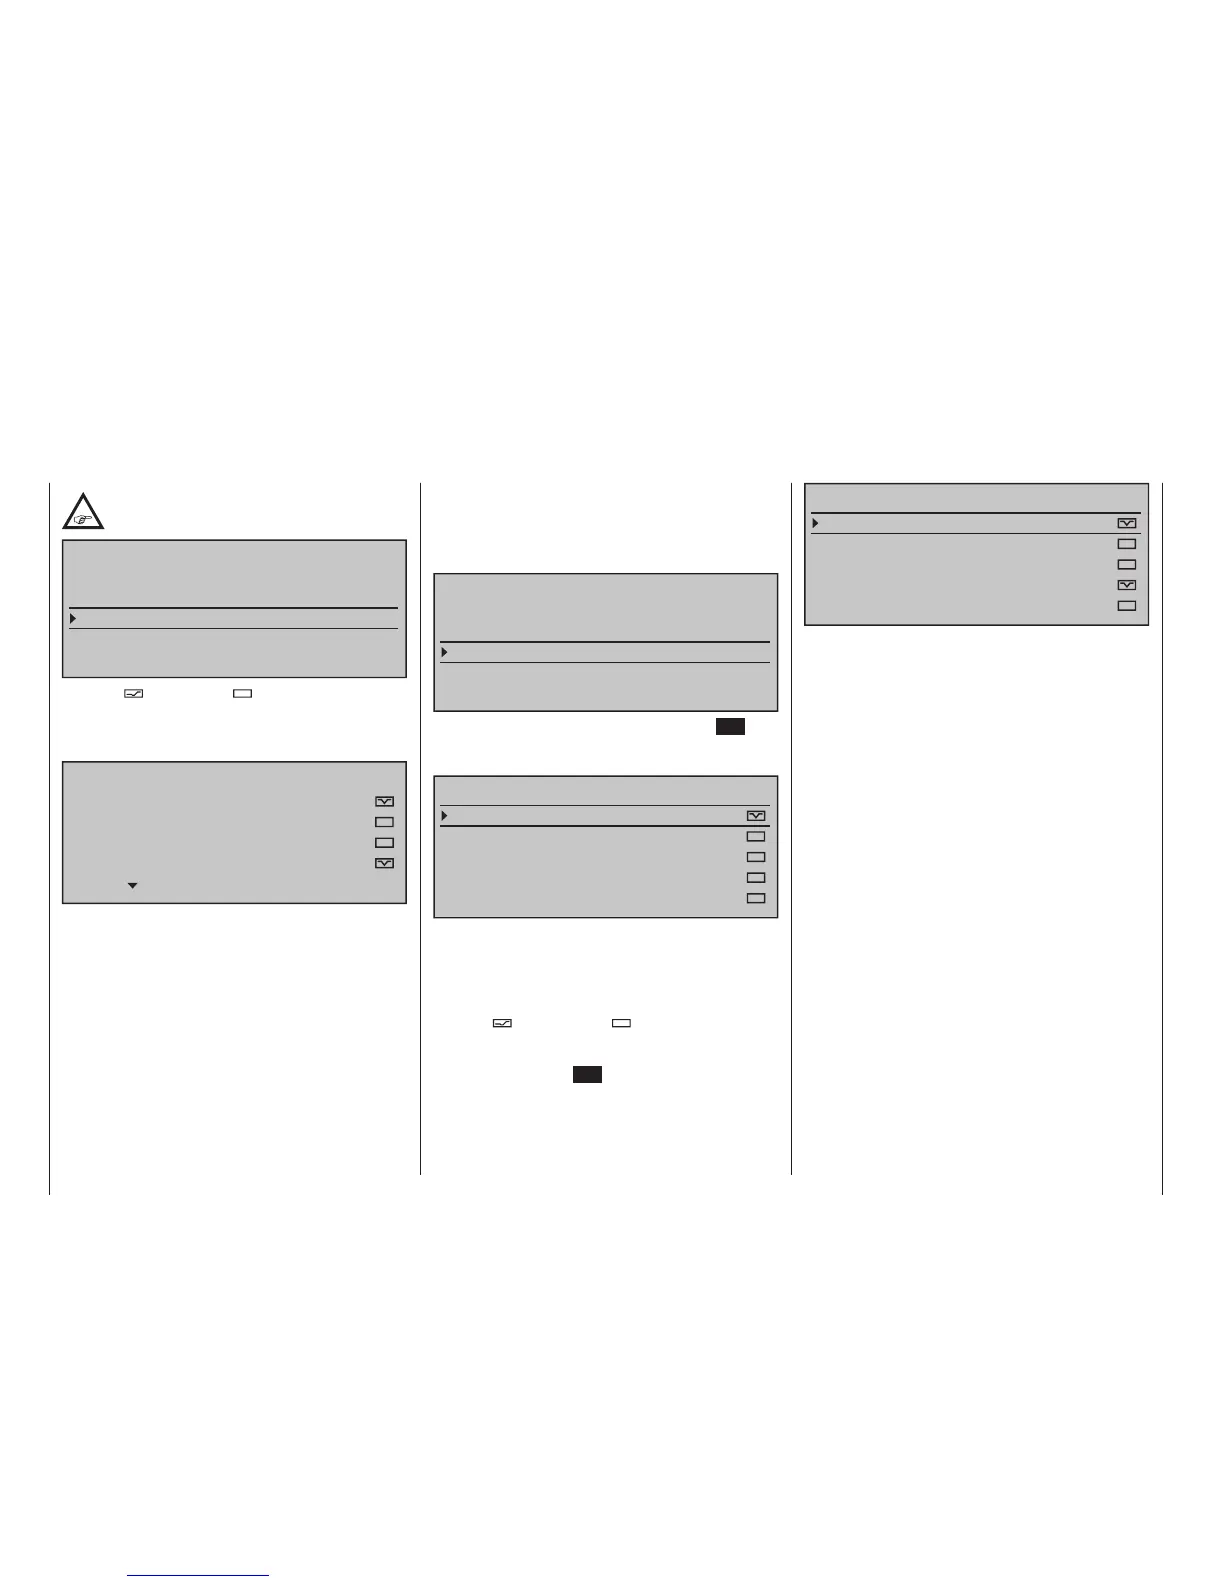
SENSOR SELECT
RECEIVER
GENERAL MODULE
VARIO MODULE
ELECTRIC AIR.MOD
GPS
This menu option can be used to determine which of
the graphic displays described on page 40, as well
as those described previously for sub-menu »SET-
TINGS/DISPLAYS«, can be selected and which
remain hidden.
Activate (
) or deactivate ( ) the display of respec-
tive sensors by selecting the desired lines with the
selection keys of the left or right touch pad then
tapping on the centre SET key of the right touch pad,
e. g.:
SENSOR SELECT
RECEIVER
GENERAL MODULE
VARIO MODULE
ELECTRIC AIR.MOD
GPS
You must make this selection in order to include the
corresponding sensor in the “SELECT VOICE MES-
SAGE” sub-menu, see page 260, and to display
telemetry data in the respective data displays, start-
ing on page 40.
SENSOR
Display of active/inactive sensors
Type transmitter mc-3 2 HoTT with firmware
version V1.050 or higher, recognize automati-
cally a sensor connected to the receiver.
TELEMETRY
SETTING & DATAVIEW
SENSOR
RF STATUS VIEW
VOICE TRIGGER
TELEMETRY RCV
BIND. 1
VOLT.E
Activate ( ) or inactive ( ) sensors are automati-
cally marked in this submenu. A manual selection of
sensors is therefore no longer necessary and also not
possible:
SENSOR
RECEIVER
GENERAL MODULE
VARIO MODULE
ELECTRIC AIR.MOD