60
Physical control, switch and control switch assignments
Physical control, switch and control switch assignments
Principle procedure
Maximum fl exibility is offered by the mc-32 Hott
system when it comes to assigning standard equip-
ment operating elements to certain functions.
Since the assignment of controls and switches is
done in the same way, even though different menus
may be involved, it is appropriate at this point to
explain the fundamental programming technique so
that users can concentrate on the particular contents
when reading the detailed menu descriptions.
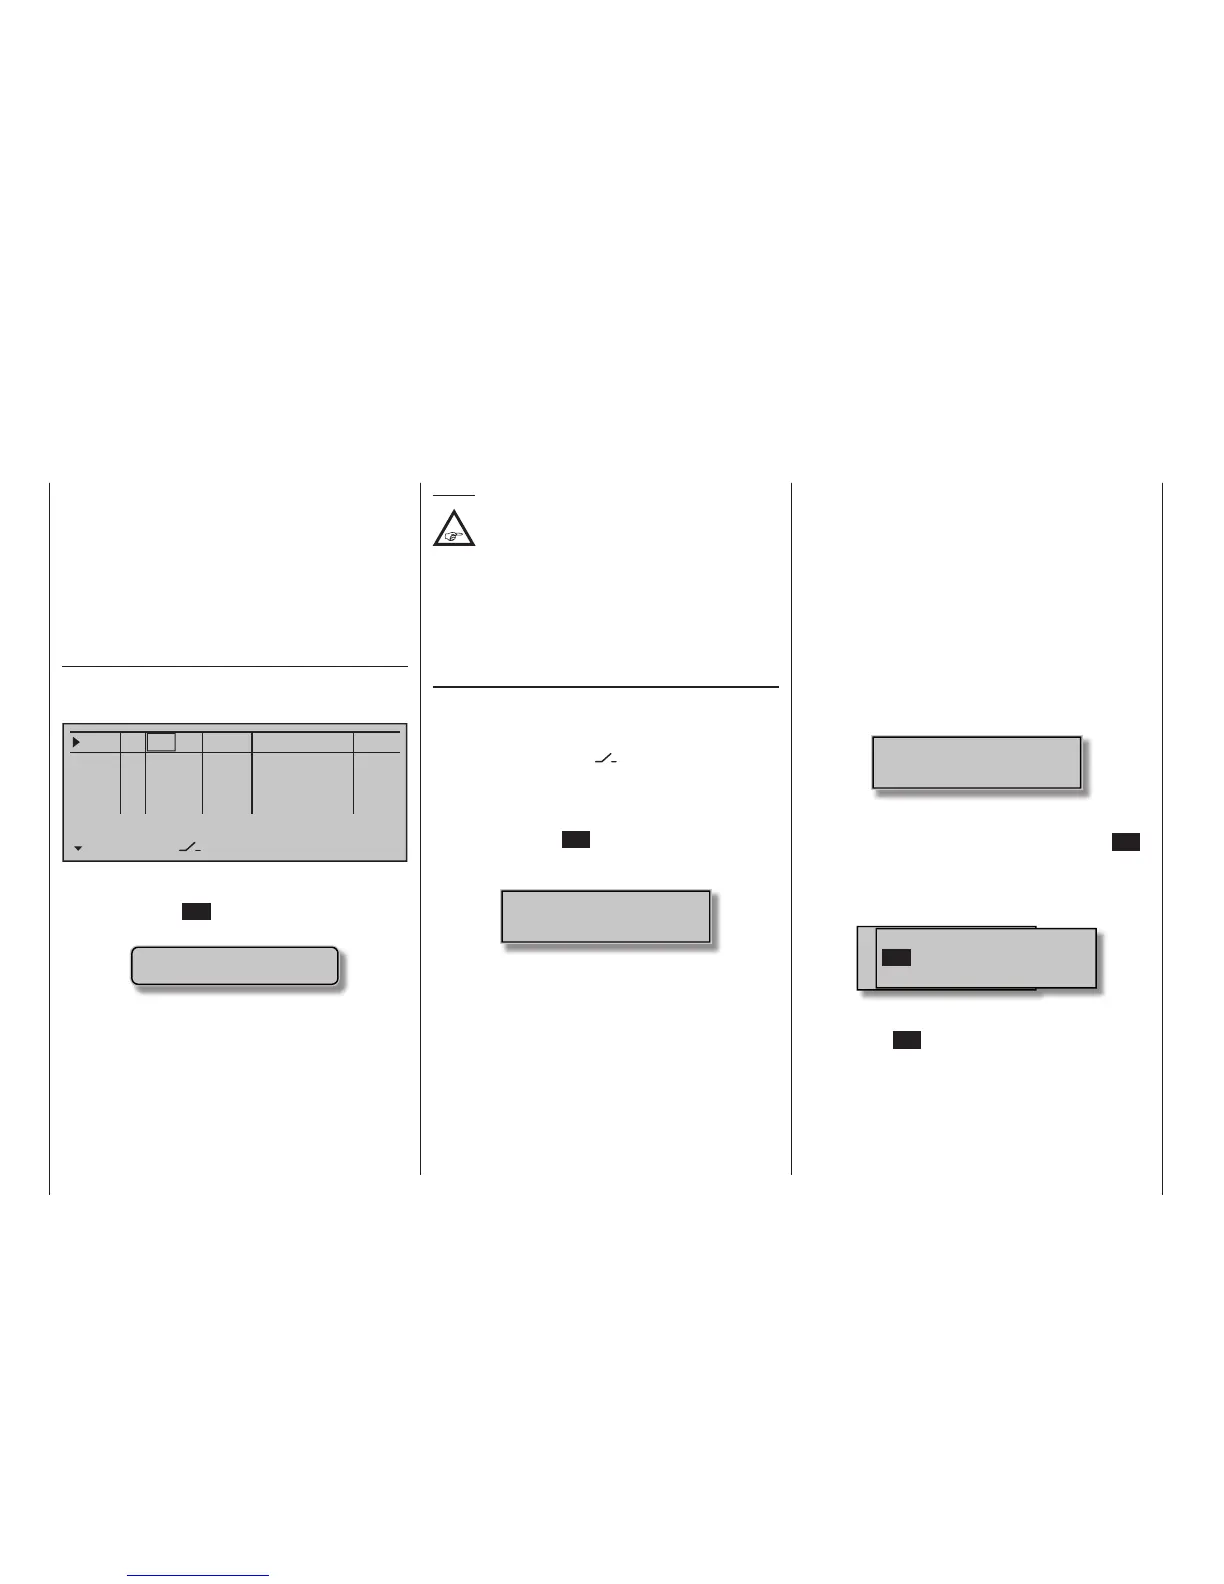
Physical control and switch assignments
The third column of the »Control adjust« menu (see
page 118 to 122) can be used to assign transmitter
inputs 5 … 16 to operate servos ...
0%
+100%S5
S6
S7
S8
Type
SEL
+100%
0.0 0.0
– trv + –time+
0%
+100%
+100%
0.0 0.0
0%
+100%
+100%
0.0 0.0
0%
+100%
+100%
0.0 0.0
GL
GL
GL
fr ---
fr
fr
fr
---
---
---
Offset
GL
Normal
... both in any given stick direction (C1 … C4) as well
as to assign any present control or switch. After tap-
ping on the centre SET key of the right touch pad, the
window shown below will appear in the display.
Move desired
control adj.
Now simply move the desired control or switch.
Notes:
The control will only be recognized beyond a
certain amount of travel. Therefore these
controls can be moved back and forth until
the correct assignment is shown in the display. If
adjustment travel is insuf cient, activate the control in
the other direction.
On the other hand, if the »Control switch« menu,
page 146, is used to assign a control, the message
shown below will appear:
Switch assignment
Wherever programming permits a switch to be as-
signed, a switch symbol will appear in the screen's
bottom display line.
Use the selection keys in the left or right touch pad to
select the appropriate column.
How to assign a switch
1. Briefl y touch the SET key of the right touch pad.
The message shown below will appear in the
screen.
Move desired switch
to ON position
(ext. switch: ENTER)
2. Now it is only necessary to put the selected switch
into the desired "ON" position or, as described at
the right in "Assignment of external switches", to
select a switch from the list of "External switches".
This concludes the assignment. The switch symbol
to the right of the switch's number indicates the
current state of the particular switch.
Changing switch action
If the activation of a switch is to result in the oppo-
site action, put the switch or stick in the desired OFF
position, again activate the switch assignment and
reassign the switch again so it will respond with the
desired action.
Clear switch
A switch which has been assigned as described un-
der point 1 can be cleared with a brief simultaneous
tap on the or key combination in the right
key pad (CLEAR).
Assignment from the "external switch" list
Those menus in which the message …
Move desired switch
to ON position
(ext. switch: ENTER)
… appears permit the assignment of switches be-
longing to the so-called "external switches".
Do this by confi rming the message text with the SET
key. A new window will appear with a list of the eight
control switches "C1 … C8", followed by two so-called
"FX" fi xed switches and the eight logical switches "L1
… L8".
M wünschten Schalter
to die EIN Position
(erw. Schalter: SET)
Control/Logic/fix switch
C2 C4 C5 C6
C7
C8
FX FXi L1 L2
C3C1
Use the selection keys in the left or right key pad to
select the desired switch then assign it with a brief tap
on the centre SET key of the right touch pad.