64 IconMaster Installation and Configuration Manual
Chapter 2: Installation
Installing an Optional Fader Bar
When installed as an upgrade, the IconMaster fader bar must be inserted and
mounted from underneath the main control panel after the existing front plastic
bezel is removed. There are three general stages to the installation: removing the
bezel, installing the fader bar assembly, and assembling the handle.
Disassembling the IconMaster
1. Disconnect the power supply.
2. Disconnect the Ethernet and serial connections from the IconMaster control
panel as necessary.
3. If necessary, remove the IconMaster control panel from its desktop/tabletop
location from its mounting rack.
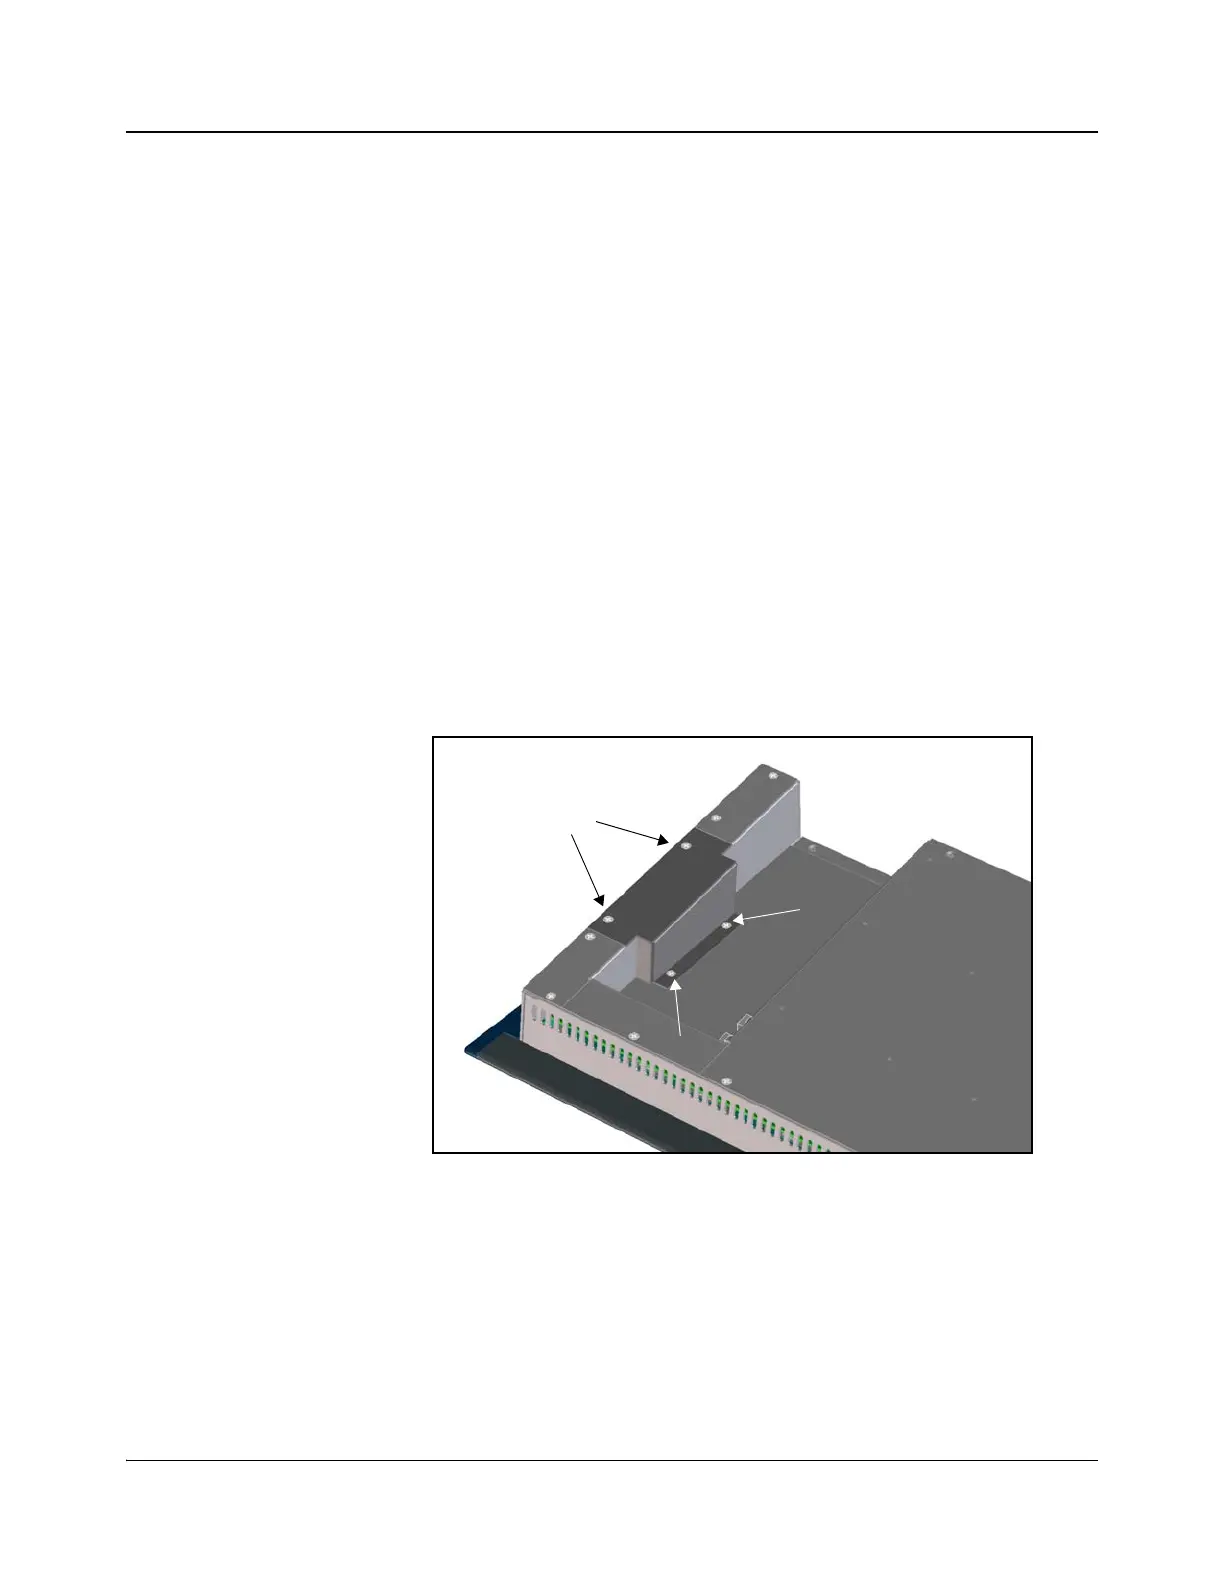
Removing the Bezel
1. Turn the main control panel over on its face.
2. In the connector bay on the left side, remove the four screws that hold the
fader bar access cover in place (see Figure 2-49).
Figure 2-49. Removal of Access Cover
3. Inside the panel (as shown in Figure 2-50 on page 65), remove the two
screws that secure the existing plastic bezel, retaining the screws for future
use.
4. Turn the panel over, and then lift off the existing plastic bezel.
Remove the four
screws holding the
access cover in
place.