218 IconMaster Installation and Configuration Manual
Chapter 9: Enabling a RouterMapper Database for Use with an IconMaster System
Setting Up a RouterMapper Database (*.DA4)
Databases for several popular Harris router configurations have
been provided with your IconMaster system. These can be found
in the IconTools software directory (typically C:\Program Files →
Harris → IconTools). You can use these databases, or create
your own. See page 148 for a list of these “getting started”
database files.
The steps described below direct you through the process to use for adding a
router to a RouterMapper database. For illustration purposes, the discussion will
focus on adding a Panacea 16×4 routing switcher via Polling. For specific
information on adding or editing other Harris routers via RouterMapper, please
see the RouterMapper Configuration Utility Reference Guide.
If you have set up a RouterMapper database for your IconMaster primary router
already, you do not need to set it up again. Go directly to the section titled
“Linking the RouterMapper Database to the IconMaster” on page 222.
1. Launch the RouterMapper application (Start → Programs → Leitch
Routing Switchers → RouterMapper).
2. Make sure that the communications settings (e.g., serial, TCP/IP) are
configured correctly for your system.
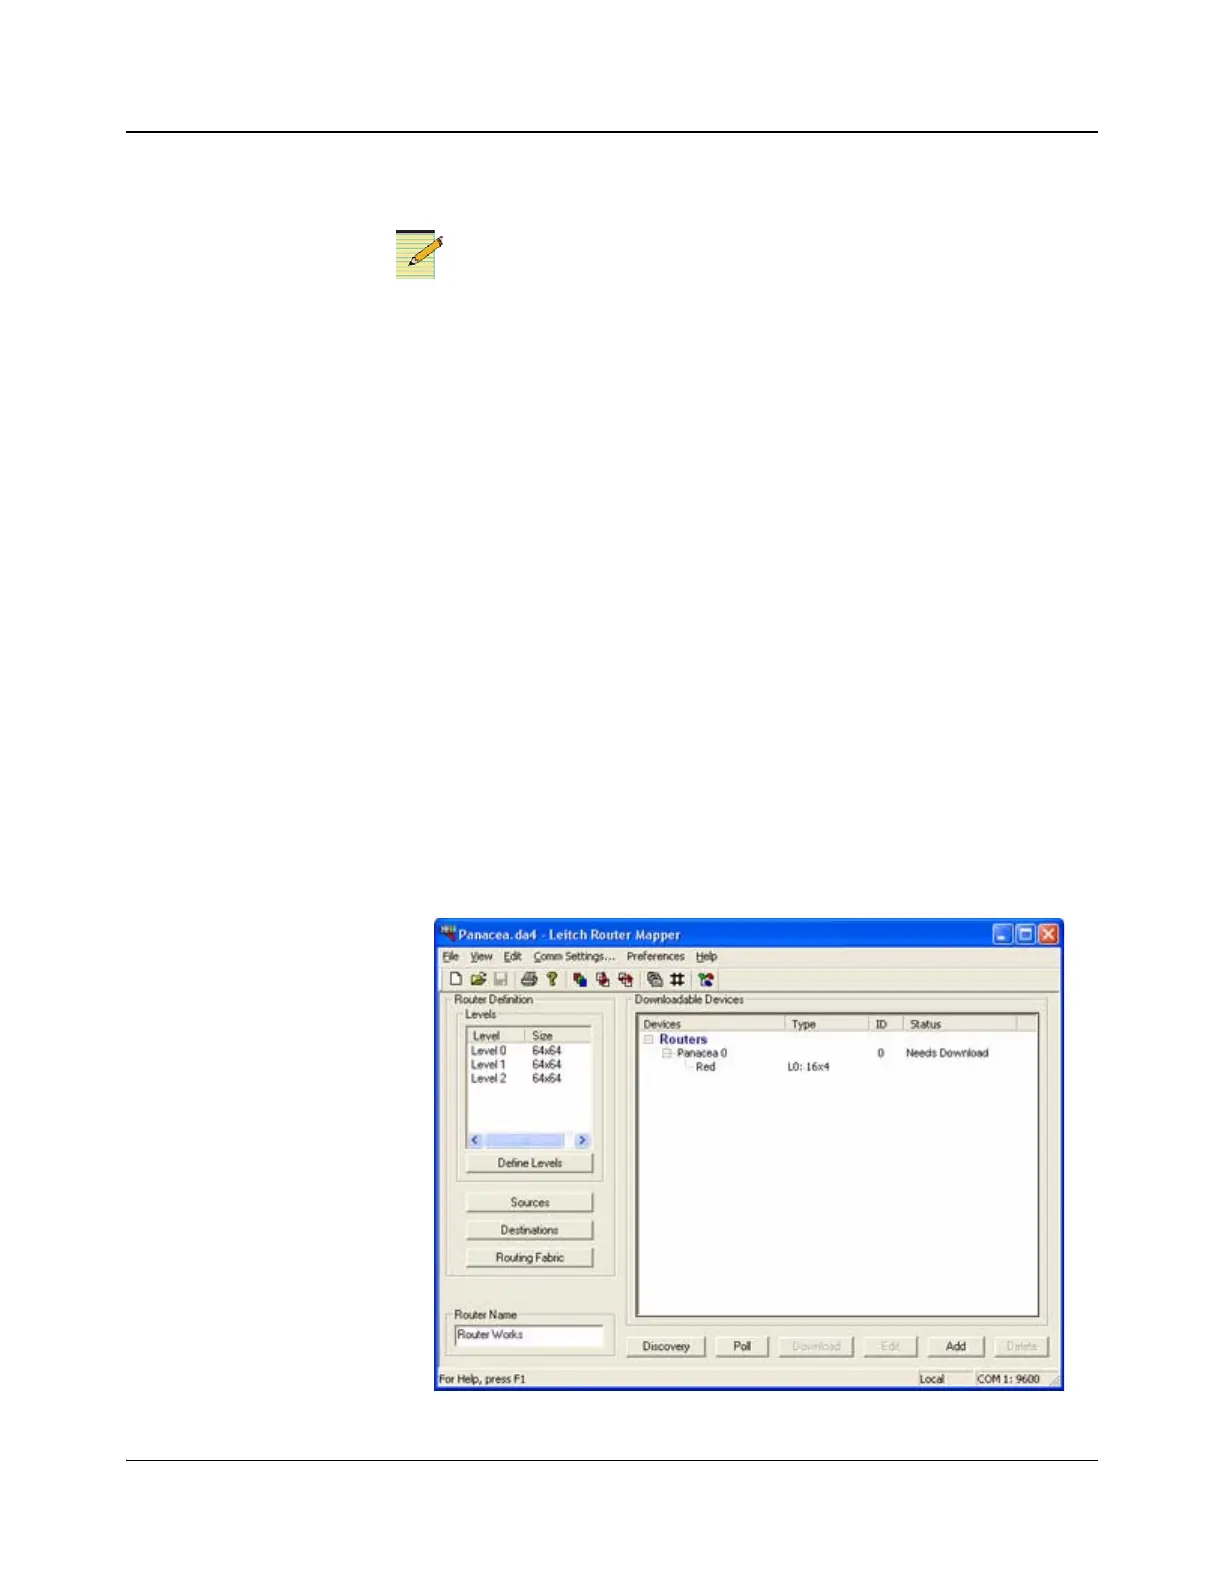
3. Click on Poll to add the Panacea router to the database. (This may take a
few minutes.) The results should resemble the information shown in
Figure 9-1.
Figure 9-1. RouterMapper Main Menu Window Display