IconMaster Installation and Configuration Manual 23
Chapter 2: Installation
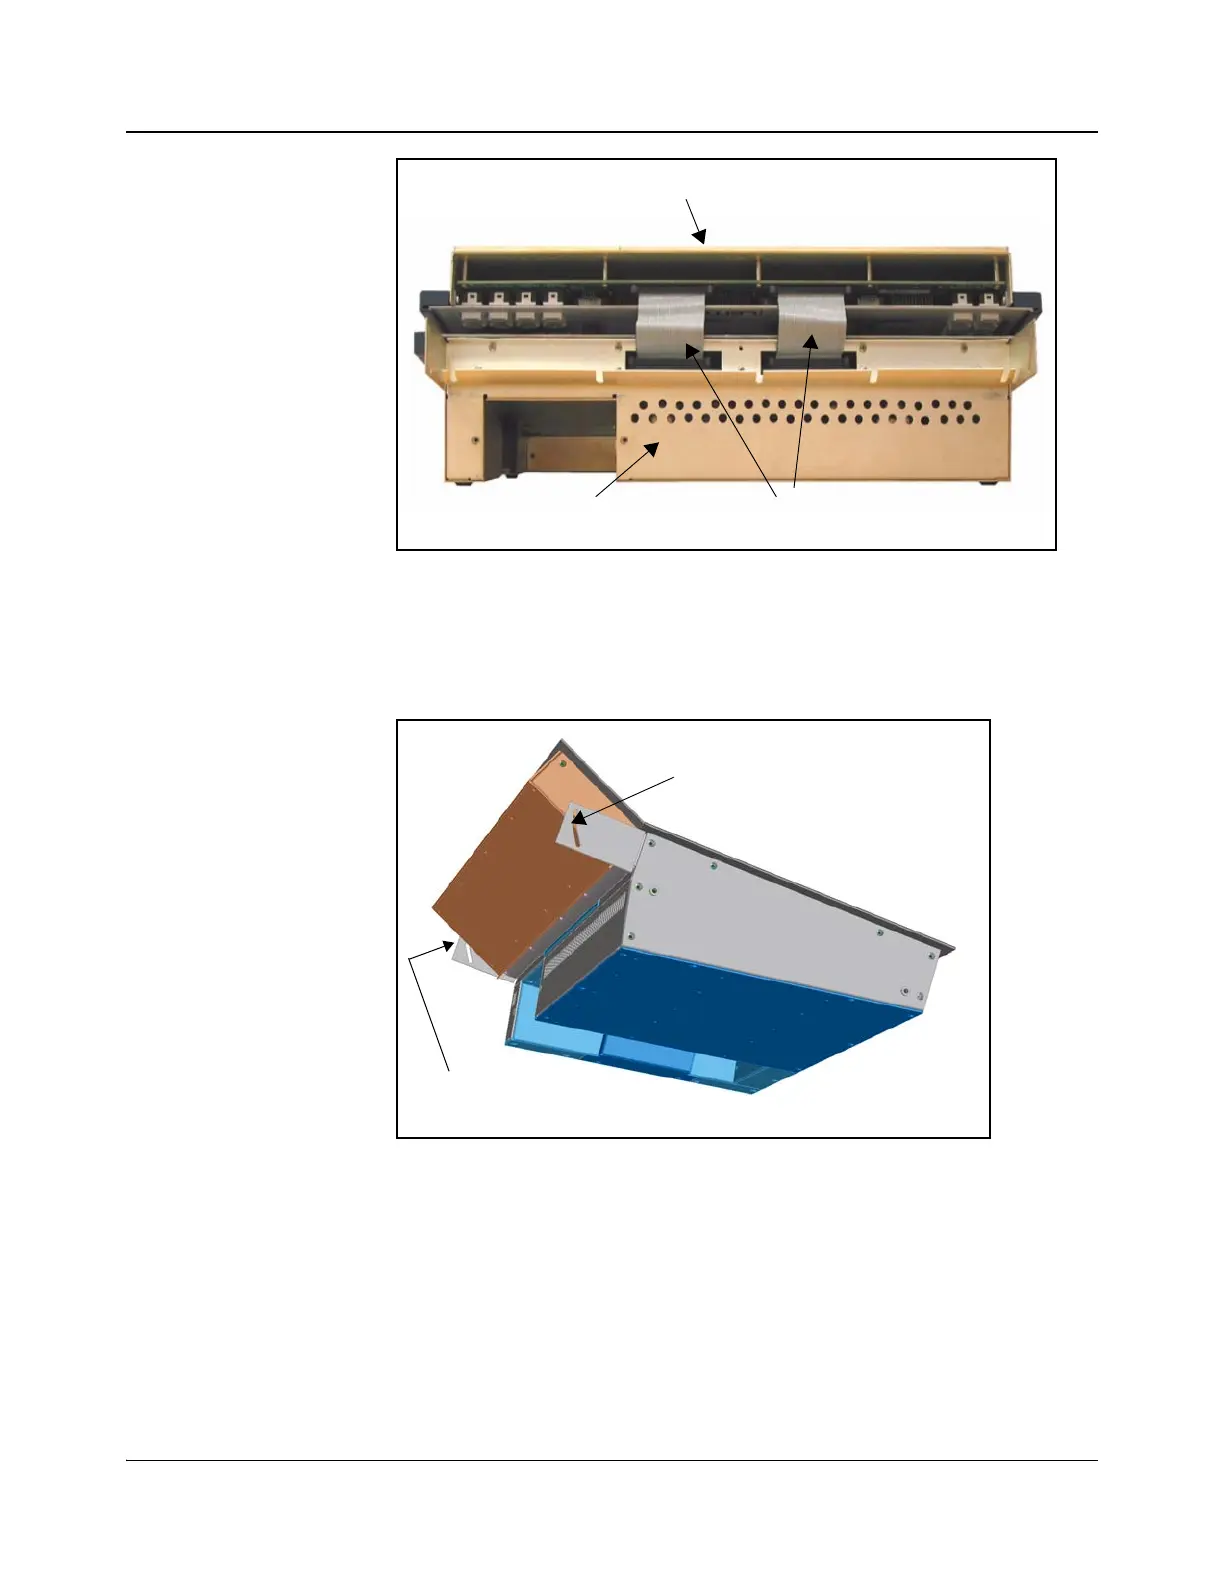
Figure 2-6. Ribbon Cable Between Main and Audio Control Panels
6. Attach the audio control panel to the mounting bracket by inserting the
provided screws in the curved slots that overlap each side of the audio
control panel (see Figure 2-7).
Figure 2-7. Audio Control Panel Attachment
7. Set the audio control panel to the viewing angle that suits your needs, and
then tighten the sliding screws.
Mounting the Control Panels
The two control panels of the IconMaster system are designed for desk and
tabletop operation, or for use in a standard equipment rack. Desk and tabletop
mounting are described on page 24; rack mounting is described on page 25.
Audio control panel folded over
top of the main control panel
Base of main
control panel
Ribbon cables
Insert screw here
Insert screw here