IconMaster Installation and Configuration Manual 21
Chapter 2: Installation
Installing Control Panels
Connecting the Main Panel and Optional Audio Panel
The IconMaster main control panel and audio control panel are connected to
each other both mechanically (by means of a bracket) and electrically (by using
two wiring harnesses). The audio control panel cannot operate independently of
the main control panel, and must always be directly attached. If you ordered
both controls at the same time, they will be preassembled at the factory.
If you ordered the control panels at different times you can connect them
together yourself. To connect the main control panel and audio control panel
together, follow these steps:
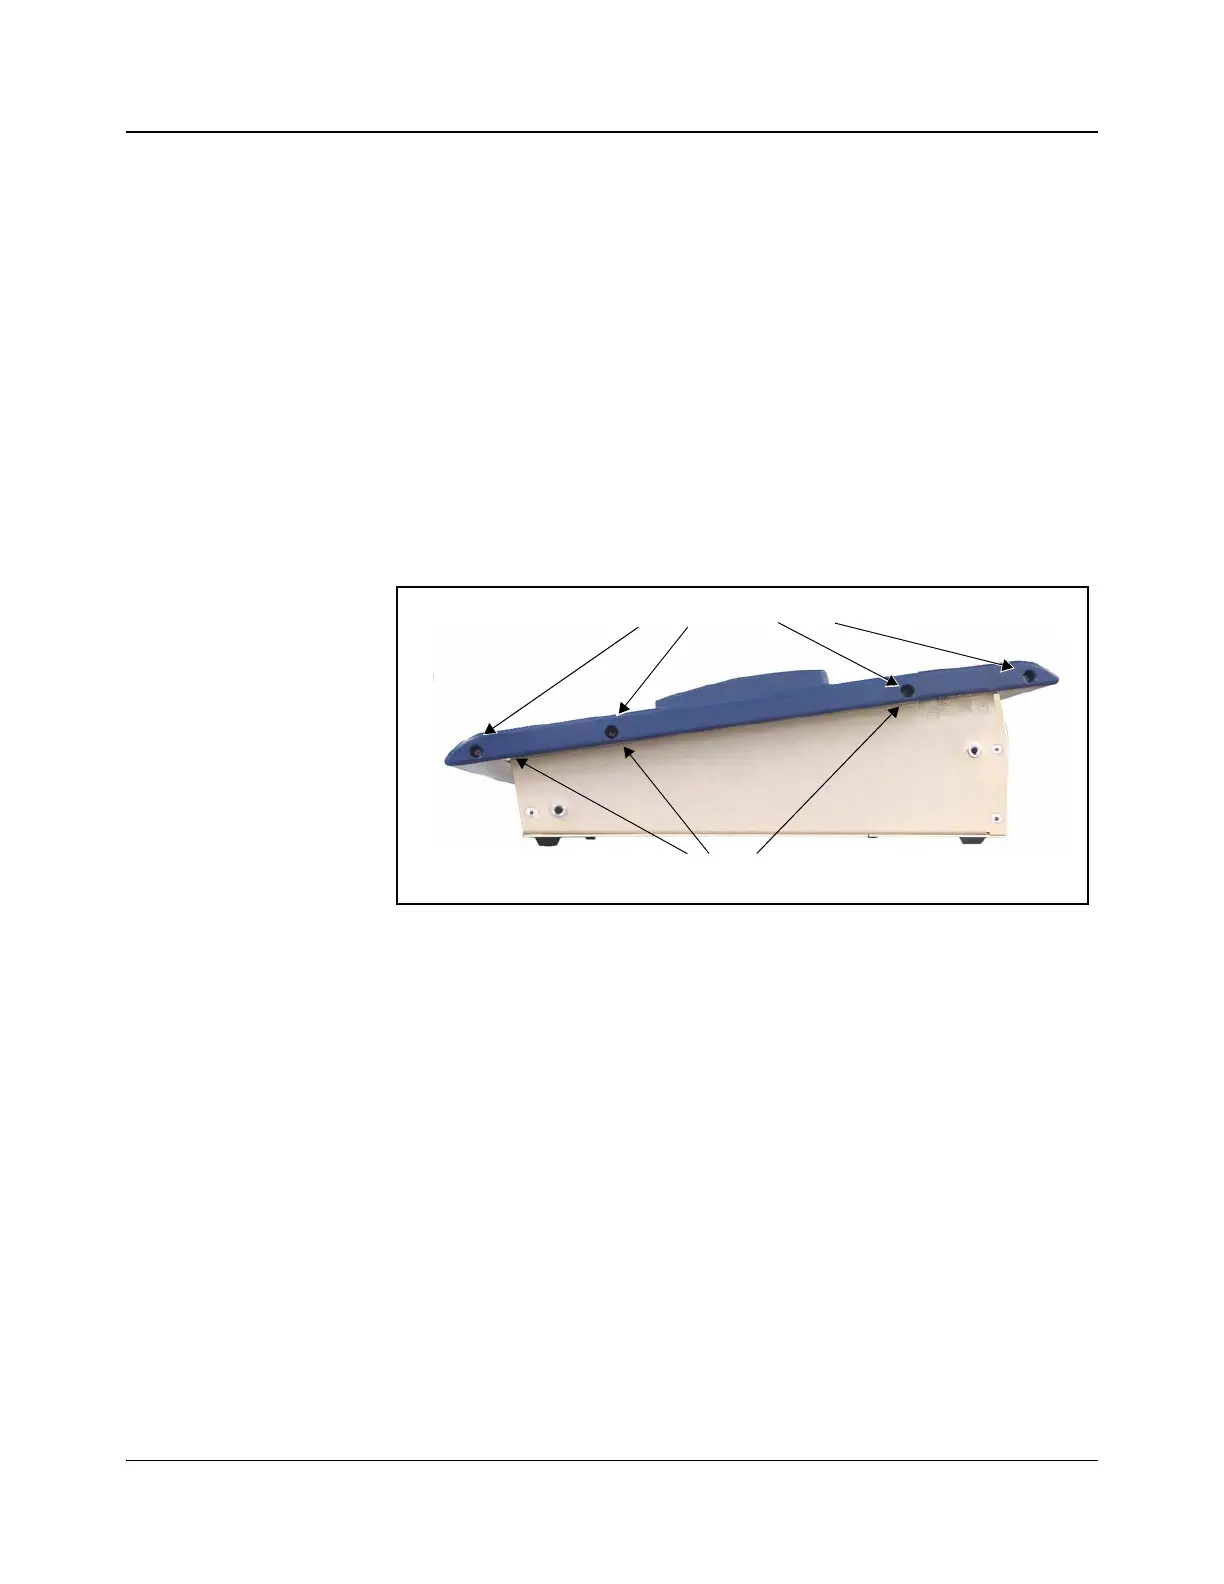
1. Remove the four screws on each side of the main control panel trim (see
Figure 2-3).
Figure 2-3. Removal of Trim
2. Replace the side trim with the two new shorter pieces supplied. Only three
screws are required on each side to attach the new trim.
3. Remove the cover plate from the back of the main control panel (see
Figure 2-4).
Remove these four screws
Replace three screws for the new trim