IconMaster Installation and Configuration Manual 83
Chapter 4: Router Connections
Sample Configuration 2: IconMaster System with Single
Channel Audio and Video NSM Routers and Optional
ICONM-BO-VAC Module
This section describes the connections that are required in a typical
configurations involving an IconMaster system, with single channel audio and
video NSM router modules and an optional breakout module. You can place the
NSM modules anywhere in the same NEO frame as the IconMaster system.
Figure 4-6 on page 84 shows a detailed illustration of this process.
1. Configure the NSM Modules
The first NSM module will provide Inputs 1 to 5; the second NSM
module will provide Inputs 6 to 12.
1. Set the NEO NSM back module to Unterminated reference:
a. Remove the NSM back module from the NEO Frame.
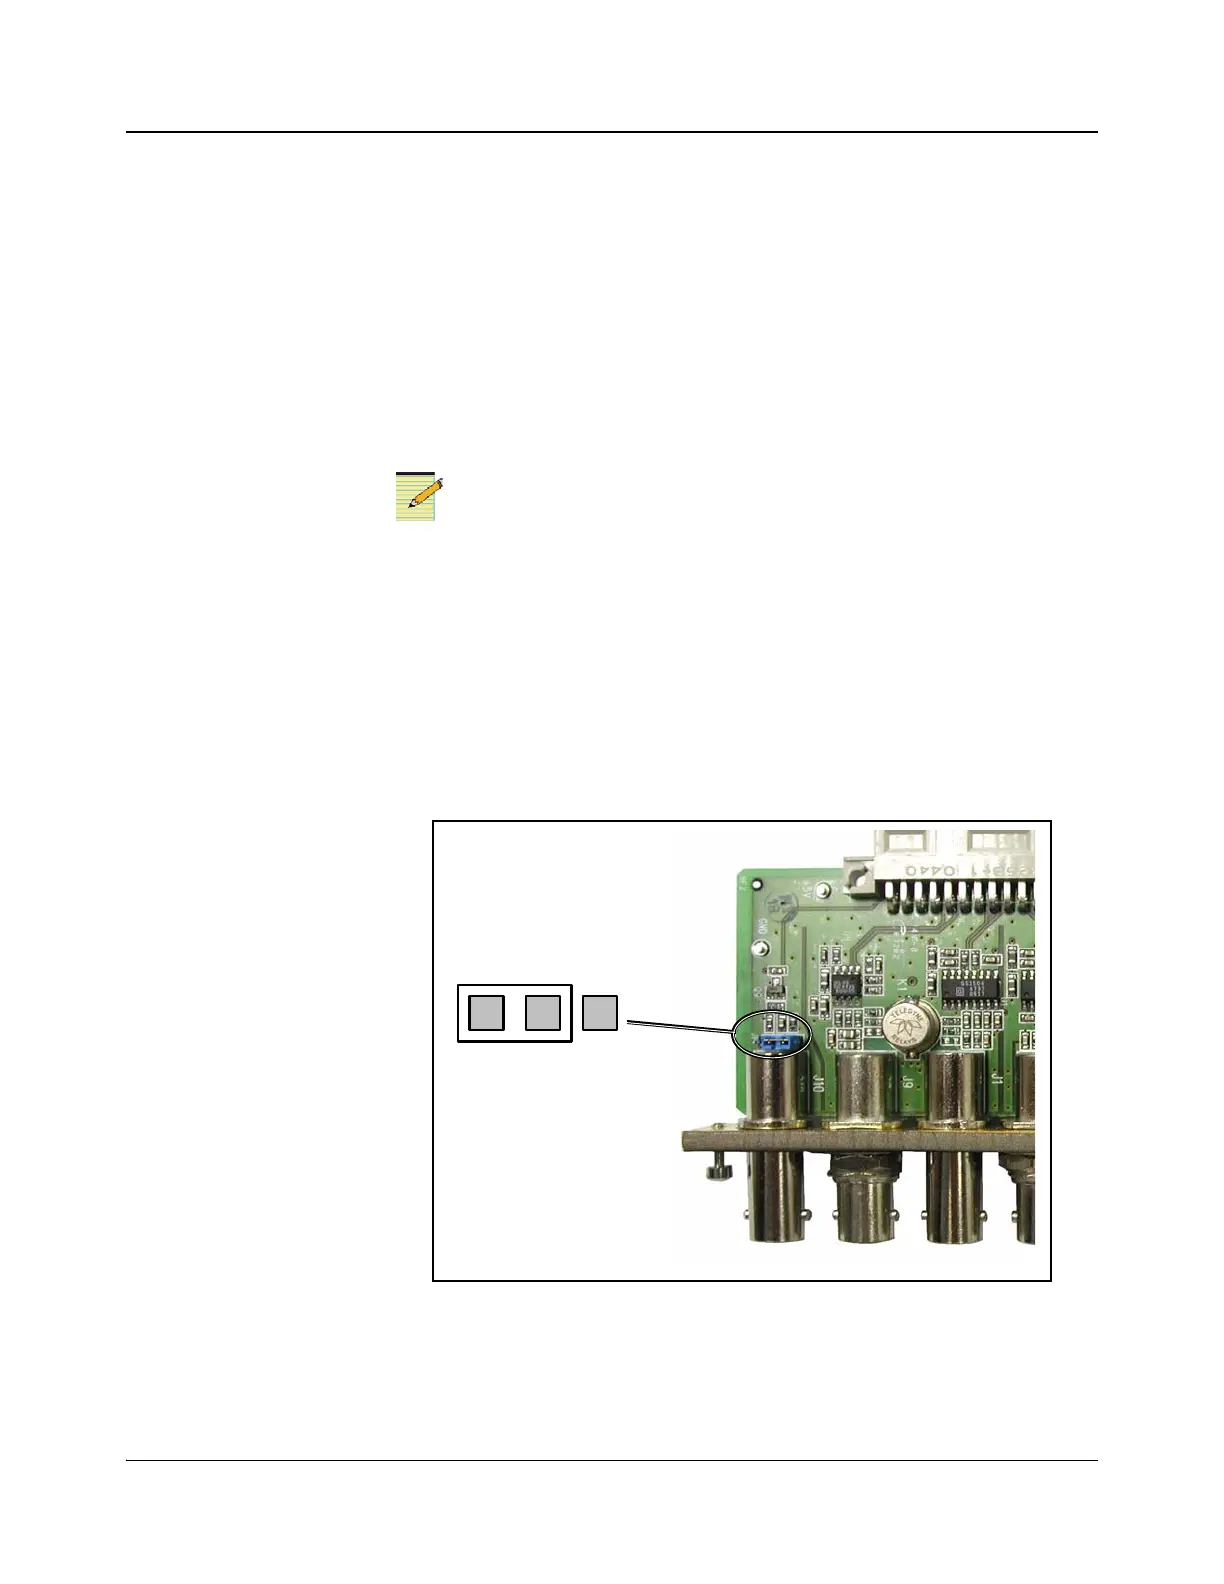
b. Locate jumper J11 on the NEO NSM back module (see Figure 4-5).
c. Set the NEO NSM back module to Unterminated reference by setting
J11 as shown.
d. Reinstall the NSM back module into the NEO frame.
Figure 4-5. Jumper J11 on the NSM Back Module
2. On the first NSM back module, connect a maximum of 5 audio inputs to the
BNC connections labeled In 1 to In 5.
Jumper JP1 set to
Unterminated