IconMaster Installation and Configuration Manual 25
Chapter 2: Installation
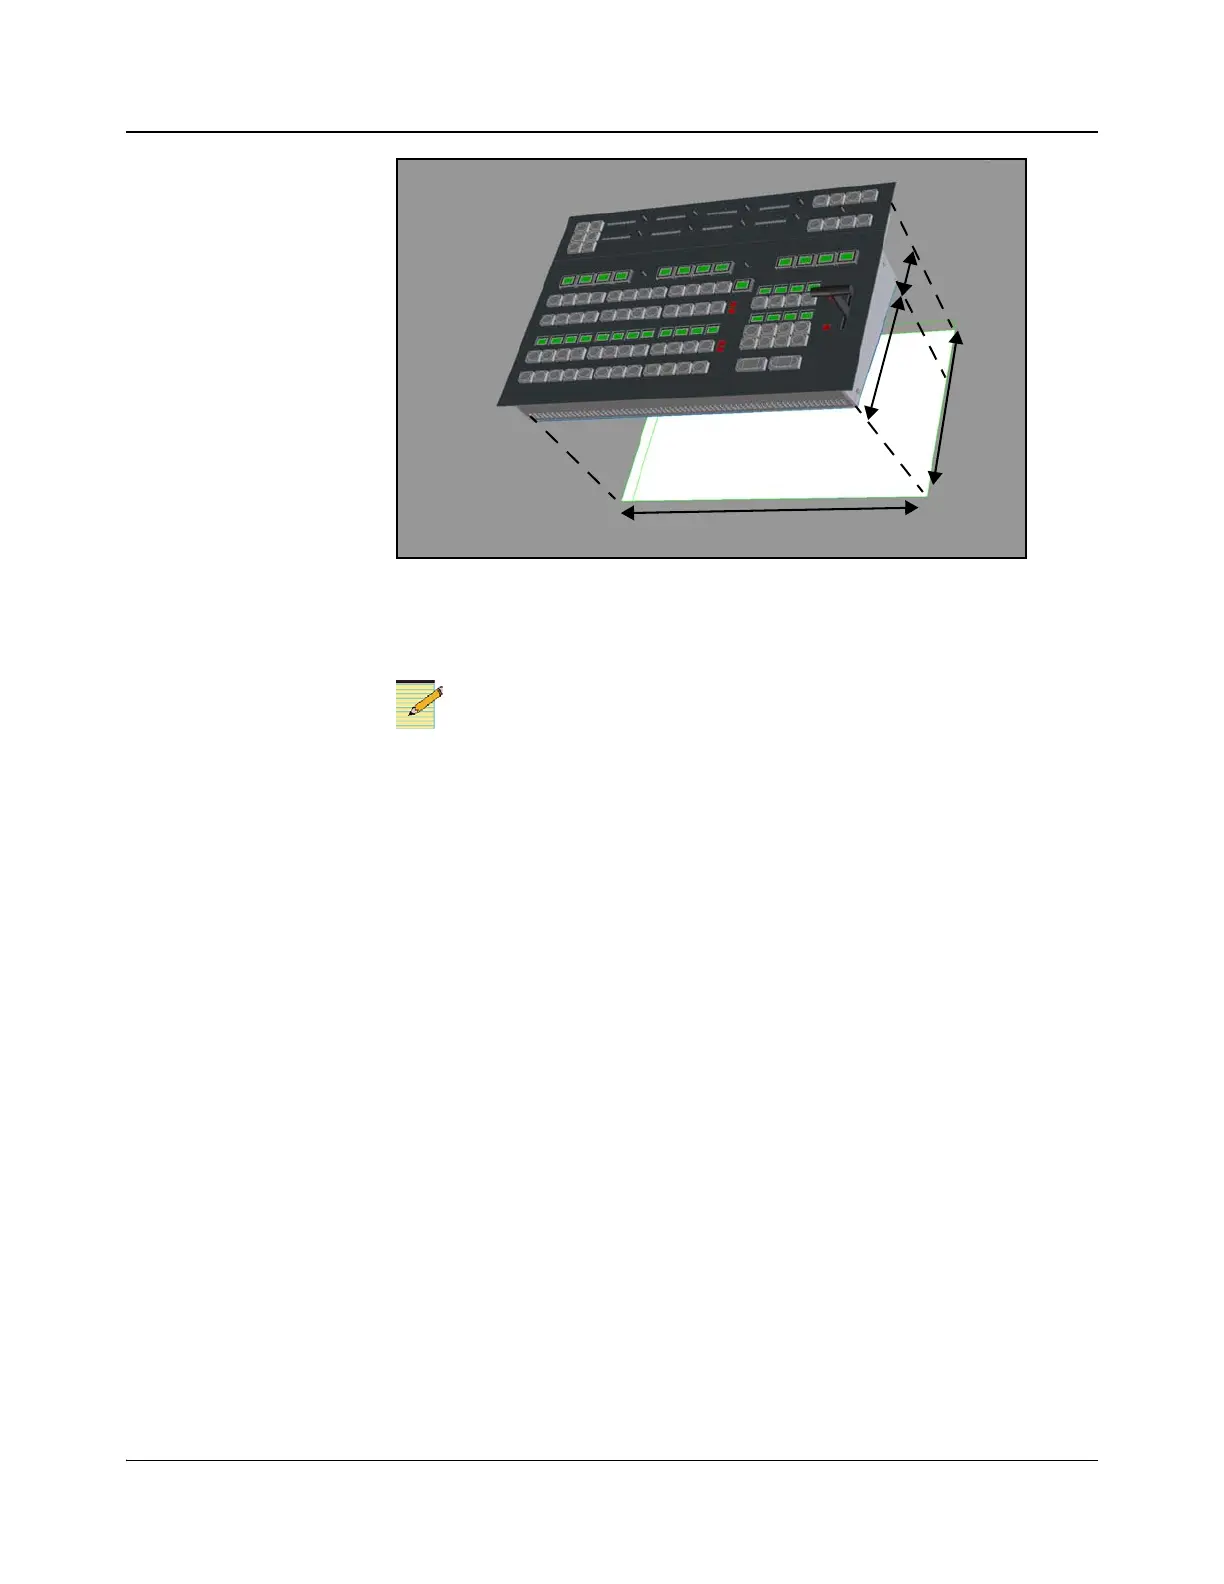
Figure 2-9. Desk or Tabletop Mount of Main and Audio Control Panels
Mounting Control Panels into a Rack
The main and audio control panels can be mounted in a rack with
or without the outer trim attached. However, the outer trim will use
an additional 1RU of extra space above and below the unit if it is
left attached. If you choose to remove the trim, ensure that you
replace the two middle screws found on each side (see Figure 2-3
on page 21).
To install the main control panel and the optional audio control panel in a rack,
use the adjustable left and right-side frame mounting brackets that are provided.
The brackets are designed so that you can angle the panels either upward or
downward, according to your needs. (See Figure 2-13.) If you are using an
audio control panel, attach and connect the audio panel to the main control panel
frame before you attach the brackets (see “Connecting the Main Panel and
Optional Audio Panel” on page 21).
The following steps describe the installation of the control panels in a rack. If
you do not wish to remove the trim, start at step 6.
1. Remove the three or four screws on each side of the main control panel trim
(see Figure 2-10)
13.9
inches
(35.3cm)
16.75 inches (42.6 cm)
3.8 inches
(9.6cm)
10.1
inches
(25.7cm)