26 IconMaster Installation and Configuration Manual
Chapter 2: Installation
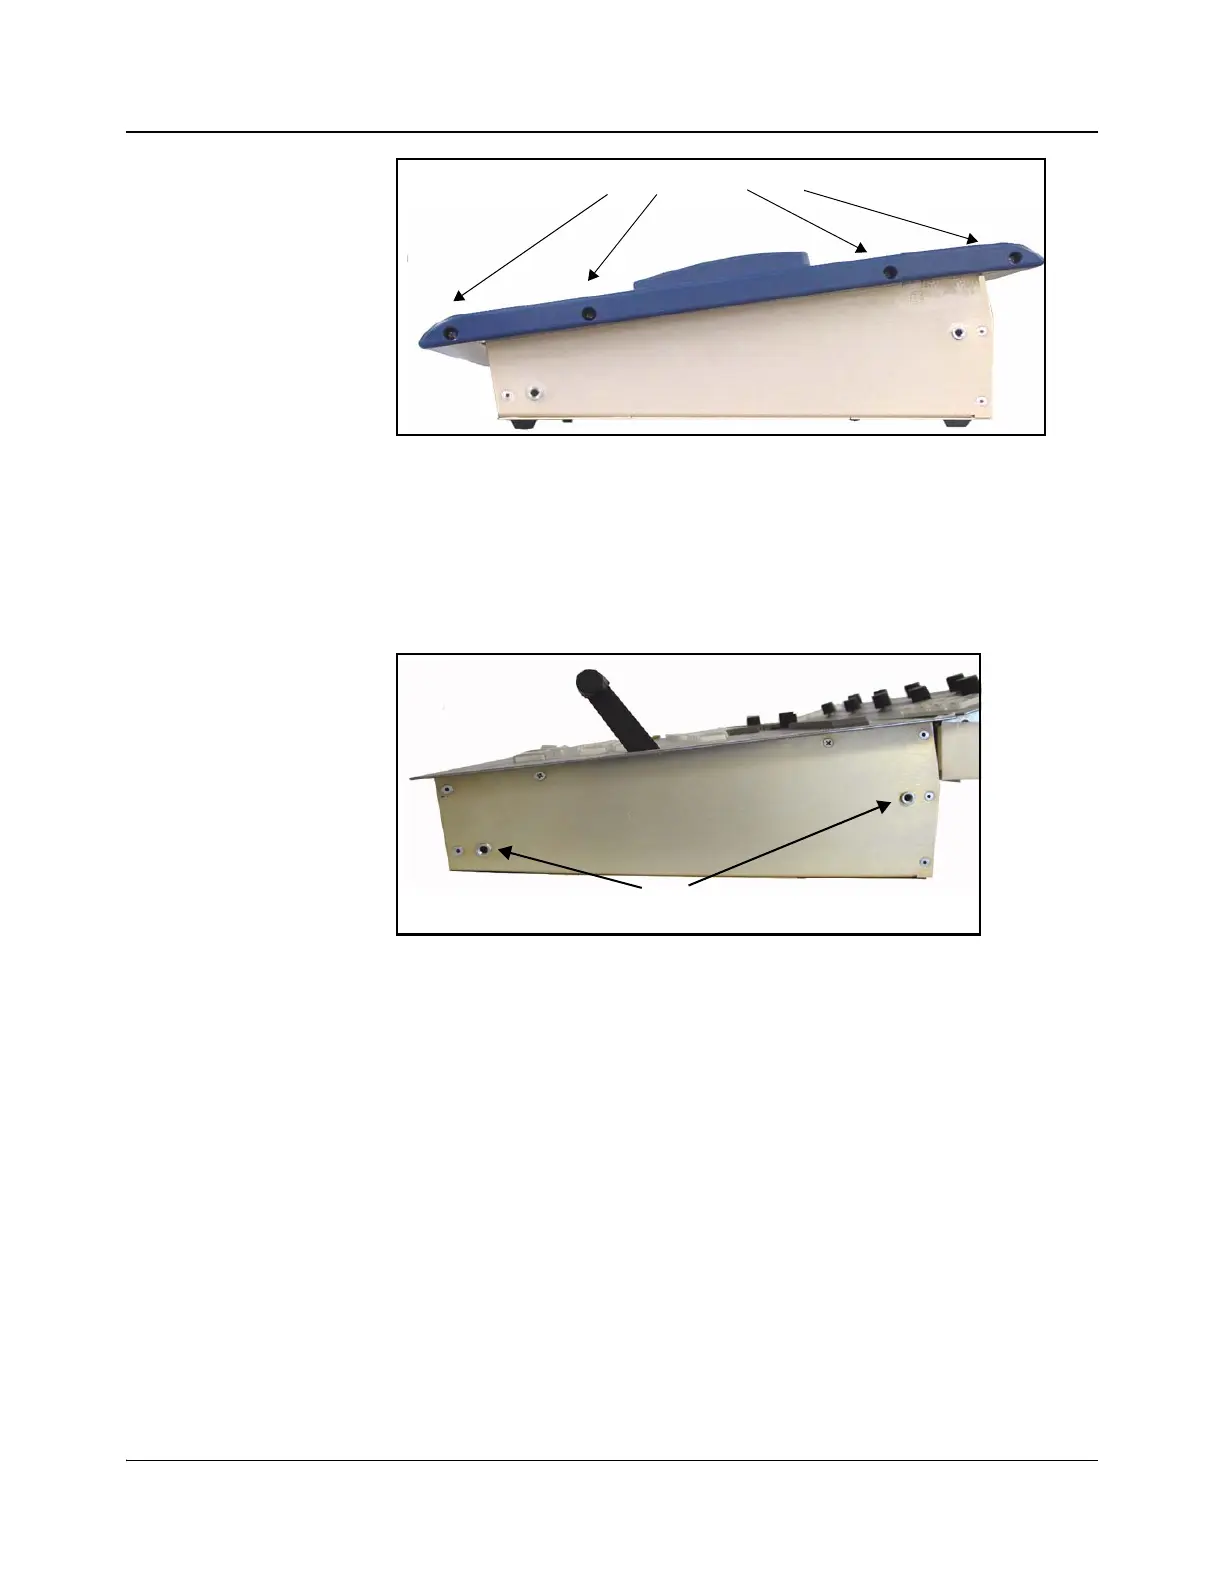
Figure 2-10. Removal of Trim for Rack Mounting
2. Remove the trim pieces from the sides of the main control panel.
3. Remove the wrist rest from the bottom of the main control panel.
4. Replace the middle two screws on each side of the main control panel with
4-40×1/4 FH screws (see Figure 2-11).
Figure 2-11. Main Control Panel Side Screws
5. If there is no audio control panel:
• Remove the trim from the top of the main control panel.
If there is an audio control panel:
a. Remove the three screws on each side of the audio control panel trim.
b. Remove the trim from the sides of the audio control panel.
c. Remove the trim from the top of the audio control panel.
d. Replace the two screws on each side of the audio control panel with
4-40×1/4 FH screws (see
Figure 2-12).