iZ Technology Corporation
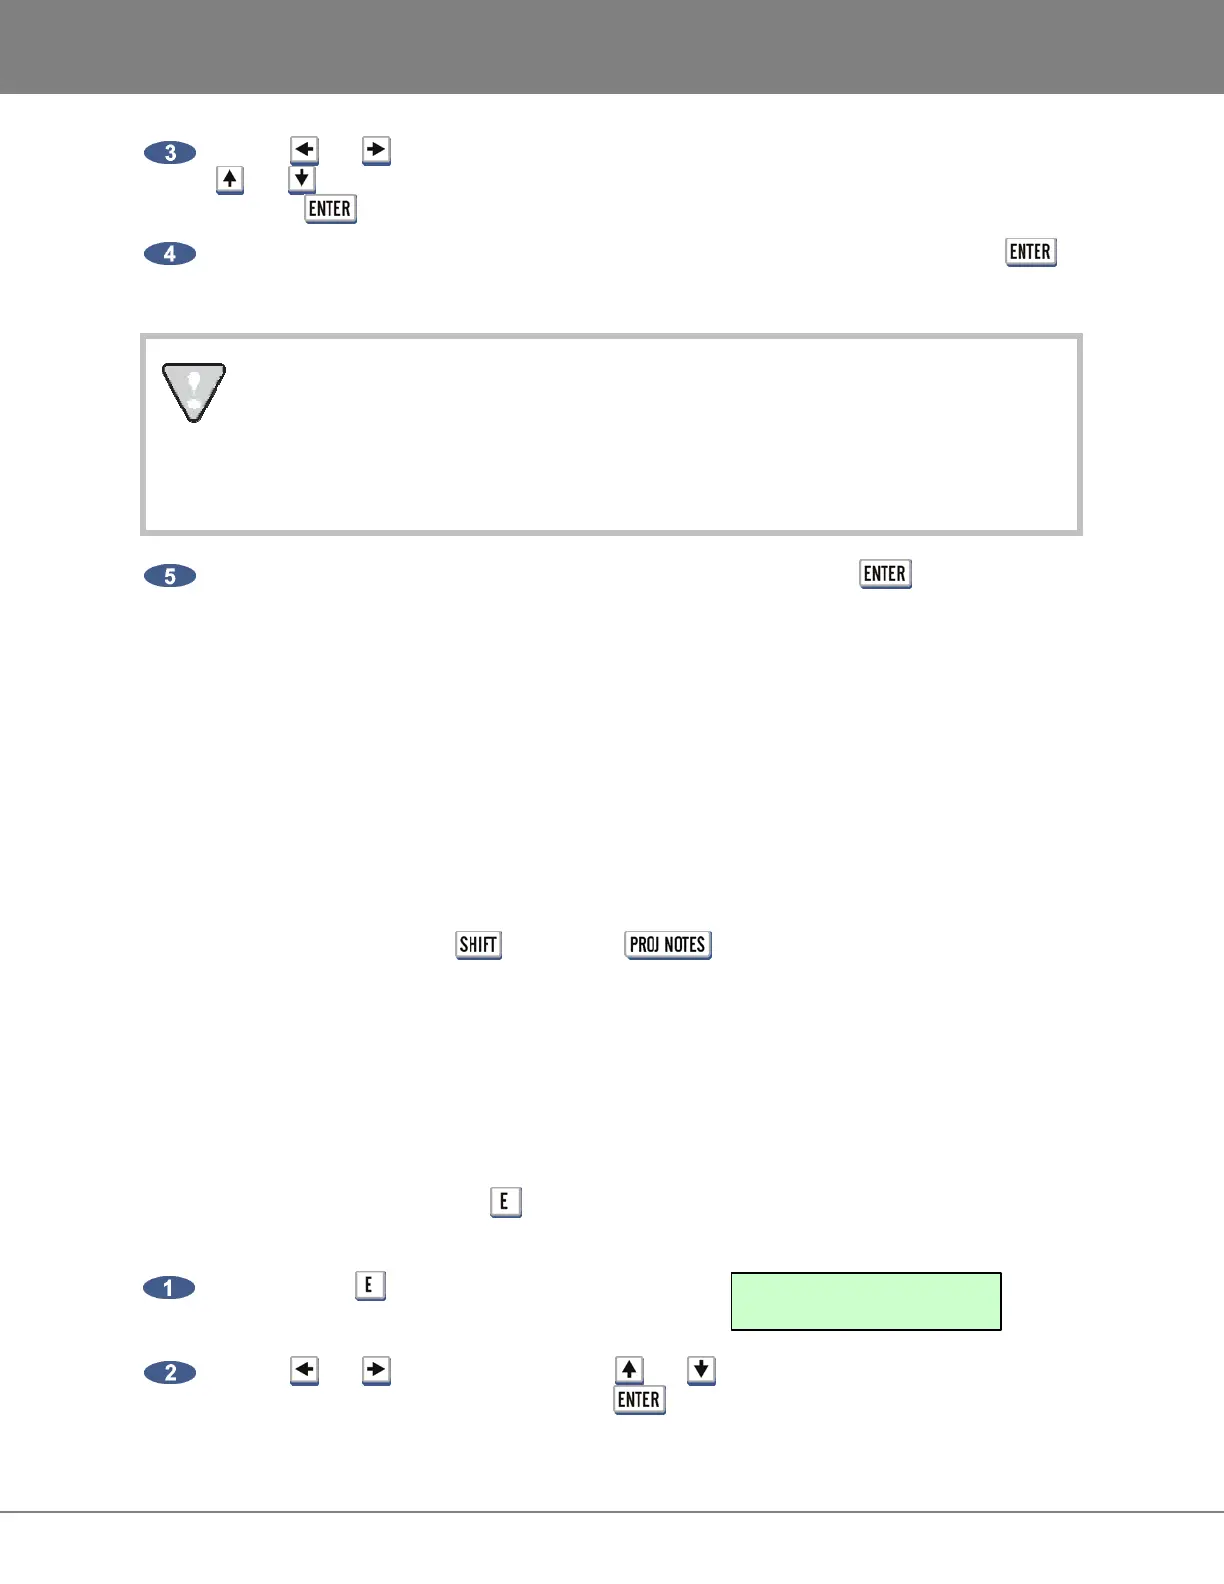
Use the and keys to switch between the SOURCE ID and the COPY ID fields. Use the
and keys to select the desired SCSI ID for both the source and destination drives and
press the key.
To clone a drive, select YES in the SECTOR-BY-SECTOR COPY dialogue and press the
key. Selecting NO will perform a file based disk copy (not recommended).
A sector-by-sector copy will copy the entire drive whether there is audio present or not.
This may take a significant amount of time with large capacity hard drives. A file-based
copy will duplicate the data and directory information to the new drive but will store the
data in different physical sectors on the hard disk platters. This approach can be much
faster for small amounts of data.
A final dialogue will prompt ARE YOU SURE? Select YES and press the key to continue.
DISK NOTES
When an audio drive is mounted in RADAR, a disk info file will automatically be created in the Disk Info
File folder on RADAR’s system drive. This file will contain information about the drive capacity, the
projects on the drive, and the contents of the USER folder.
When an audio drive is unmounted, the disk info file will be removed from the system drive, and placed in
the USER folder on the audio drive itself. The disk info file is also included in the backup folder whenever
a project is backed up.
The disk info file can be saved to another location using the DISK NOTES selection in the DISK MENU.
This selection also gives the option to VIEW the disk notes on the RADARView screen. DISK NOTES
may also be accessed by pressing and then the button.
ENABLE DISK ID
Each drive on RADAR has a disk ID, numbered between 0 and 6. The ENABLE DISK ID option allows
the disk IDs of drives that are not in use to be easily disabled, thus speeding up access to file browsing,
backup and other functions that scan for drives. For example, when an eSATA port is installed in place of
a floppy drive but no eSATA drive is connected to the port, long timeouts can occur when RADAR scans
for drives. To avoid these timeouts, the ENABLE DISK ID setting is available in the DISK MENU or
can be accessed by pressing the letter on either the Session Controller or KC-24 keyboard.
To enable or disable a Disk ID:
Press the letter to access the shortcut:
Use the and keys to select an ID, the and keys to select Y for enabled and N for
disabled. Once the options are set press the key to exit the menu.
DISK ID: 0123456
ENABLE: YYNYYYY