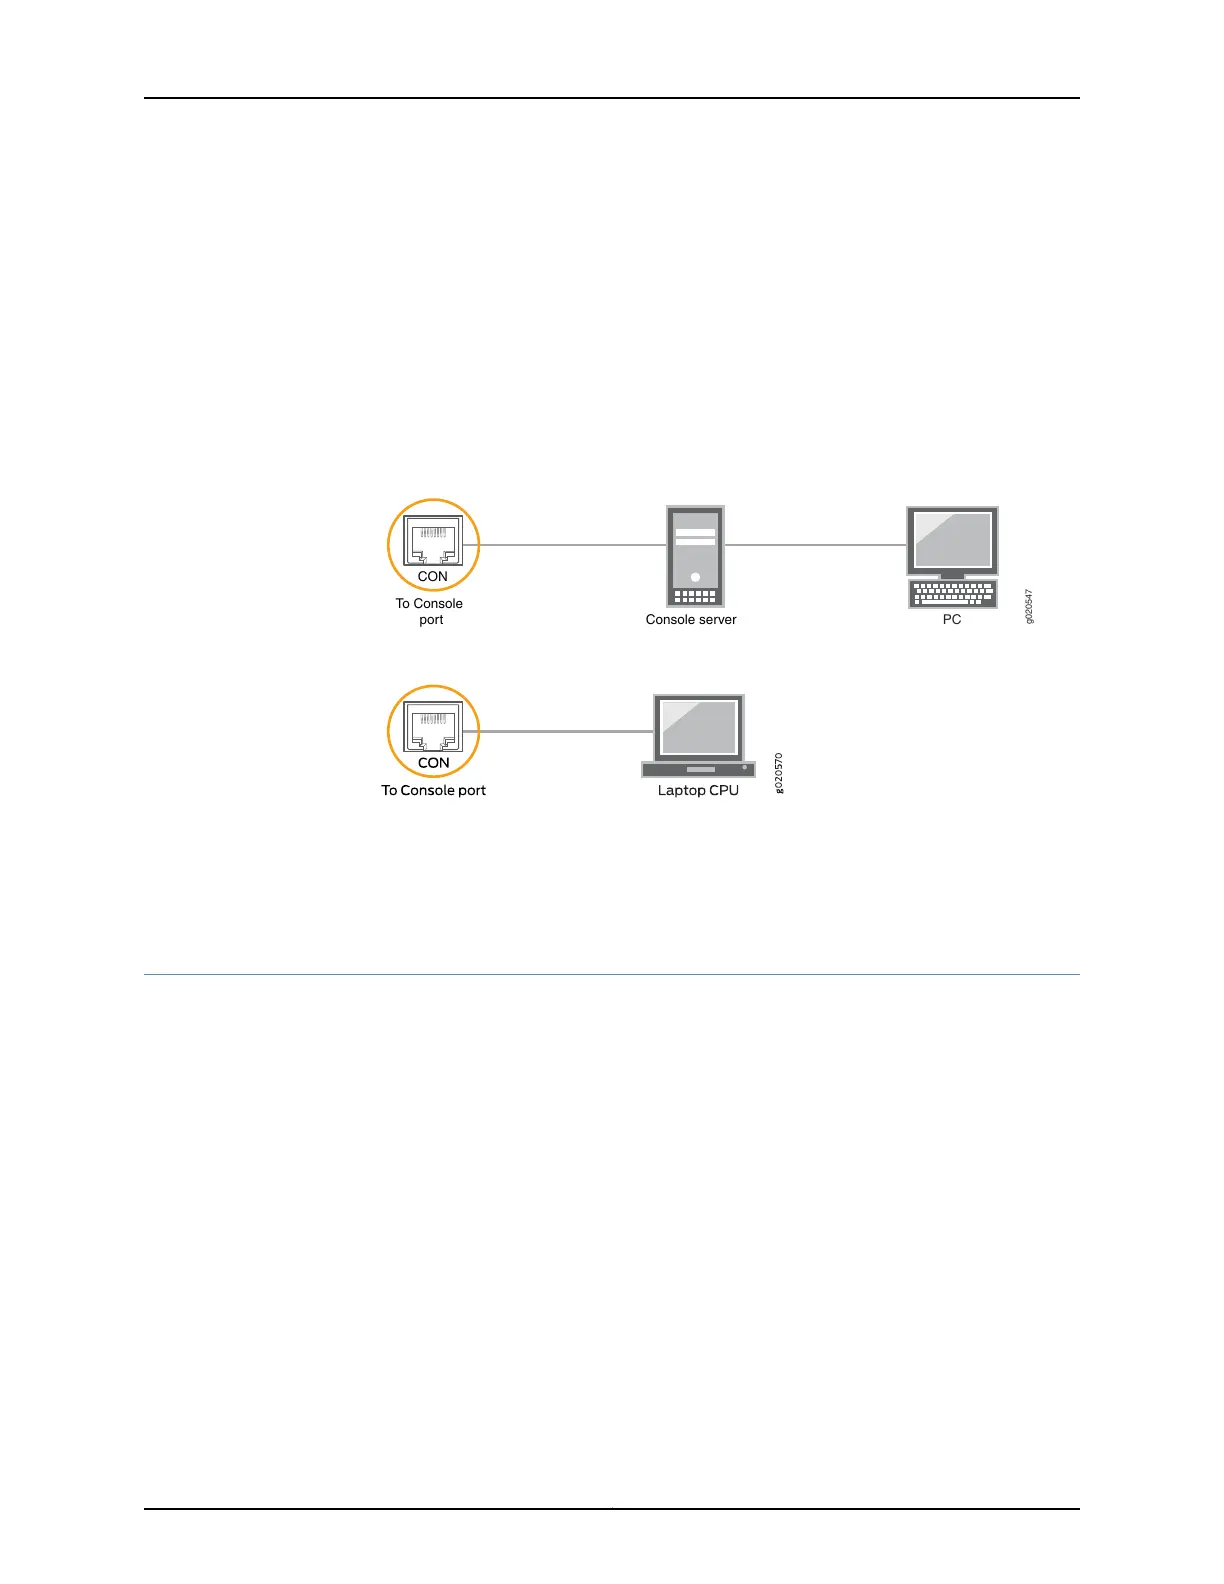
To connect the device to a management console (see Figure 55 on page 195 and
Figure 56 on page 195):
1. Connect one end of the Ethernet cable to the console port (labeled CON, CONSOLE,
or CON1) on the device.
2. Connect the other end of the Ethernet cable to the console server (see
Figure 55 on page 195) or management console (see Figure 56 on page 195).
Figure 55: Connecting a Device to a Management Console Through a
Console Server
g020547
CON
To Console
port Console server
PC
Figure 56: Connecting a Device Directly to a Management Console
Related
Documentation
Connecting a Device to a Network for Out-of-Band Management on page 193•
Connecting an EX Series Switch to a Management Console by Using the Mini-USB
Type-B Console Port
You can configure and manage EX2200-C, EX2300, EX3400, EX4300, and EX4550
switches by using the RJ-45 console port or the Mini-USB Type-B console port. However,
only one console port is active at a time and the console input is active only on that port.
If your laptop or PC does not have a DB-9 male connector pin or RJ-45 connector pin,
you can connect your laptop or PC directly to the switch by using a mini-USB cable that
has a Standard-A USB connector on one end and a Mini-USB Type-B (5-pin) connector
on the other end.
This topic describes the procedure to connect an EX2200-C, EX2300, EX3400, EX4300,
and EX4550 switch to the management console by using the Mini-USB Type-B console
port.
For information about configuring and managing an EX Series switch by using the RJ-45
console port, see “Connecting a Device to a Management Console by Using an RJ-45
Connector” on page 194.
Before you begin connecting the switch by using the Mini-USB Type-B console port:
195Copyright © 2017, Juniper Networks, Inc.
Chapter 13: Connecting the Switch to the Network