EasyManuals Logo

Lexmark MS711 Service Manual

Lexmark MS711
949 pages
To Next Page IconTo Next Page
To Previous Page IconTo Previous Page
Page #776 background imageLoading...
Page #776 background image
3 Disconnect the sensor cable (A), and then release the latches securing the sensor.
4 Remove the sensor.
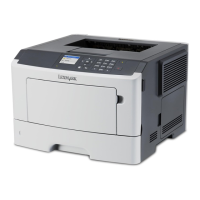
Sensor (HPU rear door interlock) removal
1 Remove the finisher left cover. See “Staple, hole punch left cover removal” on page 739.
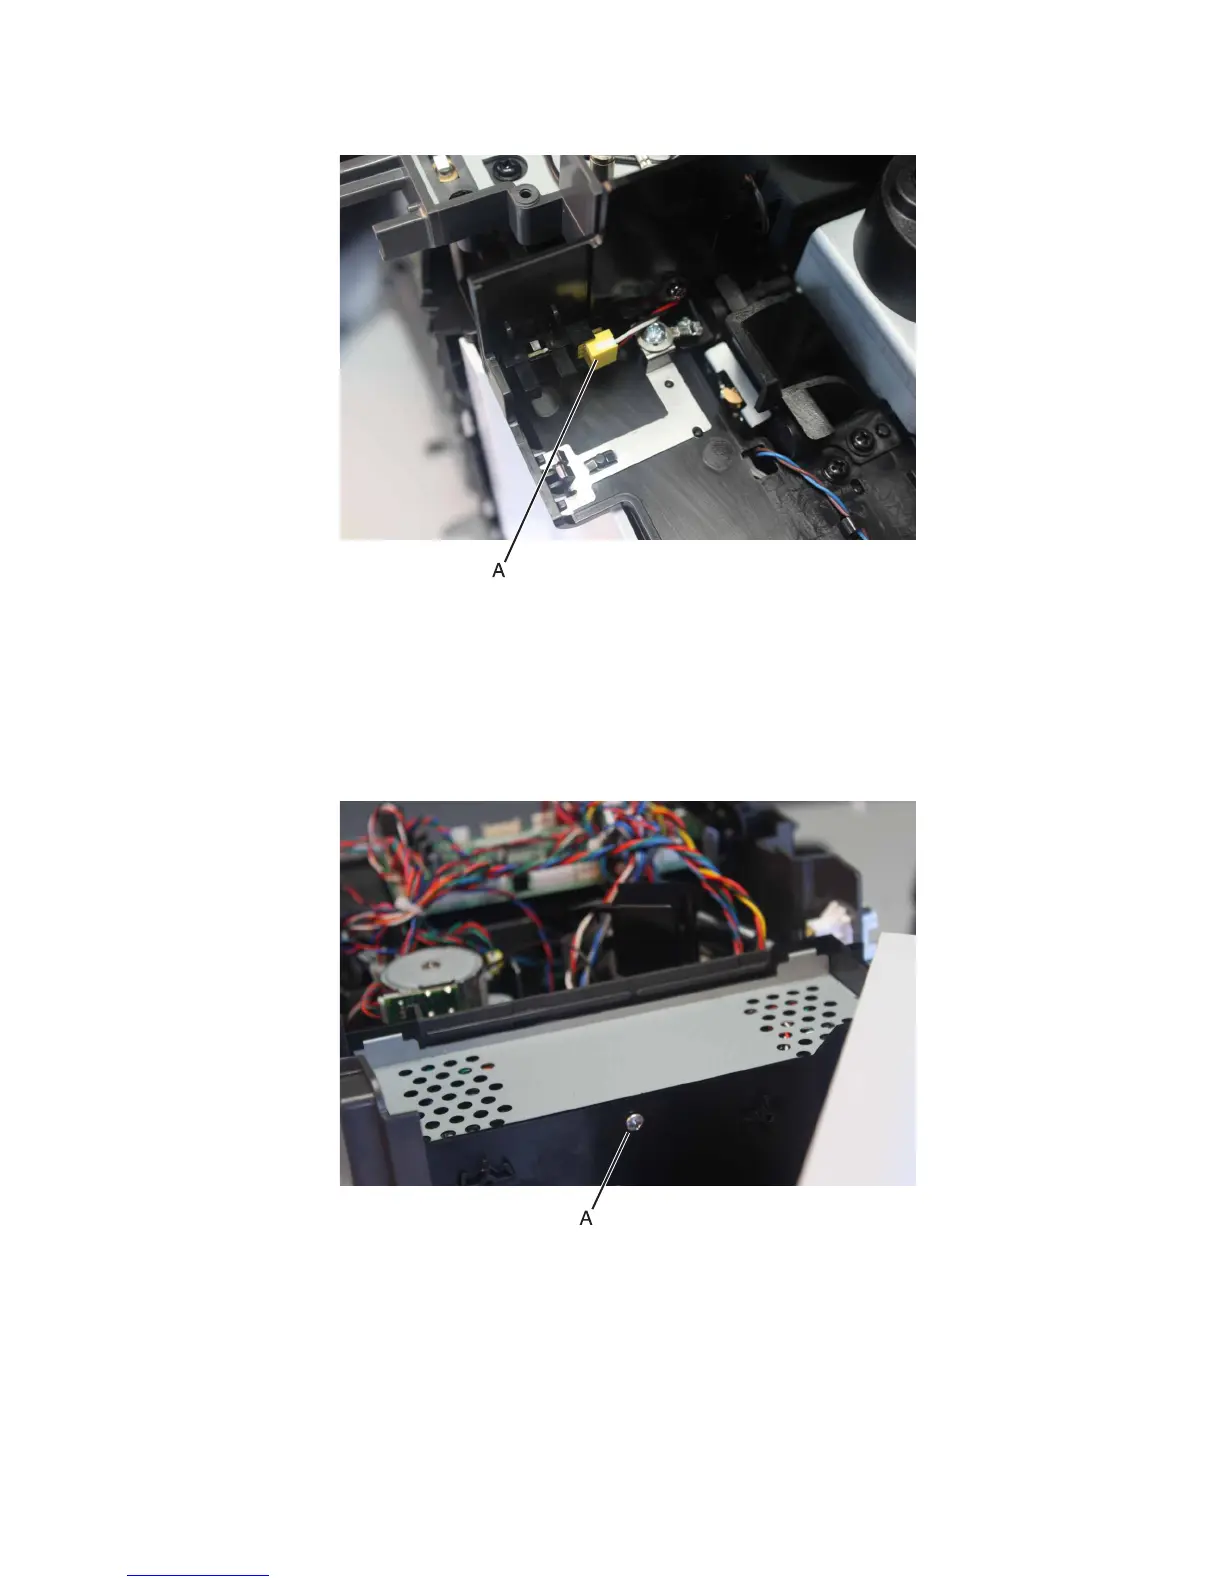
2 Remove the screw (A), and then remove the shield.
3 Remove the four screws (B) from the controller PCBA.
Note: No need to remove the controller PCBA, just move it out of the way to access the sensor underneath it.
4063
Repair information
776

Table of Contents

Other manuals for Lexmark MS711

Questions and Answers:

Question and Answer IconNeed help?

Do you have a question about the Lexmark MS711 and is the answer not in the manual?

Lexmark MS711 Specifications

General IconGeneral
BrandLexmark
ModelMS711
CategoryPrinter
LanguageEnglish

Related product manuals