3 Operate the Smart VacPrep
Degas conditions remain the same from degas to degas unless the Degas Conditions file is changed or
replaced by the operator. A manual evacuation can be performed on any idle degas port.
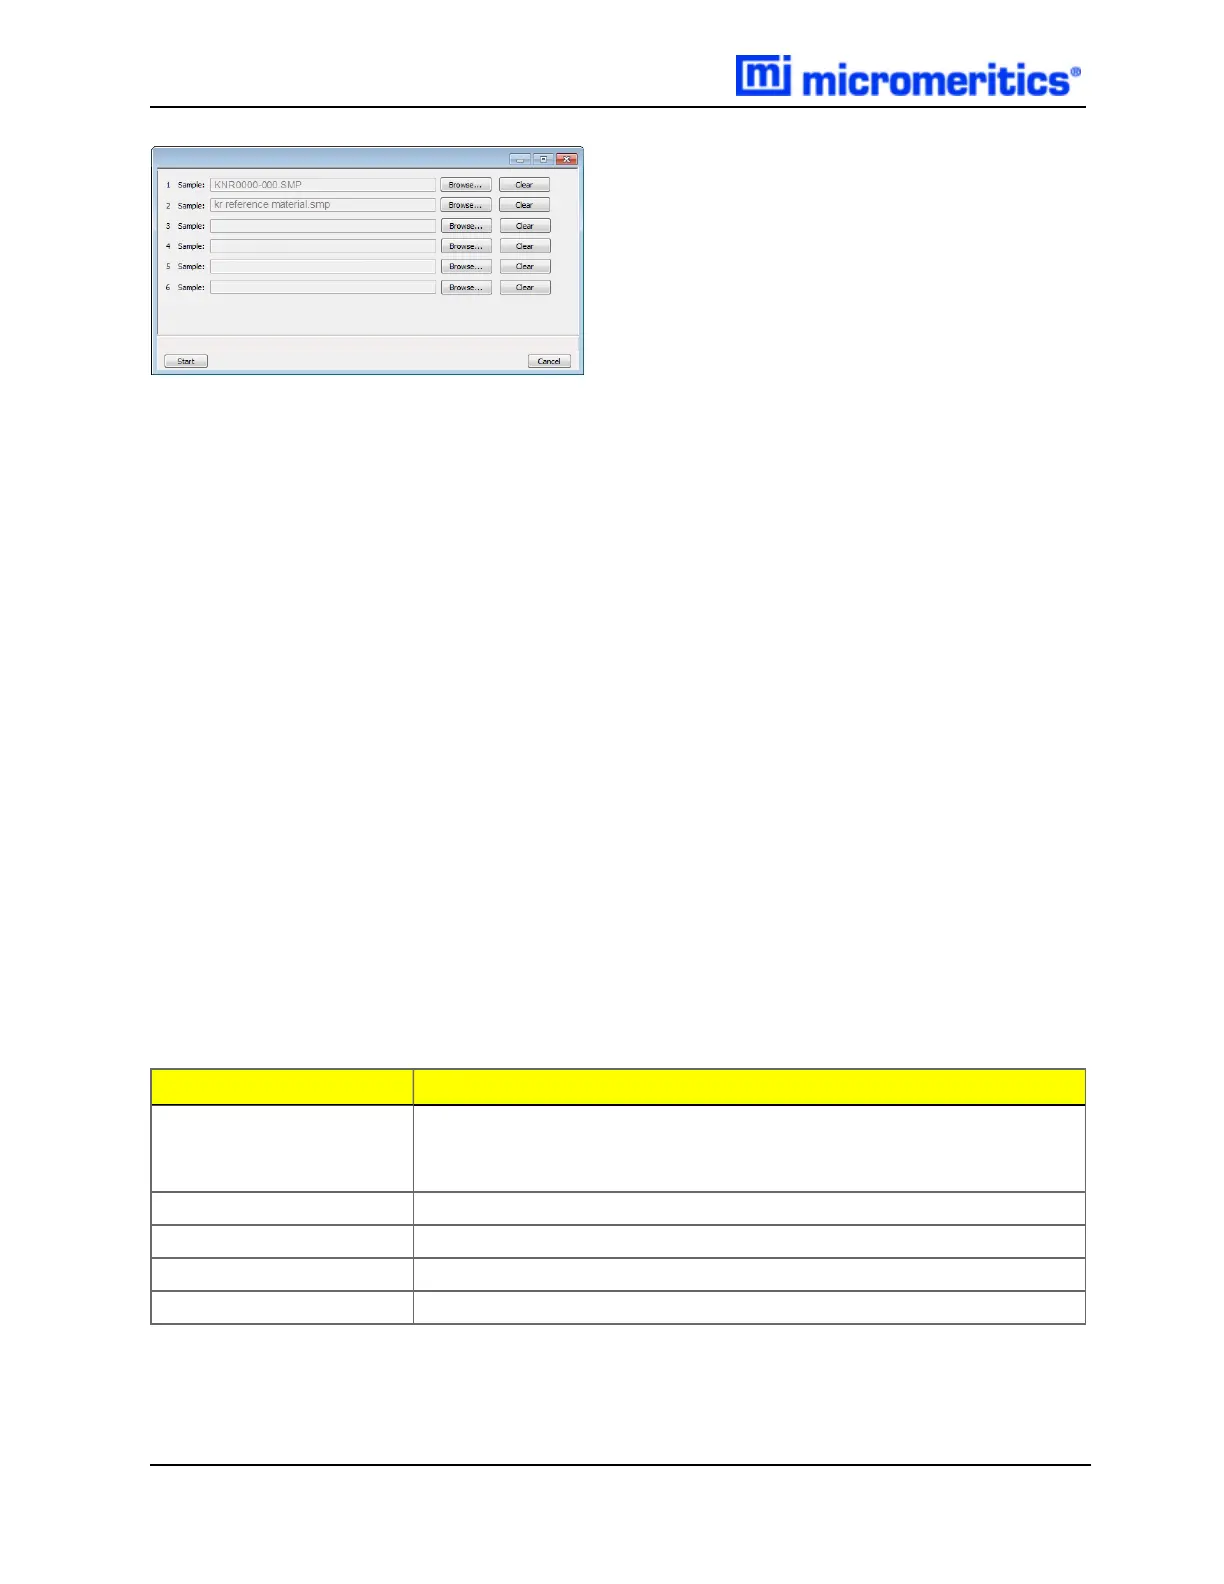
The six ports are represented by row numbers. Ports that are busy are grayed out and disabled.
1.
Click Browse to search for a sample file or a degas conditions file. Select the file, then click
Open. Do this for each Smart VacPrep port to be used.
2. If using a Check Seal, verify that the Check Seal opener is installed in the Smart VacPrep port.
Follow the instructions included with the Check Seal for instructions on inserting the opener.
3. Load the sample into the sample tube. If using a Check Seal or TranSeal, insert it into the sample
tube.
4. Load the sample on the Smart VacPrep sample port.
5. Attach the heating mantle using the metal clip. If a straight wall tube is used, heating mantles
with elastic cords are available. Refer to the Parts and Accessories section of the analyzer oper-
ator manual.
6. Install the safety shield.
7.
Click Start on the Start Degas window to begin the degas process for the selected Smart
VacPrep ports.
8.
Click Start to begin the degas process for the selected Smart VacPrep ports.
9. Allow the samples to cool before transferring them to the analysis ports to start the analysis.
Field or Button Description
Browse Searches for a file. Select a file from the Name column or from the
library, then click Open. Alternatively, double click the file name to
open (or import) the file.
Cancel Discards any changes or cancels the current process.
Clear Clears the field.
Sample Displays the path and file name of the selected .SMPfile.
Start Starts the degas operation for the selected ports.
Smart VacPrep Start Degas Fields and Buttons Table
3 - 6 Smart VacPrep Operator Manual
 Loading...


