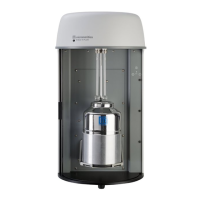
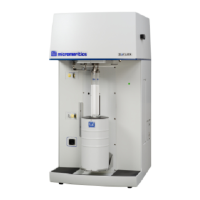
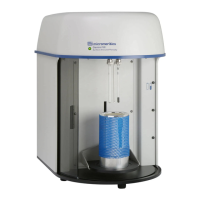
ASAP 2460 Operator’s Manual Turning On the System
246-42800-01 - Aug 2013 1-9
Turning On the System
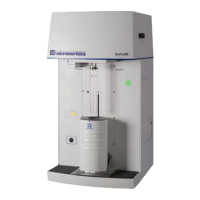
1. Place the ON/OFF switches for the computer and all peripheral devices in the ON position.
2. Place the analyzer ON/OFF switch in the ON position.
3. Turn on the pump.
Turning Off the System
1. Select Close from the System Menu or Exit from the File menu.
2. If you exit the application program
with analyses in progress, you will be warned of the operation.
If desired, you can continue exiting the application and the analyses will proceed and continue to
collect data. Reports that are queued under the Print Manager will print. As long as power is
maintained to the instrument, data are retained. If power is lost to the instrument, any data
collected which is not transferred to the computer will be lost.
3. Place the computer, monitor, and printer ON/OFF switches in the OFF position.
4. Place the analyzer Power switch in the OFF position.
Vacuum pump port For connecting the vacuum pump to the analyzer.
Ethernet connector For connecting the analyzer to the computer.
RS232 connector For connecting a SmartPrep degassing unit to the analyzer.
On/Off switch For turning the analyzer on and off. This switch also serves
as the main breaker for the analyzer; it switches off
automatically in the event of an electrical fault.
Power connector For connecting the analyzer to the power supply.
Allow the pump to warm up for two hours before starting analyses.
Always exit the application program and/or Windows before turning off the
c
omputer. Failure to do so could result in loss of data.
 Loading...
