No. 99MBG518A
H-6
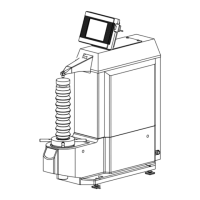
PART H : 3 Inspection and Replacement of Consumable Parts
2
Holdbothsidesoftheindenterwithyourngersandpullitdownfromthetipoftheloading
arm.
Tips
If the indenter is dirty, wipe it with a clean
cloth before storage.
①
②
No. Name
①
Tip of the loading arm
②
Indenter
3
Ensure that there is no dirt on the tip of the indenter to be mounted or on the tip of the loading
arm.
Tips
If the contact faces between the tip of the indenter and the tip of the loading arm are dirty, accurate test results
maynotbeabletobeobtained.Wipeoanydirtinadvancewithacleancloth.
4
Holdbothsidesoftheindenterwithyourngersandinserttheindenterintothetipofthe
loading arm.
Do not turn the indenter after inserting it.
This may damage the indenter.
①
②
No. Name
①
Tip of the loading arm
②
Indenter
 Loading...
