Switch Security 6-23
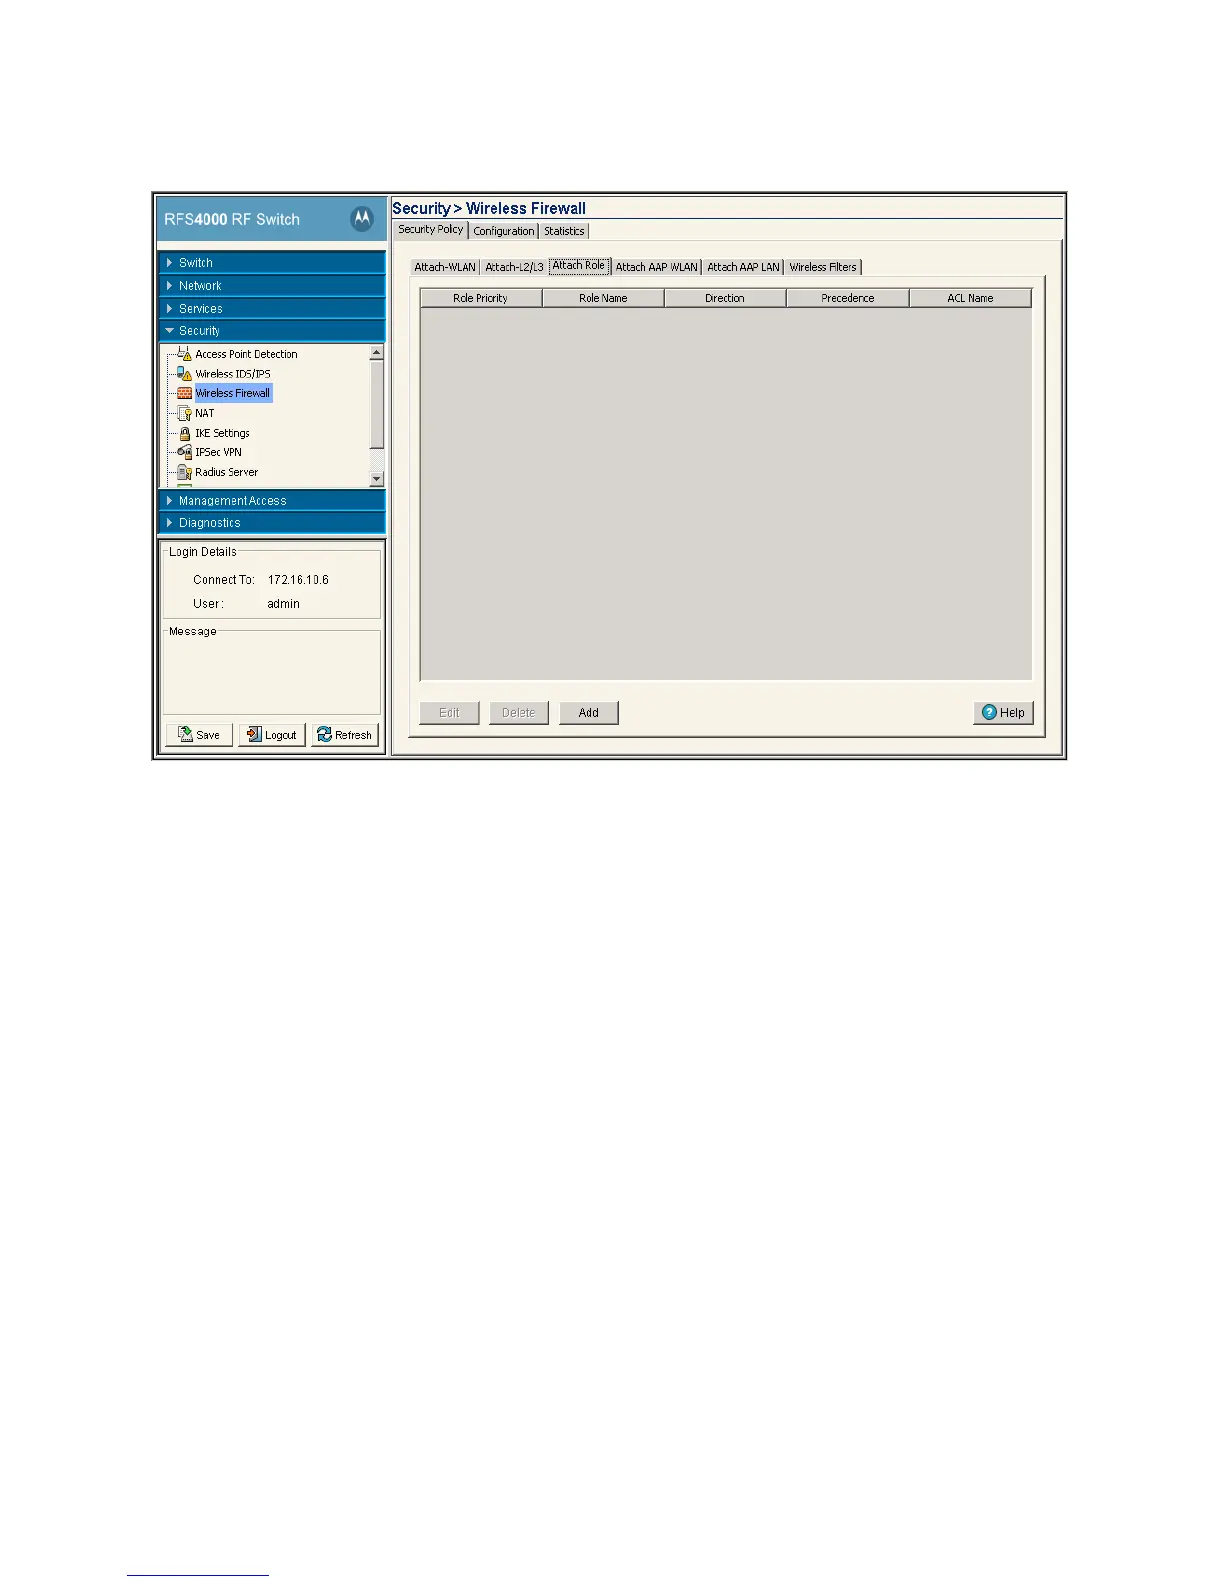
3. Click the Attach Role tab.
4. Refer to the following information as displayed within the Attach Role tab:
5. Click on Add button to add a new role. For more information, see Configuring the Role Based Firewall on
page 6-23.
6. Select an interface and click the Delete button to delete the interface configuration from the switch.
6.4.4.1 Configuring the Role Based Firewall
After creating an ACL, it can be applied to one or more Roles. On a role, acls can be applied in either an
inbound or outbound direction.
To add an ACL interface to the switch:
1. Select Security > Wireless Firewall from the main menu tree.
2. Click the Security Policy tab.
Role Priority Displays the priority assigned to the role as determined by the Sequence
Number associated with the role.
Role Name Displays the role name assigned to each role. Role names are assigned when they
are added from the Security > Wireless Firewall > Configuration > Role tab.
Direction Displays the direction which the role is associated with. The role can be
associated in either the Inbound or Outbound direction.
Precedence Displays the ACL Precedence. The ACL precedence range is 1-100.
ACL Name Displays the name of the ACL associated with each role. ACLs can be configured
on the ACL tab.
 Loading...