Chapter E: Basic repair procedures 2 Basic repair procedures
Technical manual Planmeca PlanMill 40 131
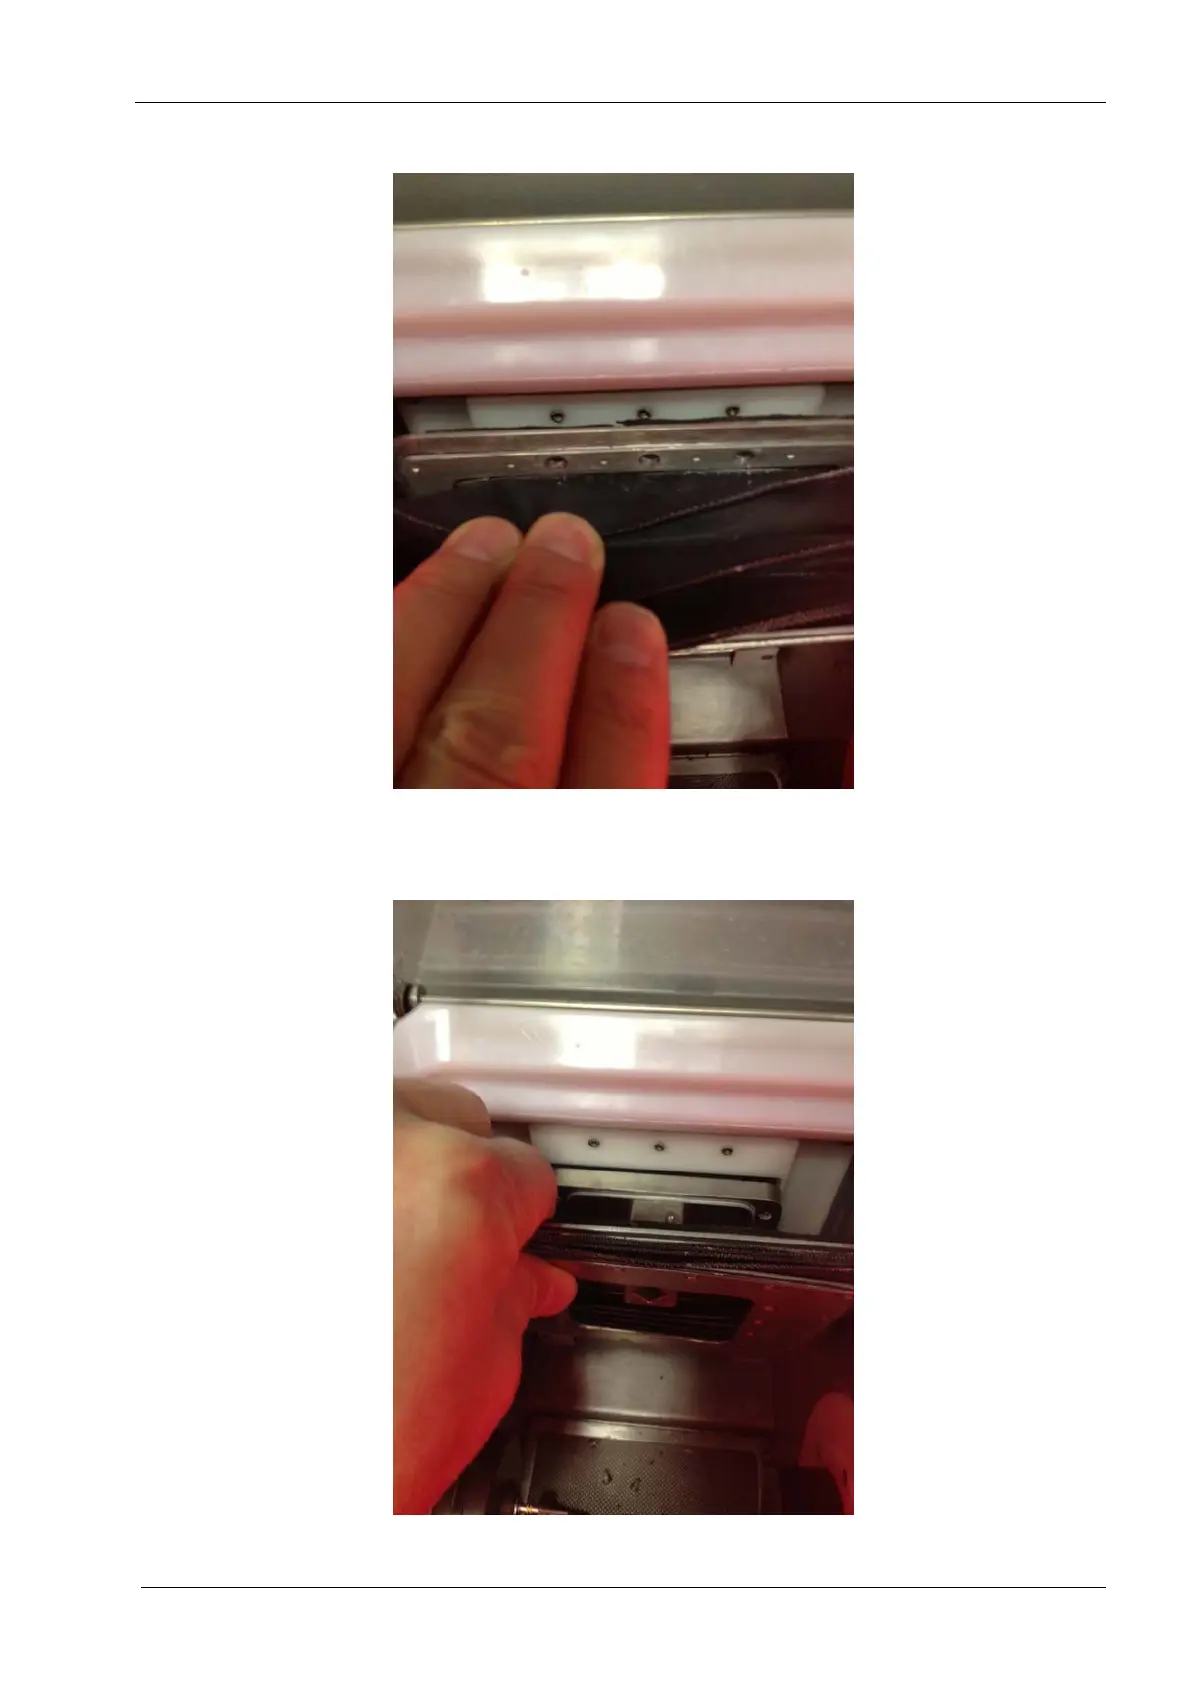
Figure 126: After removing the screws pull rear flange slightly forward.
9. Remove the (3) M3 Philips flat head screws and gently grasp the rear flange at the top
and pull it forward just enough to separate it from the sliding wall assembly.
Figure 127: Pull up and forward carefully to remove the bellows assembly
10. Using firm but careful effort pull up and forward to remove the bellows assembly.