Chapter E: Basic repair procedures 2 Basic repair procedures
Technical manual Planmeca PlanMill 40 191
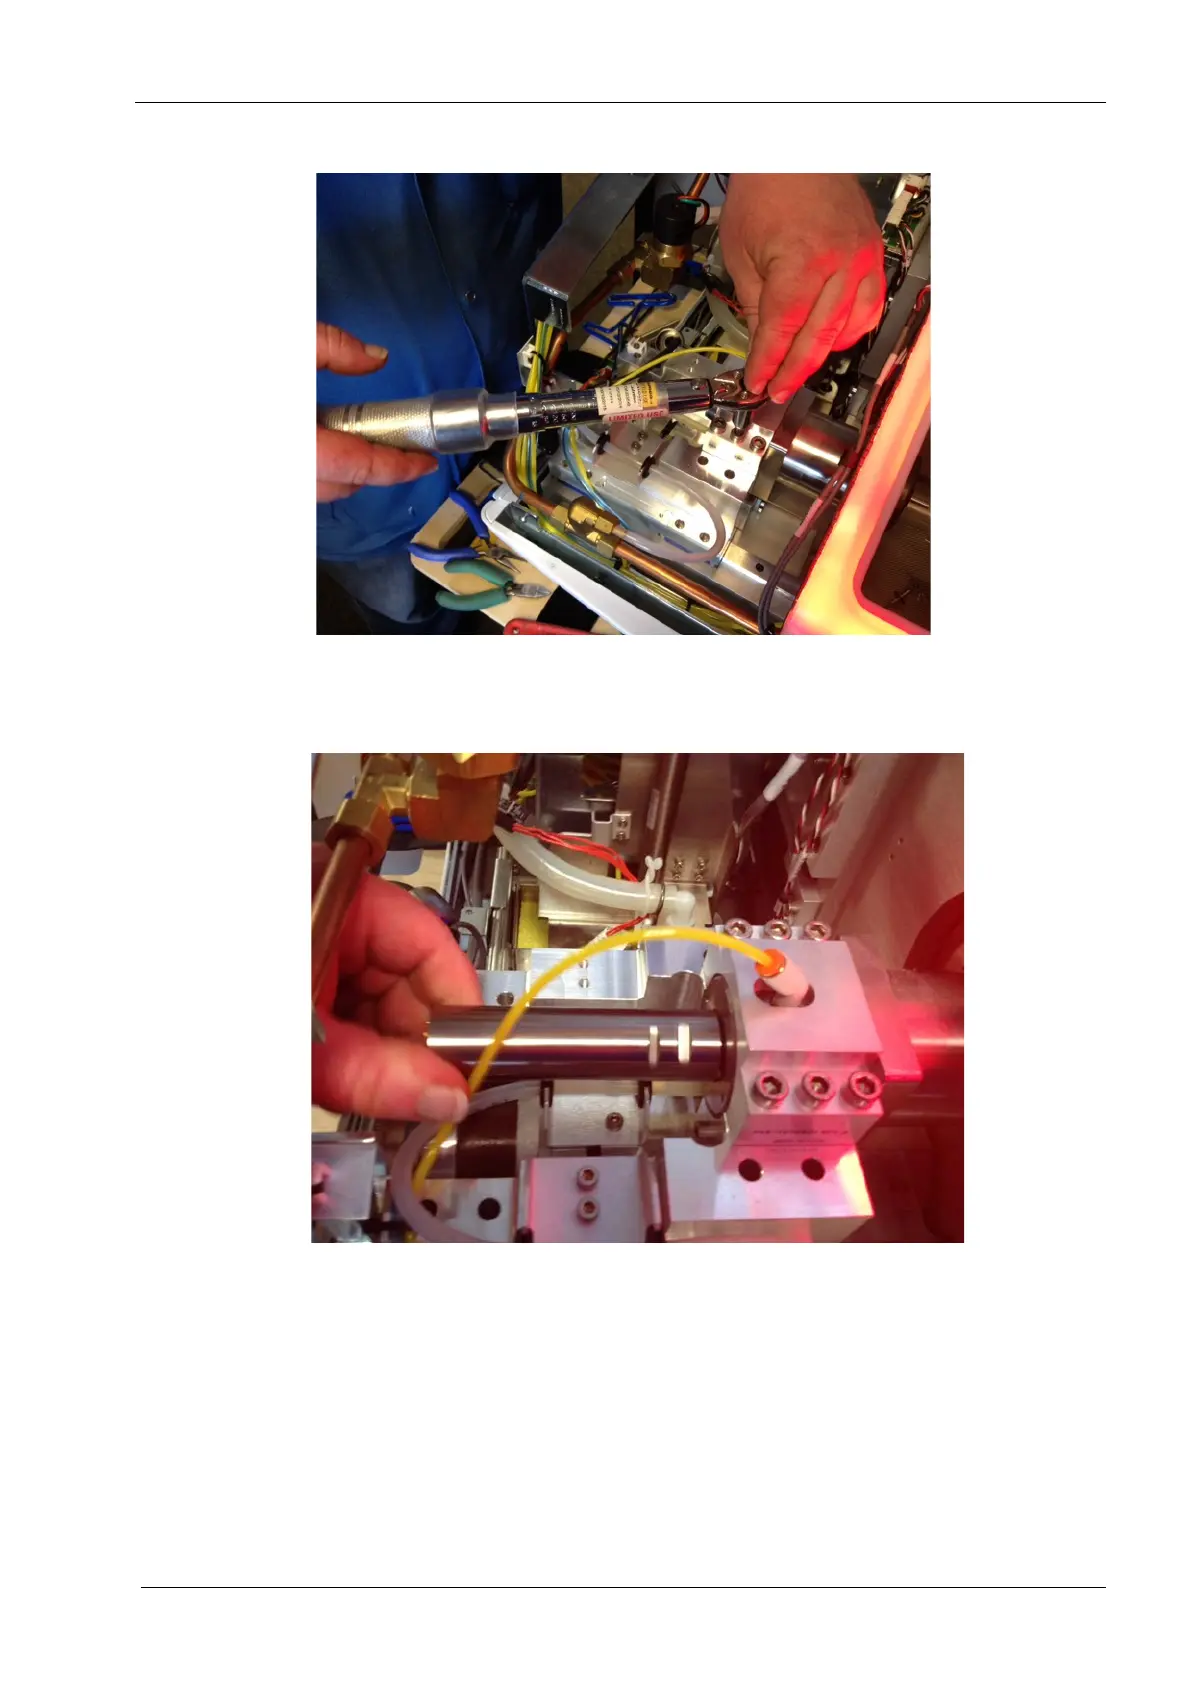
Figure 213: Torque 6 screws to secure the saddle cap
10. Torque the 6 screws on the top to 5.08 nm (45 in-lbs).
11. Reconnect the yellow tubing to the one touch fitting on the top of the spindle.
Figure 214: Attach motor to spindle
12. Screw the spindle motor into the spindle and snug using 22 mm flat open end key.