Chapter C: Calibration 2 Tool changer calibration
Technical manual Planmeca PlanMill 40 53
Figure 58: Select Auto Both
11. Lid opens; connect Calibrator to the PlanMill 40 USB port. Wait for he Calibrator
connected LED to light up then touch the Auto Both button.
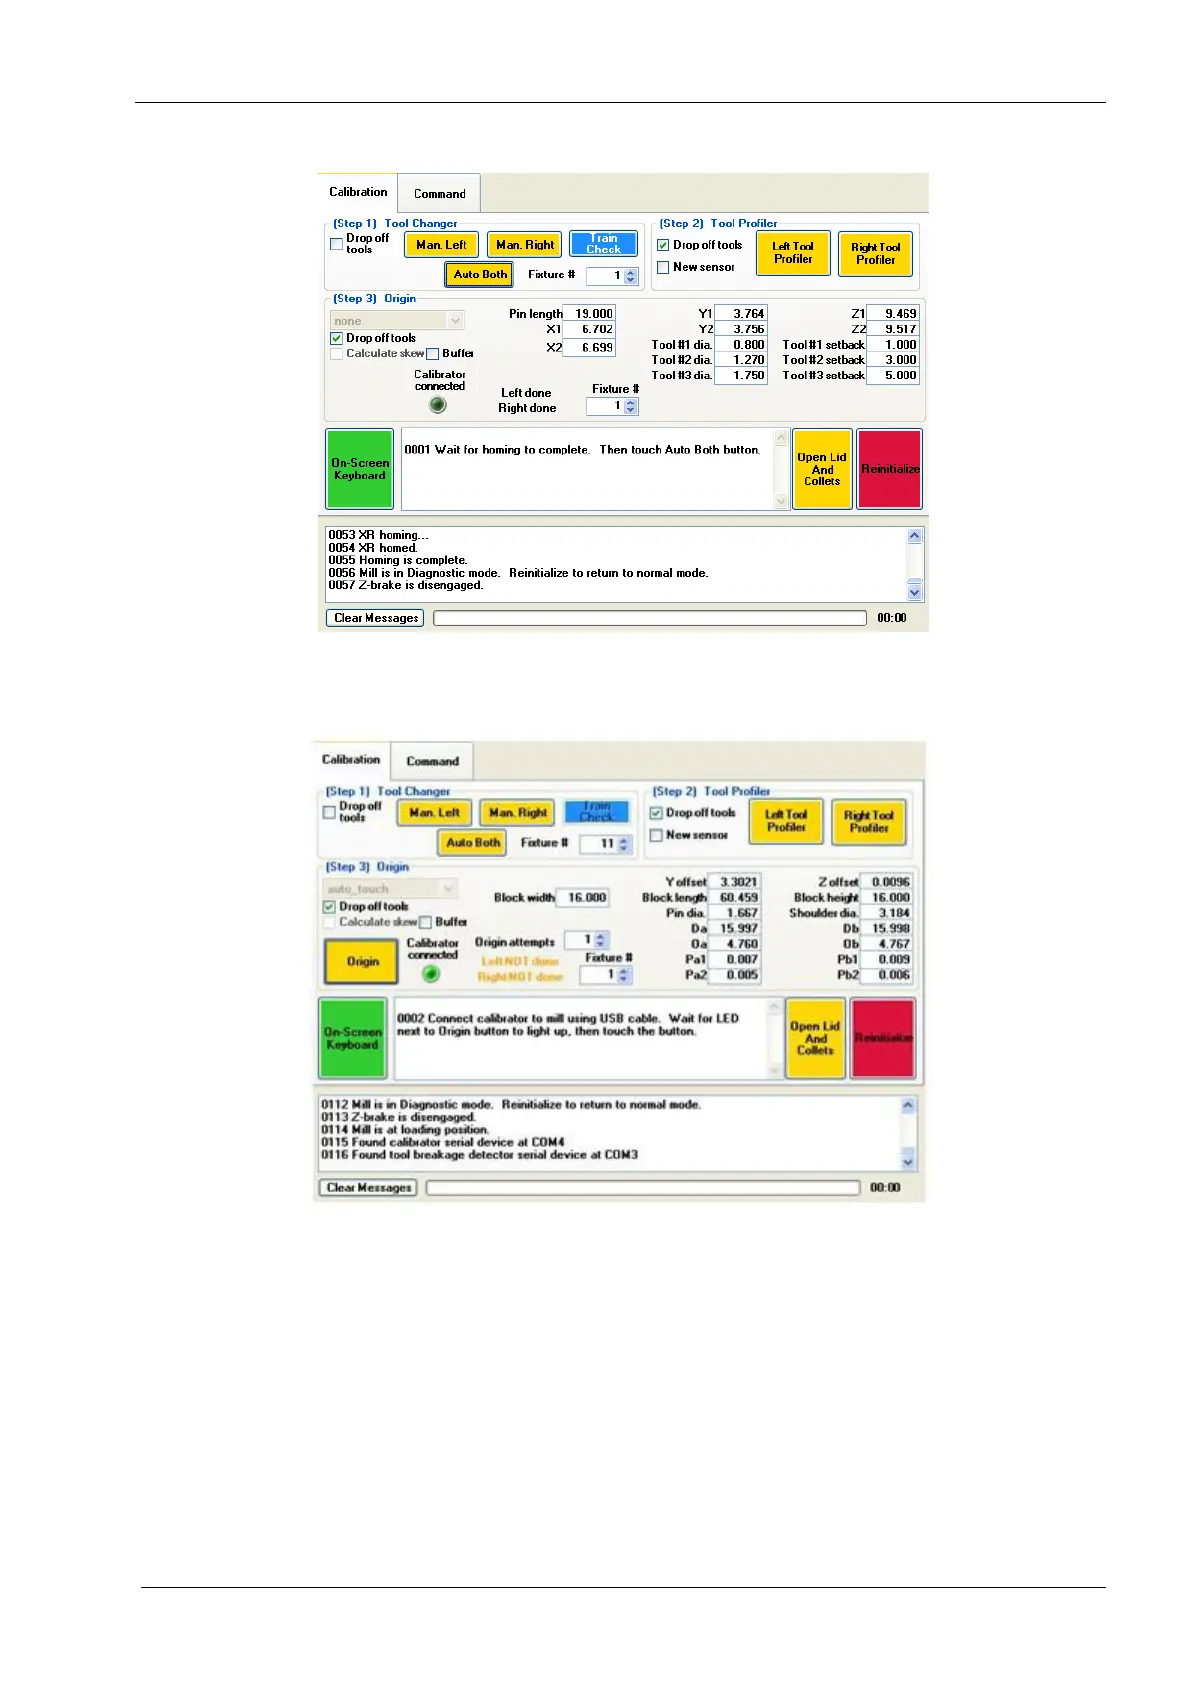
Figure 45: Connect the Calibrator
12. Insert the calibration pin in the left collet, hold in place and touch the Auto Both button
(collet closes).
When holding the calibration pin, the system automatically inserts it to the collet. Check that
the calibration pin is correctly inserted to the collet.