64 57 498 D3543
D3543.201.01.05.02 08.2016
225
Sirona Dental Systems GmbH 5Care, cleaning and maintenance by the practice team
Operating Instructions INTEGO 5.3Instruments and instrument hoses
båÖäáëÜ
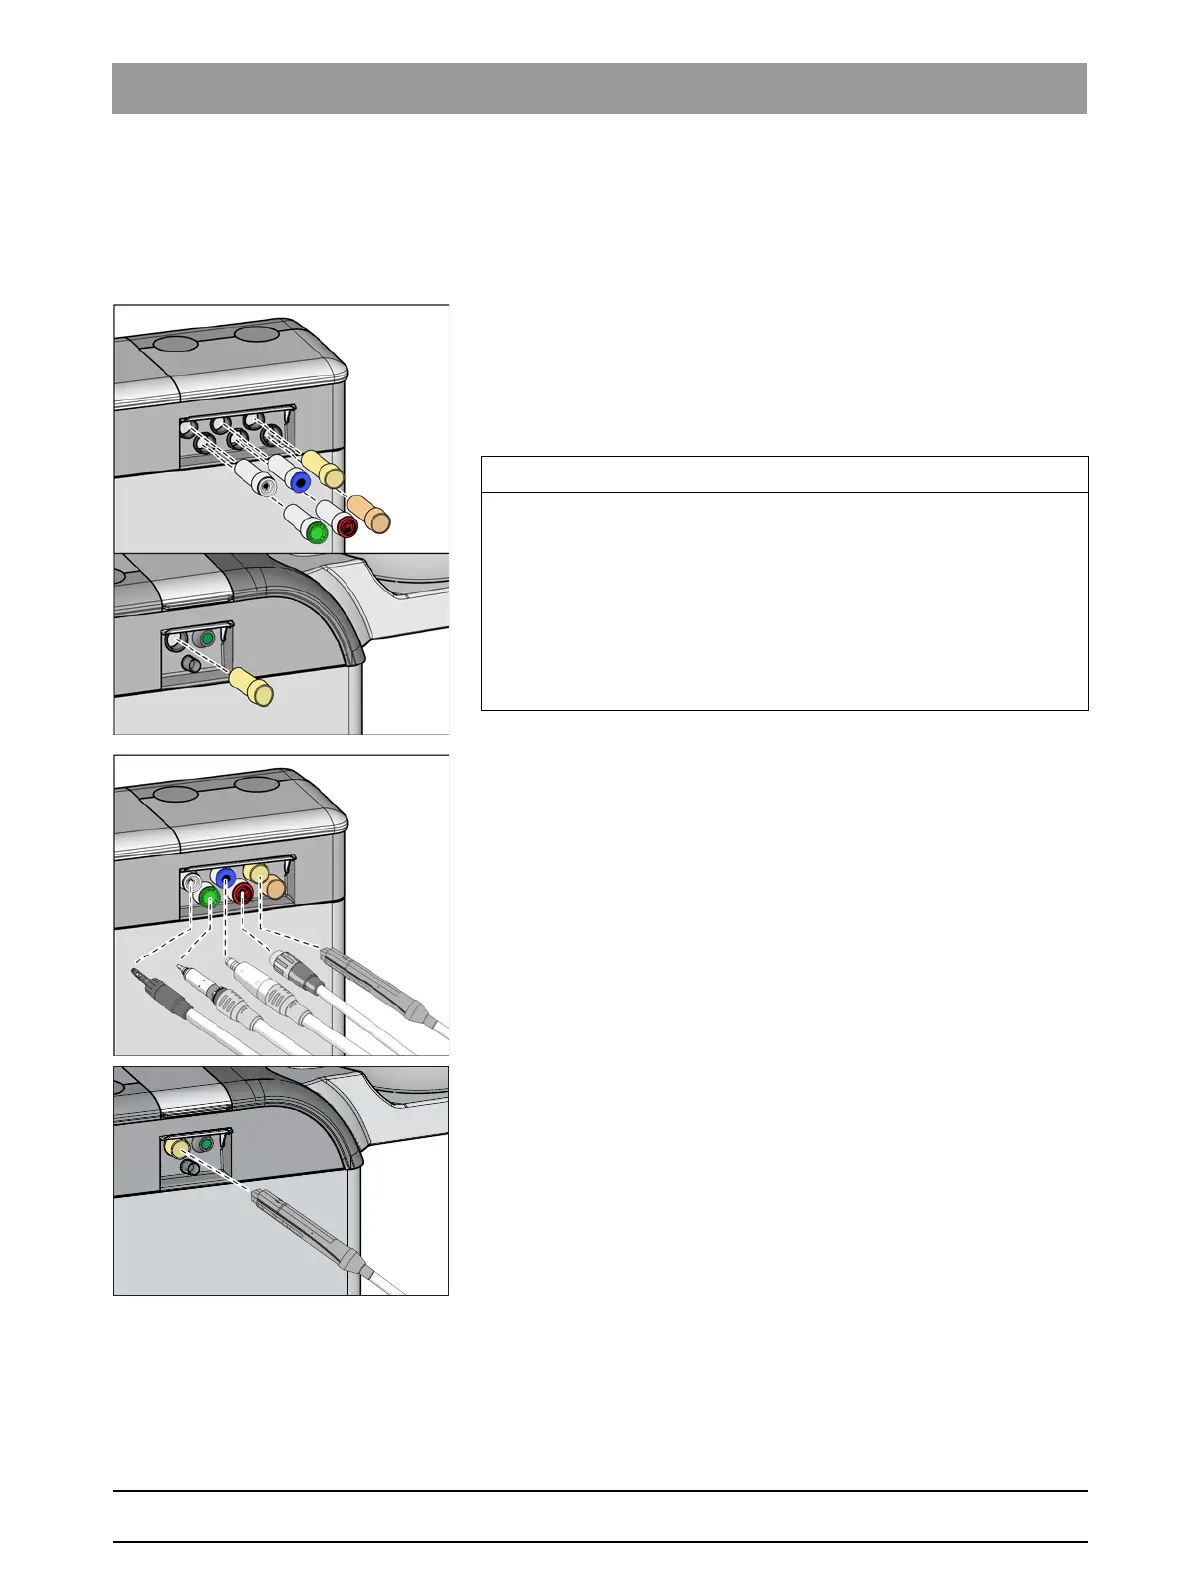
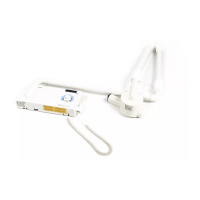
water-carrying instruments must be inserted into adapters on the water
unit.
1. Remove the SPRAYVIT sleeves from the valve bodies and the
straight and contra-angle handpieces from the water-carrying
instruments.
2. If the adapters are not yet located in the receptacles of the water unit,
insert them until they lock into place. The SPRAYVIT adapters can be
inserted only into the two receptacles on the right side of the dentist
element with the guide rib facing upward. Similarly, a SPRAYVIT
adapter must be inserted into the assistant element side. The
adapters always remain in the water unit.
3. Dentist element side: Insert the couplings of all water-carrying
treatment instruments into the adapters in the water unit (for
SPRAYVIT E: valve lever in the up position, locking knob in the down
position).
Also for INTEGO pro CS: Move the swivel arm of the instruments to
be purged into the operating position so that the weight of the
instrument hoses keeps them in this position.
4. Assistant element side: Insert the valve bodies of the SPRAYVIT E
into the adapter in the water unit.
IMPORTANT
Arrangement of adapters
The adapters for the instrument couplings are color coded:
Yellow = SPRAYVIT E, water on right button
Orange = SPRAYVIT E, water on left button
White = Highspeed handpiece
Green = Motor BL E
Blue = Motor BL ISO E (ISO interface)
Red = SIROSONIC L scaler