Enabling/Disabling the Position Display Screen
To enable or disable [DEFAULT = enable] the option to display geographic position data on
the information display, if so configured (see also Allow Position Display):
1.
Navigate to MANAGEMENT > OTHER: Front Panel.
2.
Check or uncheck the Allow Position Display checkbox.
3.
Click Submit or Apply.
4.4.3 Displaying Local Time
This applies to NetClock 9483 units only.
After physical product installation, a commonly requested scenario is for NetClock to display
local time on the front panel (rather than UTC time). To learn more about this feature, see "Con
figuring the Front Panel" on page257.
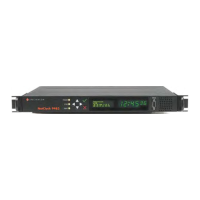
4.4.4 Creating a Login Banner
A login banner is a customizable banner message displayed on the login page of the NetClock
Web UI. The login banner can be used e.g., to identify a unit.
Figure 4-2: Login banner (example)
To configure a login banner:
1.
Navigate to the MANAGEMENT > Network Setup screen.
2.
In the Actions panel on the left, click Login Banner.
3.
The Network Access Banner window will display. Check the box Enable Custom Ban
ner.
4.
In the Plain Text Banner text box, type in your custom text.
Note: The Plain Text Banner is used to create a message for all interactive
login interfaces (Web UI, telnet, SSH, FTP, SFTP, serial, etc.). It is not
required to include HTML tags.
5.
Optionally, you may also use the Web Interface Banner text box.
4.4 Miscellanous Typical Configuration Tasks
CHAPTER 4 • NetClock User Reference Guide Rev. 16
261