Note: Units are shipped with the default IP address of 10.10.201.1 with subnet
mask 255.255.255.0.
IMPORTANT NOTES:
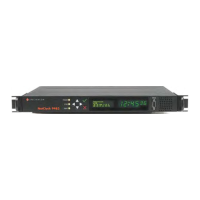
On the NetClock 9489 unit DHCP is disabled by default.
As the NetClock 9489 does not include a front panel LCD that can display status information, it
is important to read the following sections carefully in order to successfully determine or con
figure a NetClock 9489‘s network settings. This can be achieved via one of the following meth
ods:
Configuration via serial cable connection
Configuration via crossover cable
Configuring a temporary IP address remotely.
Setting Up an IP Address via Serial Cable
The serial port can be used to make configuration changes (such as the network settings),
retrieve operational data (e.g., GNSS receiver information) and log files, or to perform oper
ations such as resetting the admin password.
For this task, you will need a serial cable, and a Personal Computer (PC) with a command-line
user interface program (CLI) installed on it, such as TeraTerm
®
, PuTTY
®
, or similar.
To configure an IP address via the serial port:
1.
Connect a pinned straight-thru standard DB9M to DB9F RS232 serial cable to a PC run
ning PuTTY, Tera Term, or HyperTerminal, and to your NetClock.
Use the following protocol parameters:
Bits per second: 9600
Data bits: 8
Parity: None
Stop bits: 1
Flow control: None
For more information on using the serial port connection, see "Setting up a Terminal
Emulator" on page381.
2.
The serial port is account and password protected. Login to NetClock with a user
account that has “admin” group rights, such as the default spadmin account (the
default password is admin123).
2.11 Setting up an IP Address
CHAPTER 2 • NetClock User Reference Guide Rev. 16
45