185
OUTPUTTING RESULTS
The settable items are changed according to reports.
When the input data exceeds the "Comments" display range on a report, all of the input comments
are not displayed.
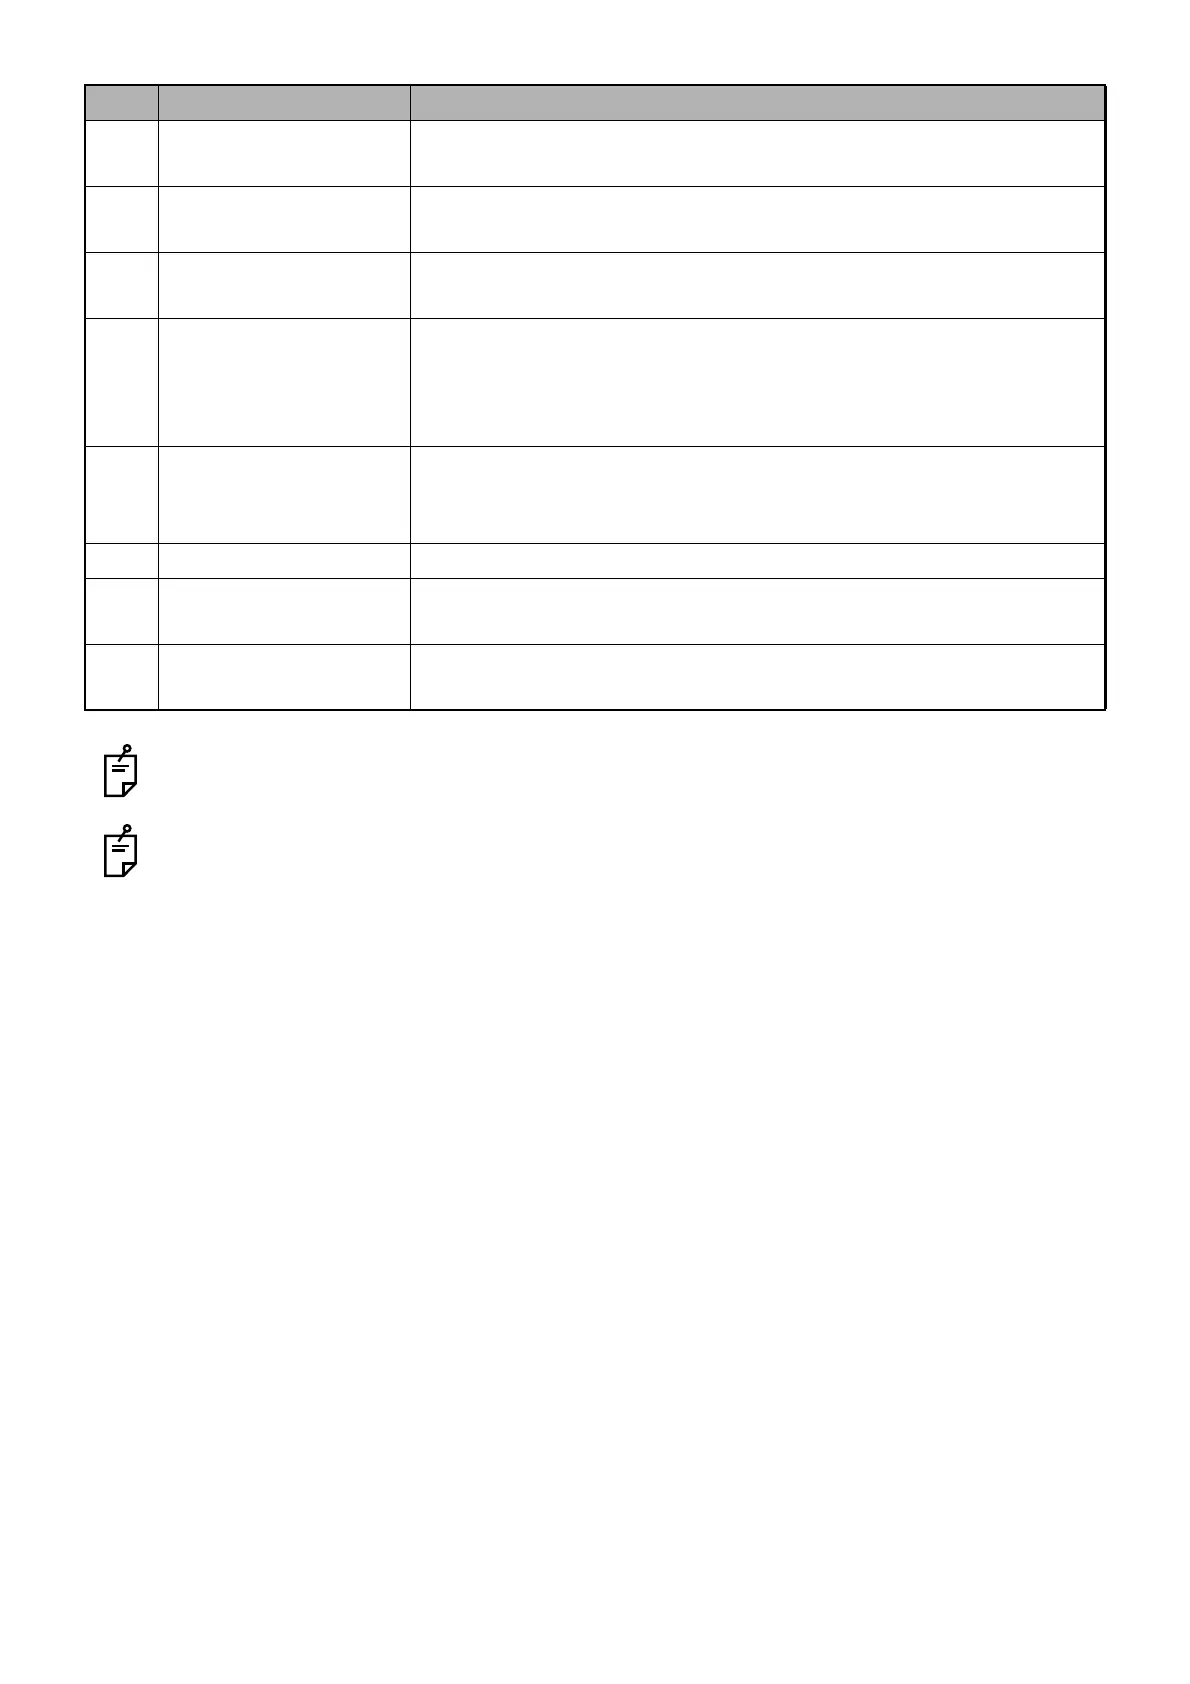
A-5 [Comments] button The comment input screen appears and you can enter data into the
"Comments" column.
A-6 Selection of the mea-
surement result display
Select whether the result of the measurement performed on the
"View" screen should be displayed or not.
A-7 Report display selector
button
Change a report to be displayed, from "Macula report" to "GCL
report" and vice versa.
A-8 Selection of tomogram
to be displayed
Select a tomogram to be displayed on the report. Select a tomogram
to be displayed with "Slice Position 1/2". In the case of binocular data
printing, the check boxes of "Right eye" and "Left eye" are valid.
Specify right or left eye whose tomogram should be selected.
A-9 Selection of printing
direction
Select the direction for printing. By selecting "Portrait", a vertically
long report is printed. By selecting "Landscape", a horizontally long
report is printed.
A-10 Selection of color mode Select the color mode for the tomogram to be displayed on the report.
A-11 Selection of fundus
image overlay display
Select whether the fundus image should be overlaid on "Retina Map"
or not.
A-12 Selection of grid to be
displayed
Select a grid to be displayed on the report.
ID Name Description