Installing the Hydraulic Hoses and Tubes (O-Ring
Face Seal)
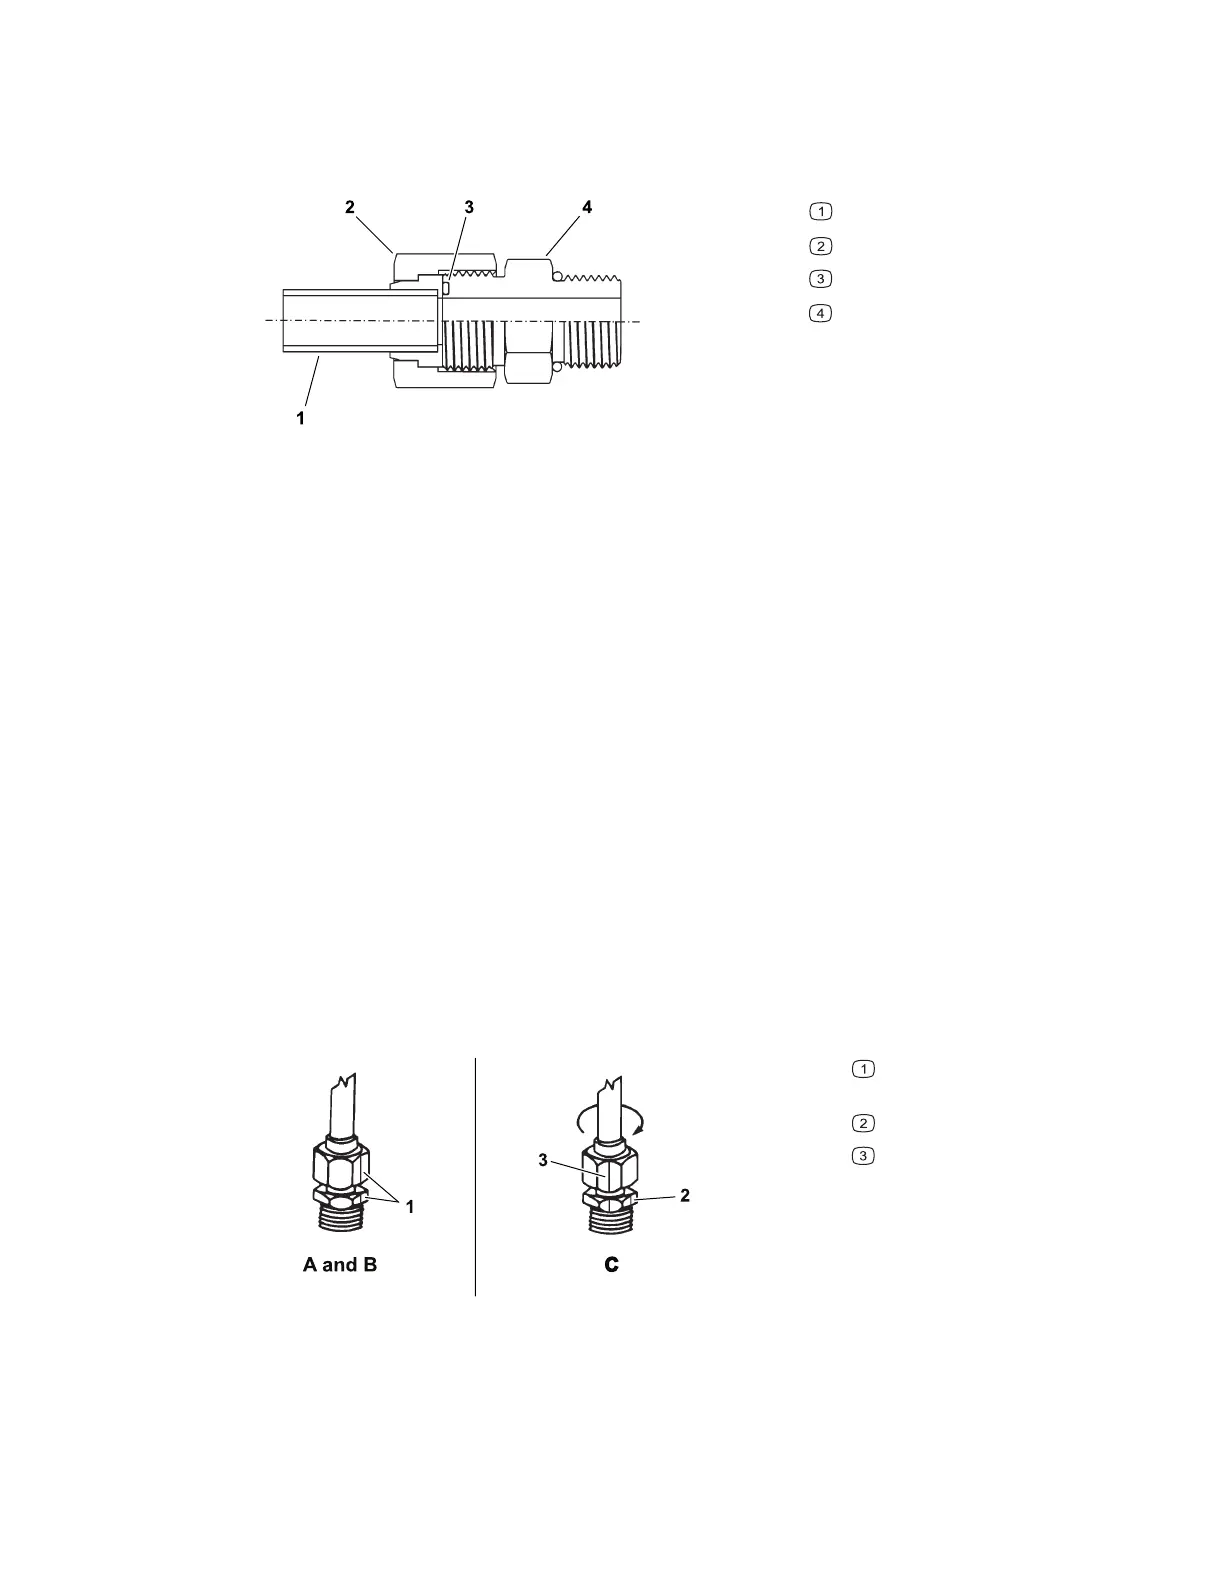
Figure 22
G212099
Tube or hose
Swivel nut
O-ring
Fitting body
1. Ensure that all threads, sealing surfaces of the hose, and fittings are free of burrs,
nicks, scratches, or unwanted material.
Note: The hydraulic hoses require 90 durometer Viton O-rings.
2. To help prevent a hydraulic leak, replace the face seal O-ring when a connection
is opened. Ensure the O-ring is installed and correctly seated in the groove of the
fitting. Lightly lubricate the O-ring with clean hydraulic fluid.
3. Align the hose/tube against the body of the fitting so that the flat face of the hose/
tube sleeve fully touches the O-ring in the fitting as shown.
4. Use your hand to thread the swivel nut onto the fitting. While you hold the hose/
tube in alignment with a wrench, use a torque wrench to tighten the swivel nut to
the recommended torque value within the specified range of torque values; refer
to the Hose/Tube Installation Torque Table, page 5–11. This procedure to tighten
the swivel nut requires a drive-adapter wrench (e.g., crowfoot wrench).
Note: It may be necessary to use a drive-adapter wrench (e.g., crowfoot wrench)
to install a hydraulic fitting; refer to Calculating the Torque Values When Using a
Drive-Adapter Wrench, page 2–5
Figure 23
G212098
Mark swivel nut and
fitting body
Initial position
Final position
Hydraulic System: Hydraulic Hoses Page 5–10 4520P
09.40003Rev 00