Chapter 29 Loop Guard
GS2220 Series User’s Guide
291
29.2 Lo o p G ua rd Se tup
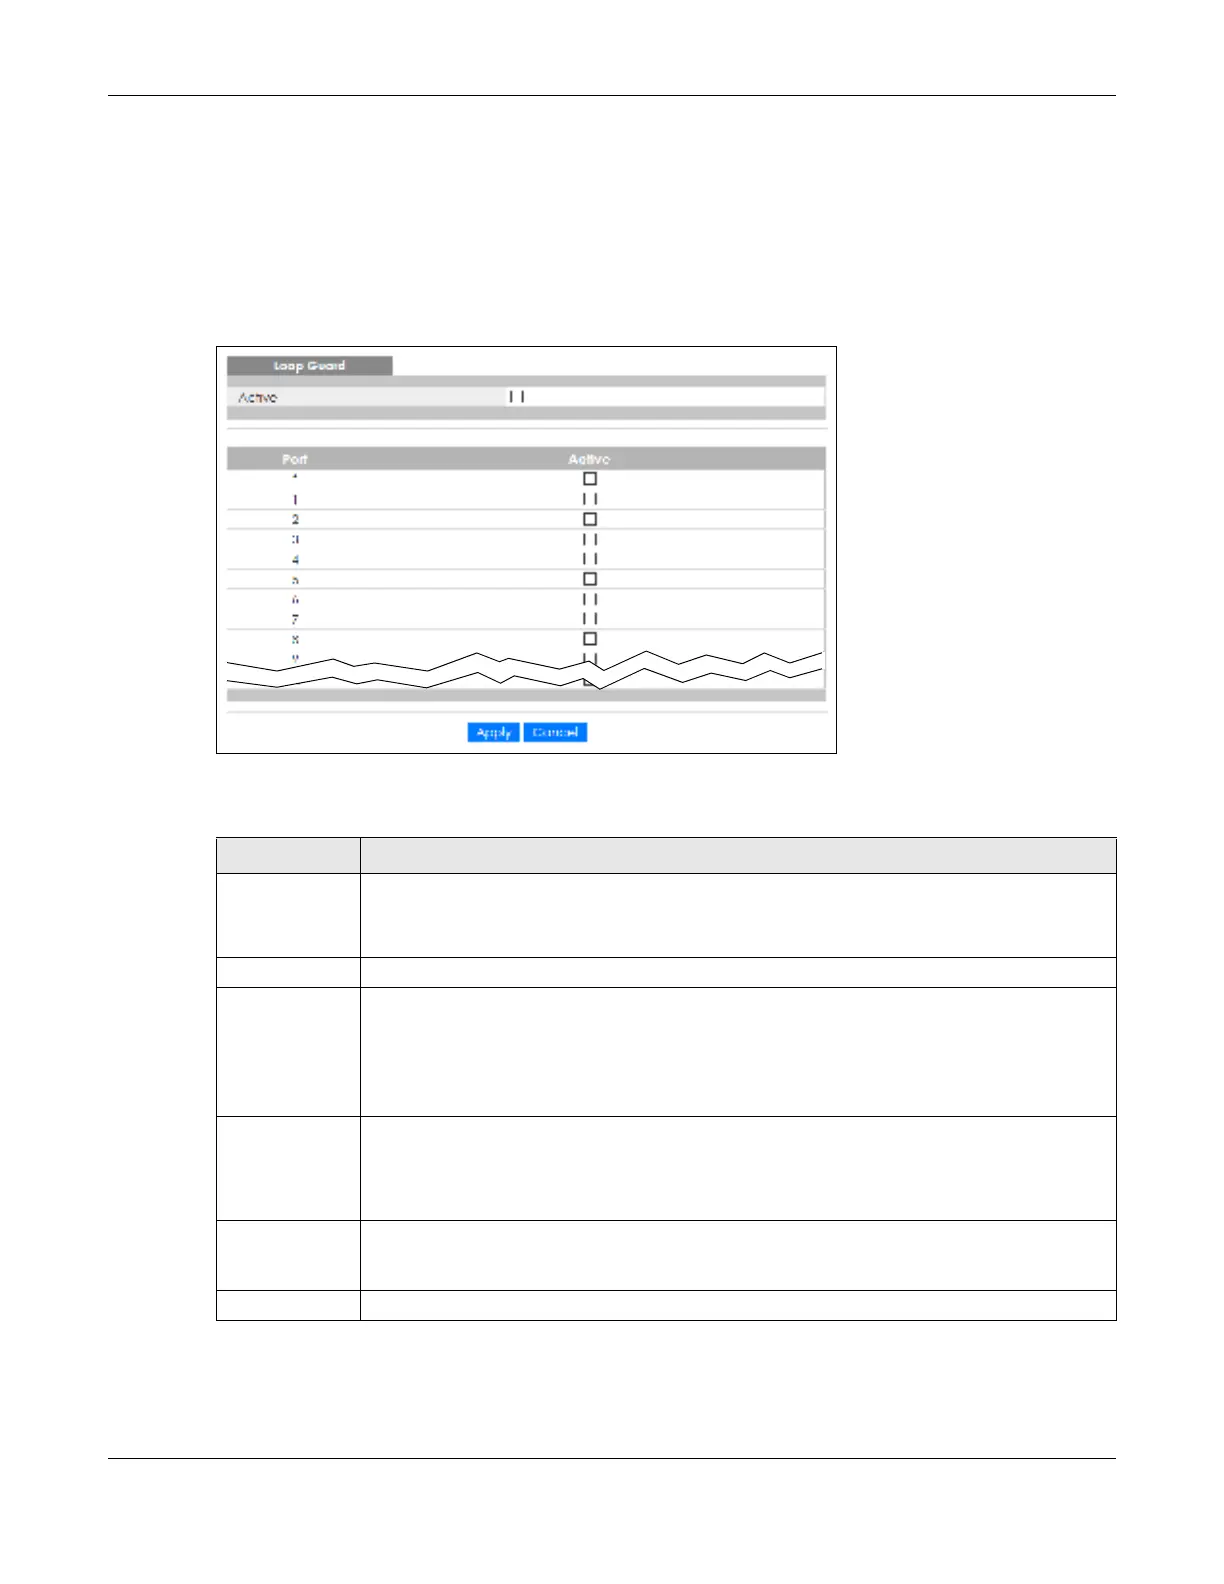
Click Adva nc e d Applic a tio n > Lo o p G ua rd in the navigation panel to display the screen as shown.
Note: The loop guard feature cannot be enabled on the ports that have Spanning Tree
Protocol (RSTP, MRSTP or MSTP) enabled.
Fig ure 222 Advanced Application > Loop Guard
The following table describes the labels in this screen.
Table 139 Advanced Application > Loop Guard
LABEL DESCRIPTIO N
Active Select this option to enable loop guard on the Switch.
The Switch generates syslog, internal log messages as well as SNMP traps when it shuts down a
port through the loop guard feature.
Port This field displays the port number.
* Settings in this row apply to all ports.
Use this row only if you want to make some settings the same for all ports. Use this row first to set
the common settings and then make adjustments on a port-by-port basis.
Note: Changes in this row are copied to all the ports as soon as you make them.
Active Select this check box to enable the loop guard feature on this port. The Switch sends broadcast
and multicast probe packets from this port to check if the switch it is connected to is in loop
state. If the switch that this port is connected is in loop state the Switch will shut down this port.
Clear this check box to disable the loop guard feature.
Apply Click App ly to save your changes to the Switch’s run-time memory. The Switch loses these
changes if it is turned off or loses power, so use the Sa ve link on the top navigation panel to save
your changes to the non-volatile memory when you are done configuring.
Cancel Click Ca nc e l to begin configuring this screen afresh.
 Loading...