Chapter 8
8.2 Connecting to the controller
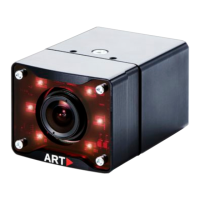
Scan LAN To scan your LAN simply select Scan followed by pressing Update list. You
will see a list of all controllers in your network. Controllers set in grey are used by other
remote PCs in your network (→ IP address listed at the bottom of the welcome screen),
whereas available controllers for connection are set in black. If not, please refer to chap-
ter 9 on page 192. You can easily identify your controller by comparing the serial number
(e.g. 301422021 listed in column Serial) with the corresponding one on its label (back of
the ART controller, refer to 5.2 on page 55). You can also sort the list by host-name Name
or IP-addresses IP. Select the appropriate entry of your controller and press Connect.
i
If the Controller is not connected via an ethernet cable or no DHCP
server is running, it will use its fall-back IP address (IP 192.168.0.1,
subnet mask 255.255.255.0)
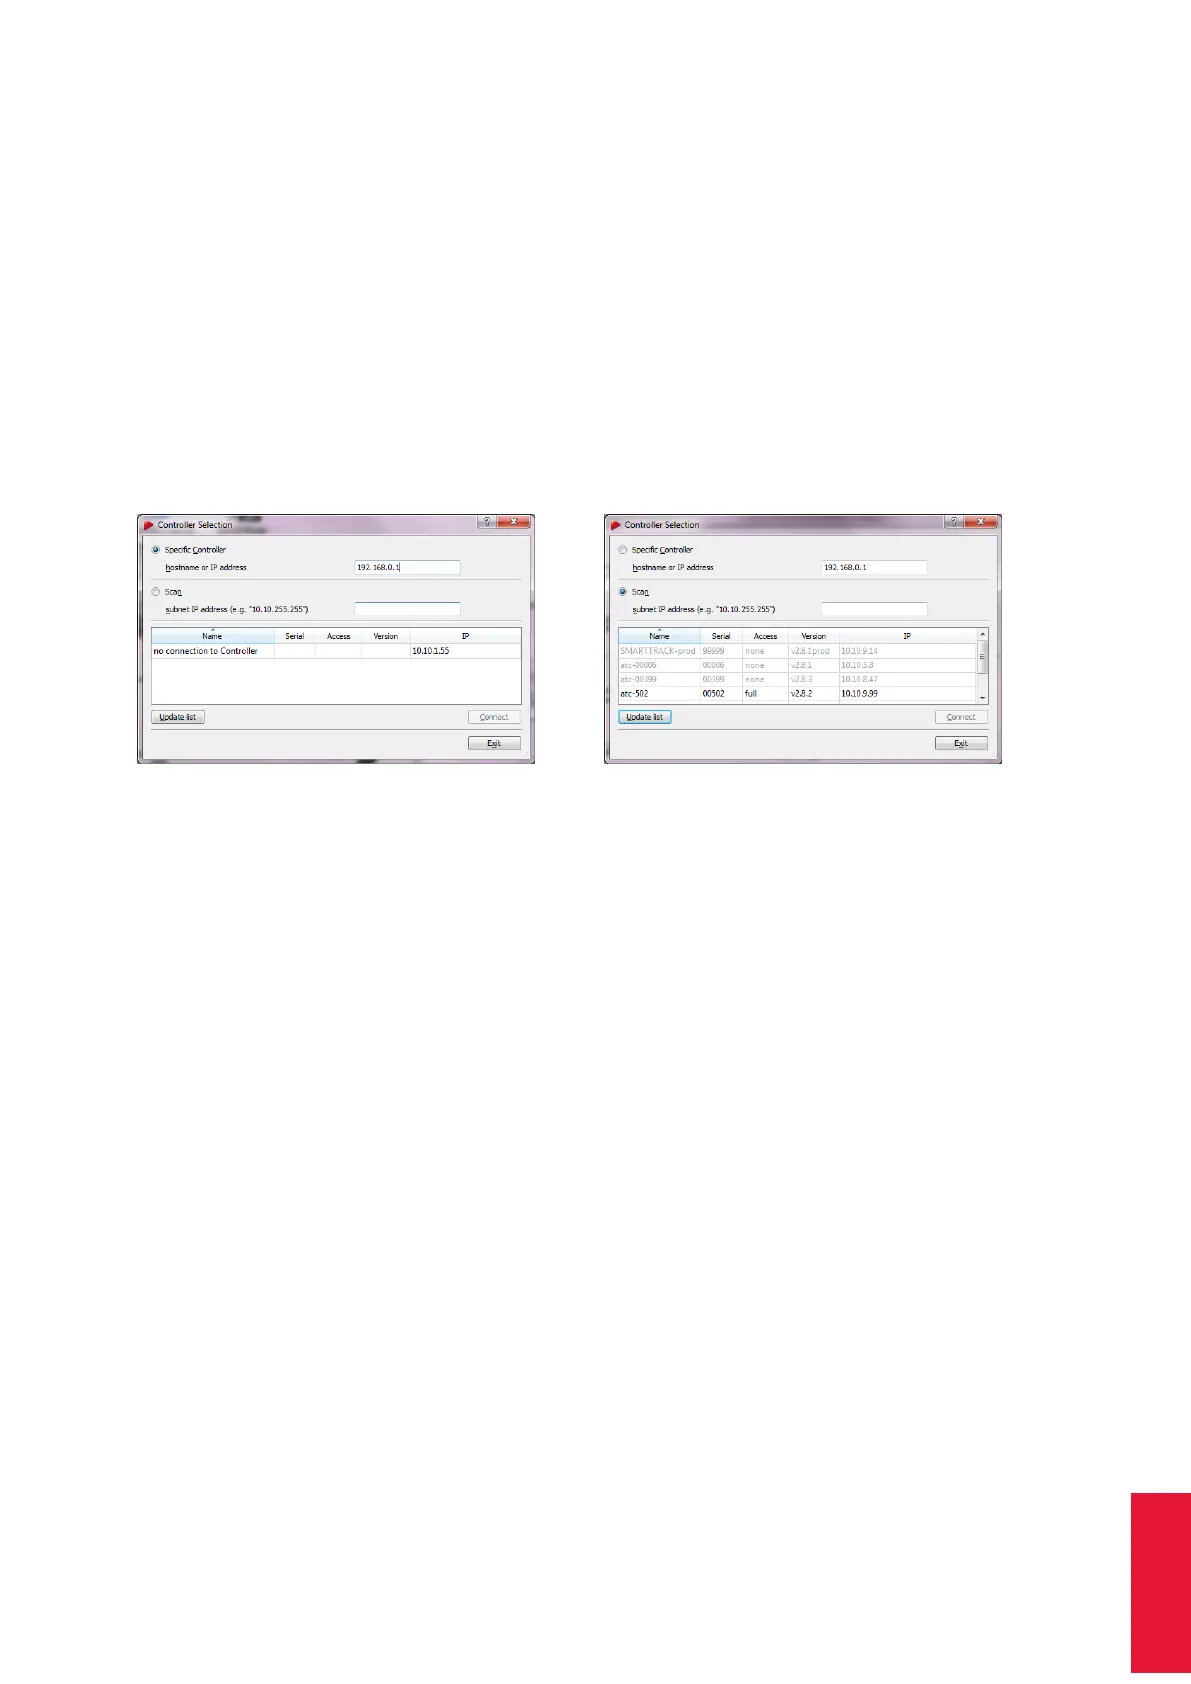
(a) specific controller (b) scan the network
Figure 8.2: Controller Selection
8.2.2 Setting a static IP address inside DTrack2
If necessary you can set your controller to a static IP address using the following steps:
• start up DTrack2 and connect to your controller by pressing Connect
• select the menu Settings → Controller (see figure 8.20 on page 163)
• untick the checkbox DHCP client
• enter IP address and subnet mask
• optionally, enter gateway and nameserver
• reboot the controller for the changes to take effect
Z
Please note that these settings are not part of your personal configura-
tion. Changes in this menu will affect all users of your controller! Your
controller may become unreachable with wrong IP settings! Refer to
chapter 8.2.4 on page 127).
In case you need to specify a static IP address without using the frontend (e.g. installation
on network without DHCP service available) please refer to chapter 8.2.4 on page 127
instead.
125