Chapter 6
6.4 Fingertracking
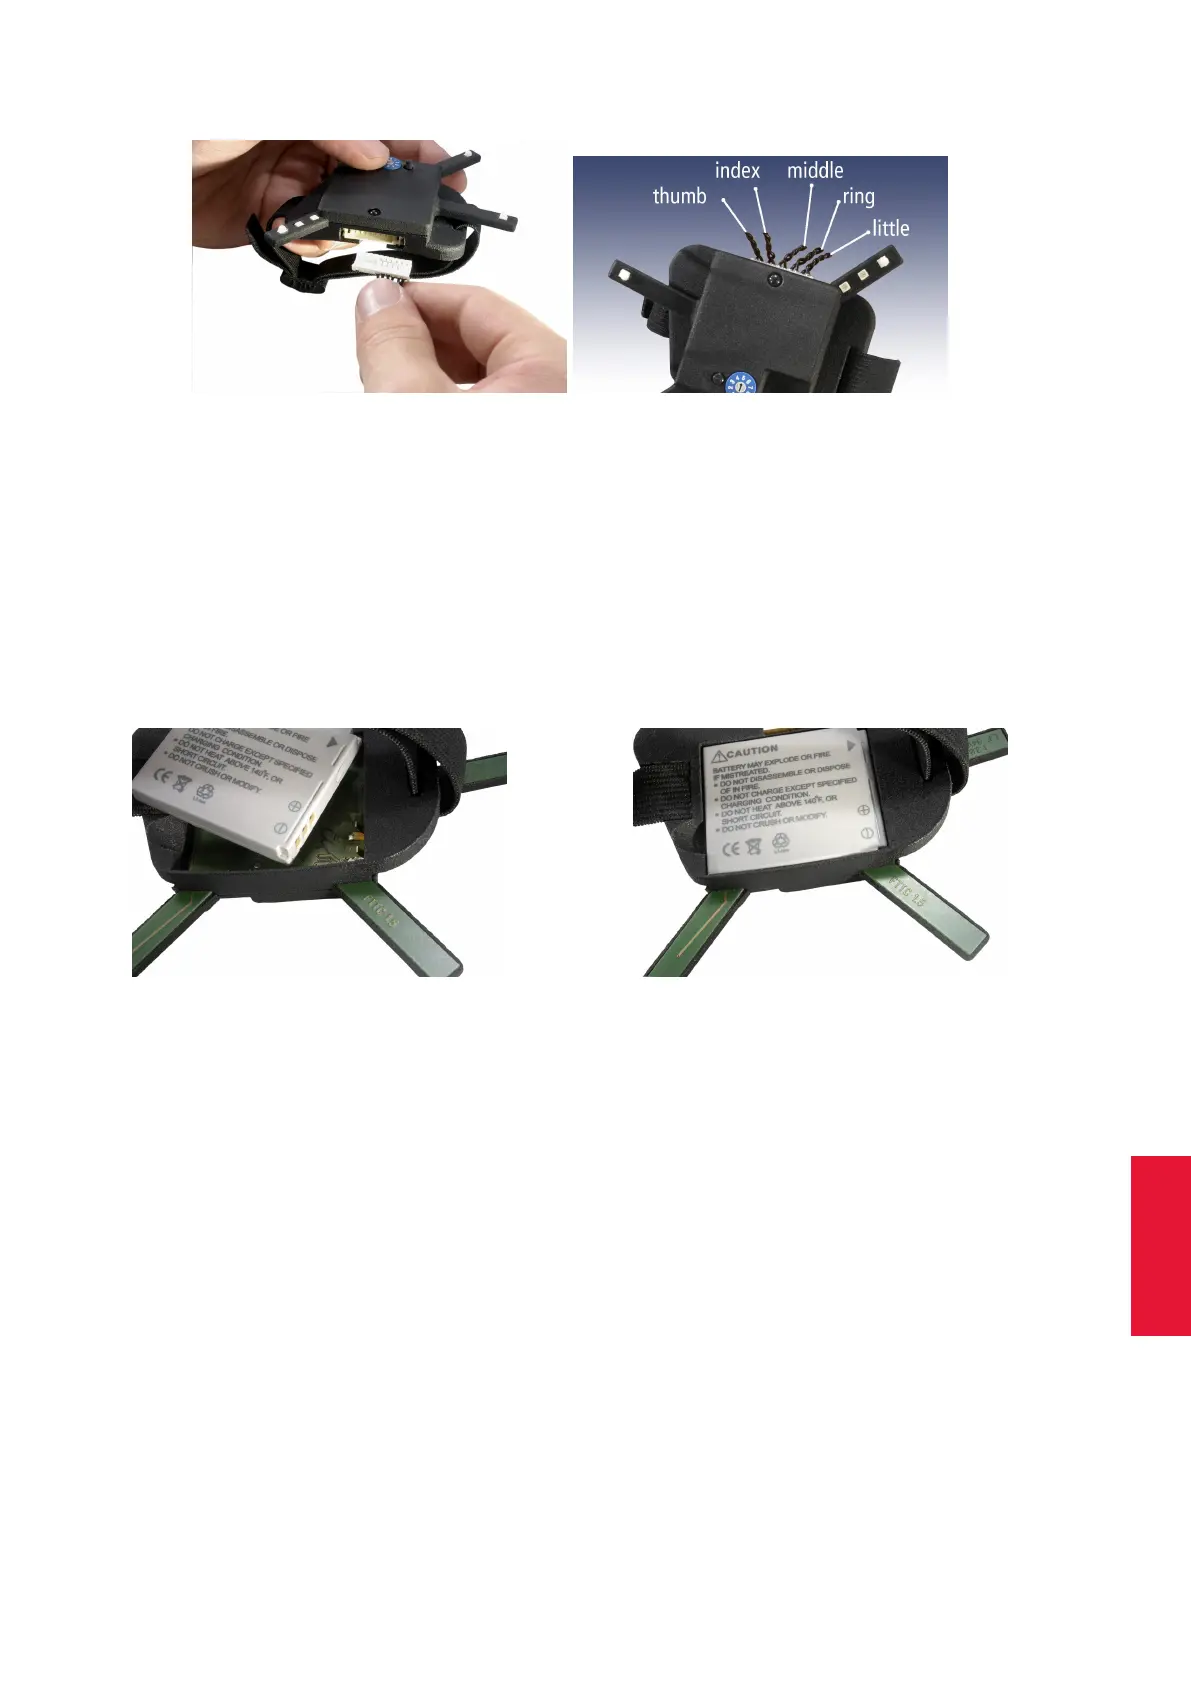
(a) The finger thimble connector in detail (b) Order of flexible wires (5-finger AR
thimble set)
Figure 6.14: Connecting the finger thimble set to the hand unit (Standard Fingertracking)
Inserting the battery The Fingertracking hardware uses standard CAN NB-4L batter-
ies. Two batteries and a charger are provided with each Fingertracking set. Squeeze the
battery in with the contact side first and then gently press the battery into the compart-
ment until it snaps in (see figure 6.15 on page 87).
(a) Step1 (b) Step2
Figure 6.15: Inserting the battery (Standard Fingertracking)
6.4.2 FINGERTRACKING2 Tactile Hand Targets
On/Off switch Move the switch to the On position to turn on the hand target unit. In
case of tactile thimbles the vibration motors are started sequentially as a test run. After
turning on the hand target unit, the status LEDs light up according to table 6.7 on page
88. In Off position the hand target is switched off completely. There is no need to remove
the batteries when not using the devices for a longer period of time.
L/H switch Move the switch to H position to increase the brightness of the IR LEDs if
necessary, e.g. at far distances (> 3 m) from the cameras or instead extend the battery
87