Chapter 6
6.3 Flystick Installation
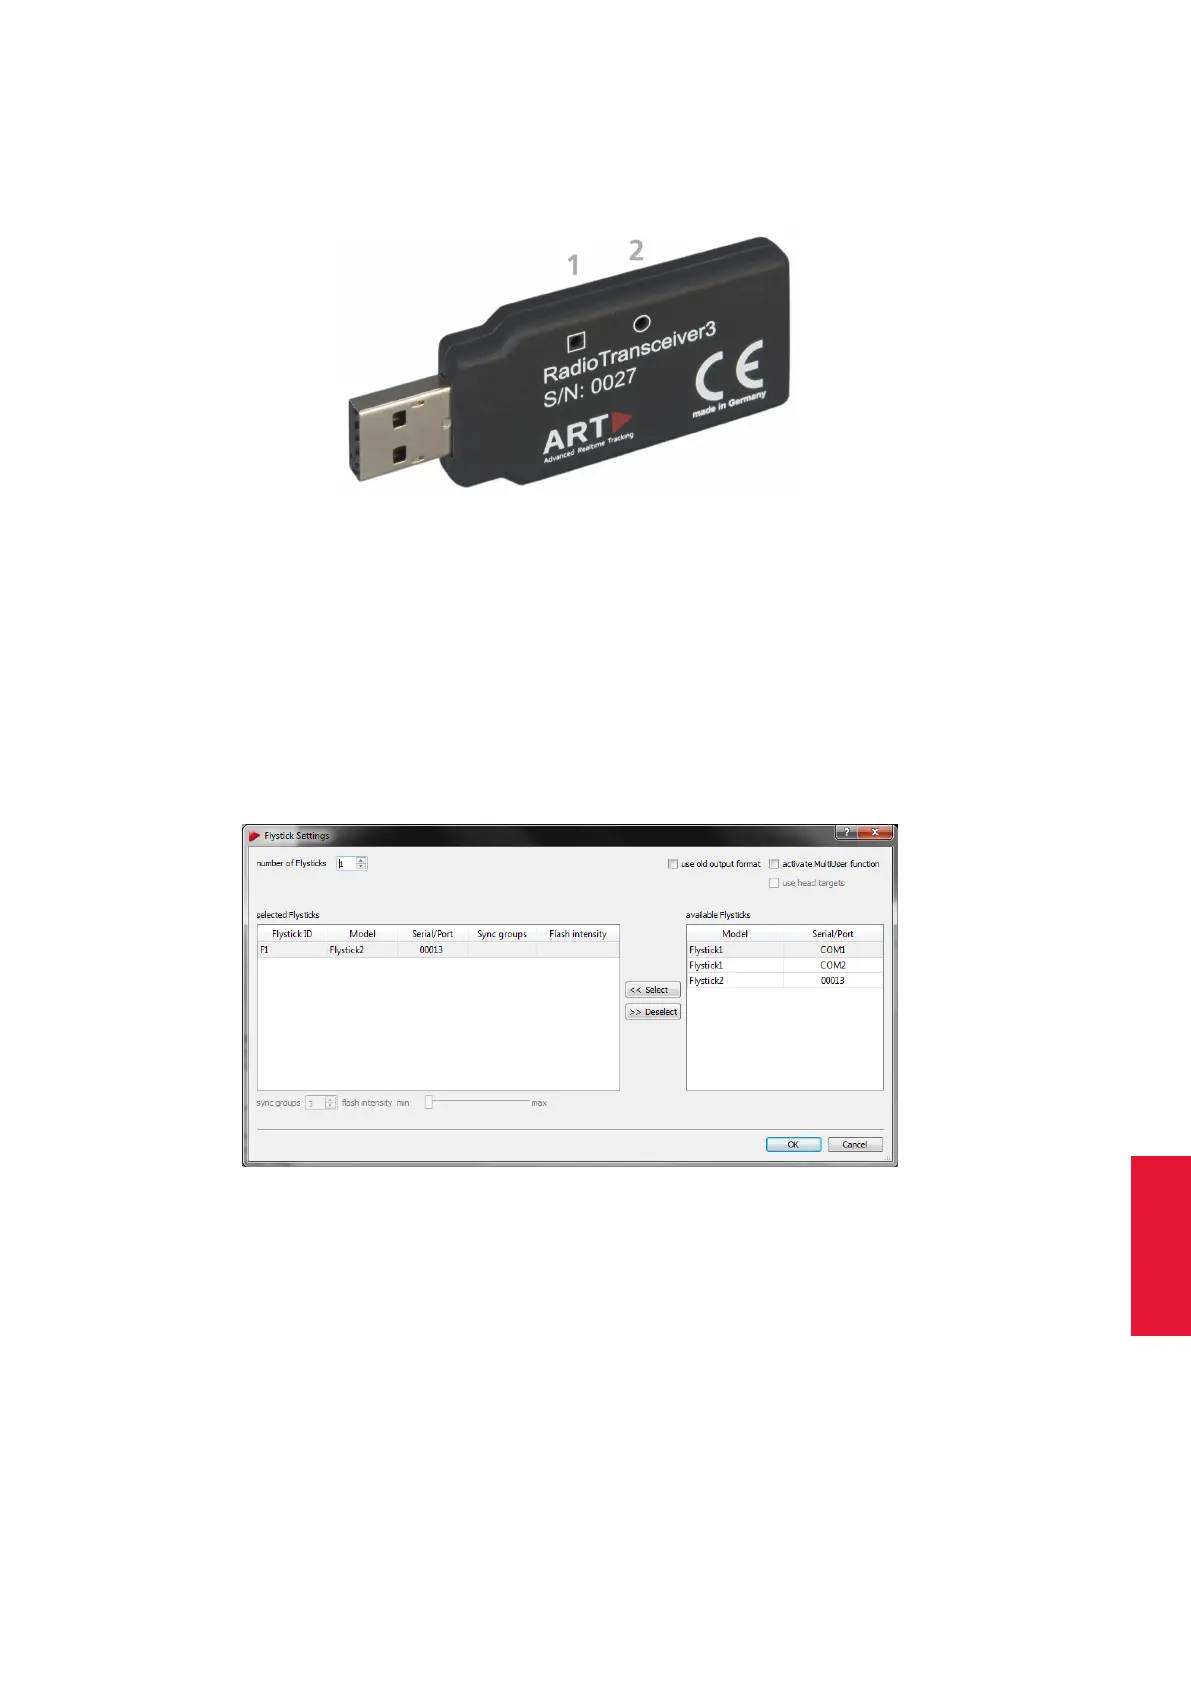
to the Flystick. In case of unsuccessful data transmission to the Flystick, LED (2) starts
flashing.
Figure 6.10: USB Radio Transceiver3
The Radio Transceiver is configured automatically. In case you need to change settings
manually please refer to chapter 8.5.4 on page 154.
6.3.2 Flystick Configuration
Next configure the number of Flysticks you are using: Select Settings → Flystick and
configure the number of Flysticks (see figure 6.11 on page 81).
Figure 6.11: Flystick Settings
As soon as you change the number of Flysticks entries in the selected Flysticks field will
pop up. The fields Model, Serial and Port are empty by default.
Make sure that your Flystick is in the available Flysticks list - if necessary, compare the
serial number listed here to the one printed on the battery compartment of the Flystick2
or on the back cover of the Flystick3.
Now, you have to assign your Flystick to a ’Flystick ID’.
Therefore,
81