Chapter 6
6.4 Fingertracking
• mark the appropriate entry in the target library (e.g. ’FINGERTRACKING2 Tactile
left Hand Target 1’) by left-clicking and
• press Select
The ’Name’ and ’Geometry ’ entries will be updated. The entry in the column Cal. will
turn into a yellow tick. On the right side of the window the corresponding entry in column
Used will turn into a green tick and marked ’yes’. You can always delete the assignment
by pressing the button Deselect. The body calibration will be available again for assign-
ment to a different Hand ID.
The next step is to calibrate the handedness as well as the position and orientation of the
finger tips (refer to chapter 6.4.6.5 on page 96).
Note: By default, the Fingertracking without tactile support is delivered with different hand
target geometries when using two pair of sets, whereas FINGERTRACKING2 Tactile de-
vices have to be set up properly, i.e. one pair needs to be configured to Set 1 while the
other pair is running on Set 2. Please refer to chapter 6.4.2 on page 87 how to switch the
configuration.
Z
Select the Set 1 or 2 configuration of the FINGERTRACKING2 Tactile
handtargets during first-time installation only. Do not change the set-
ting during routine operation or tracking will fail
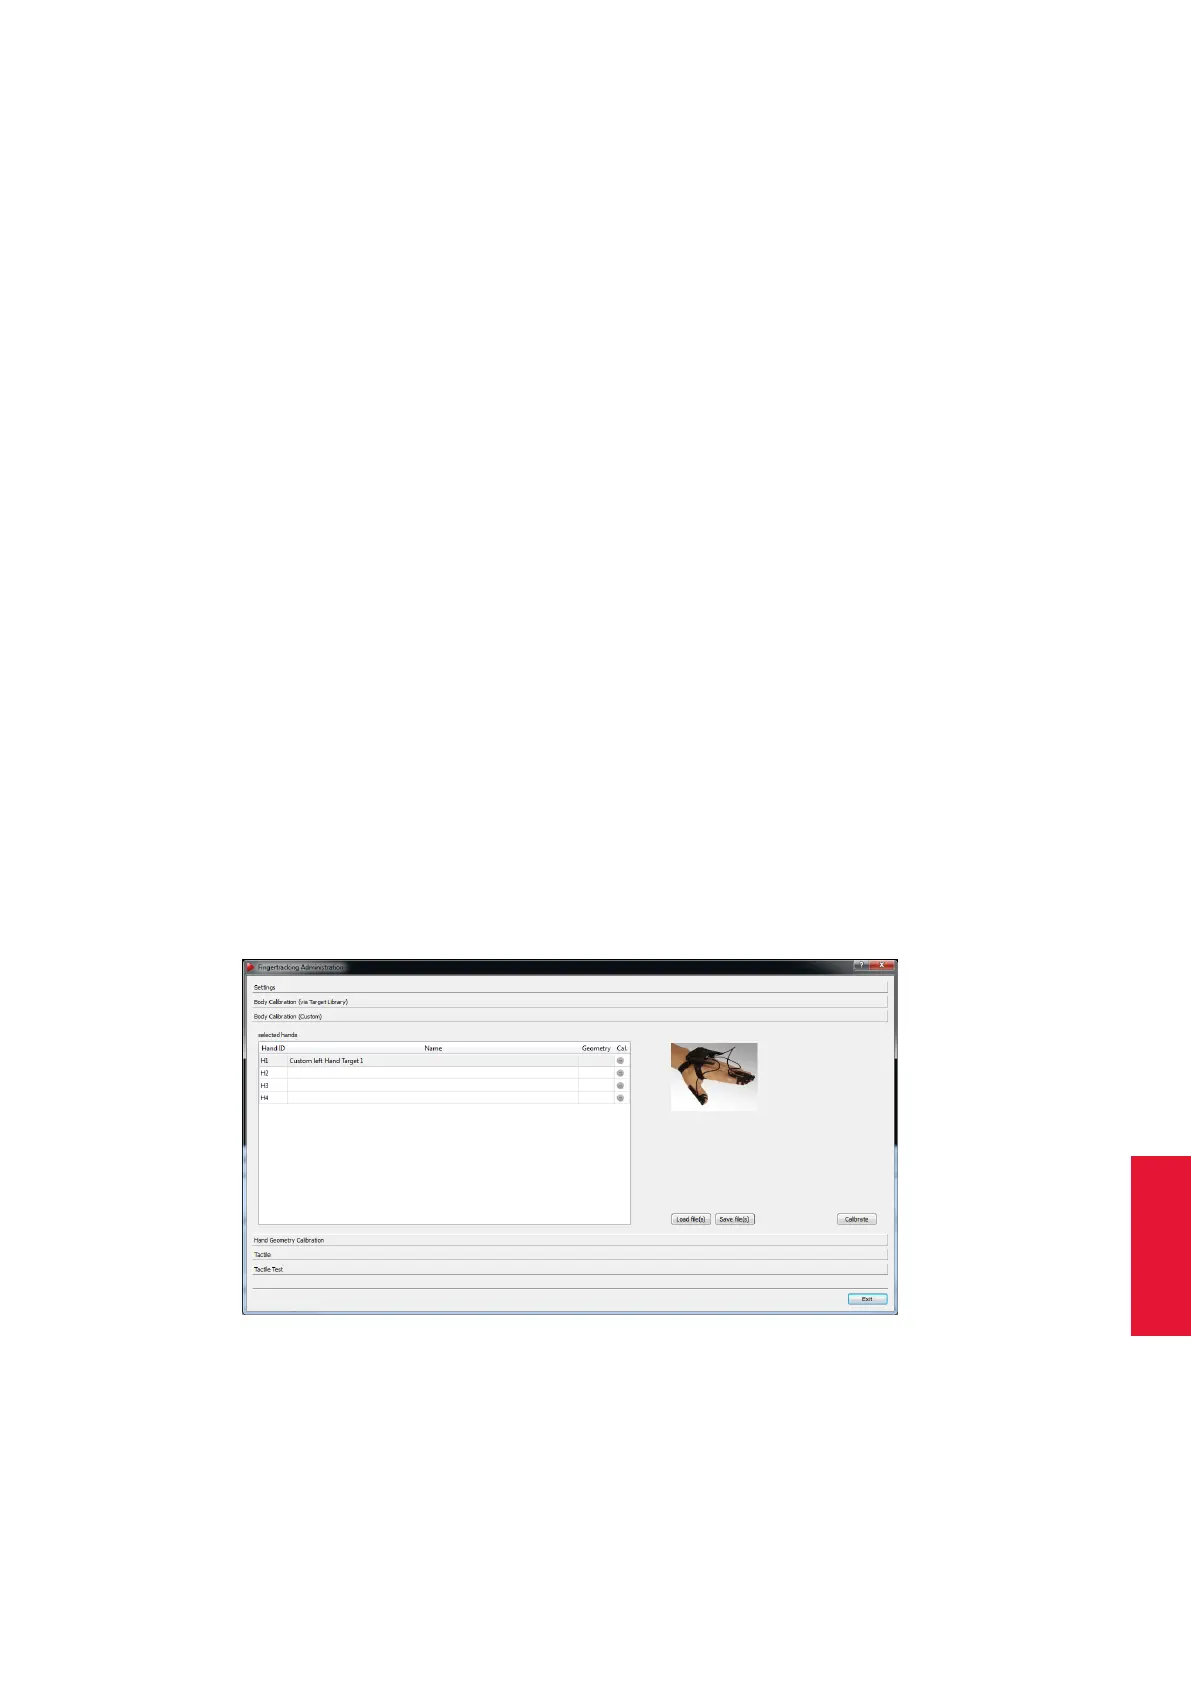
6.4.6.4 Fingertracking Body calibration Custom
Figure 6.22: Fingertracking Administration - Body Calibration Custom
When using hand targets not found inside the target library (e.g. customized) a standard
body calibration has to be carried out. The process of calibrating a 6DOF body is de-
scribed in chapter 8.6.5.2 on page 177.
95