123
Program description - Control adjust | Helicopter models
0%
+100%I5
Thr6
Gyr7
I8
TYP
SEL
+100%
0.0 0.0
– travel + –time+
0%
+100%
+100%
0.0 0.0
0%
+100%
+100%
0.0 0.0
0%
+100%
+100%
0.0 0.0
GL
GL
GL
fr ---
fr
fr
fr
---
---
---
Offset
GL
Normal
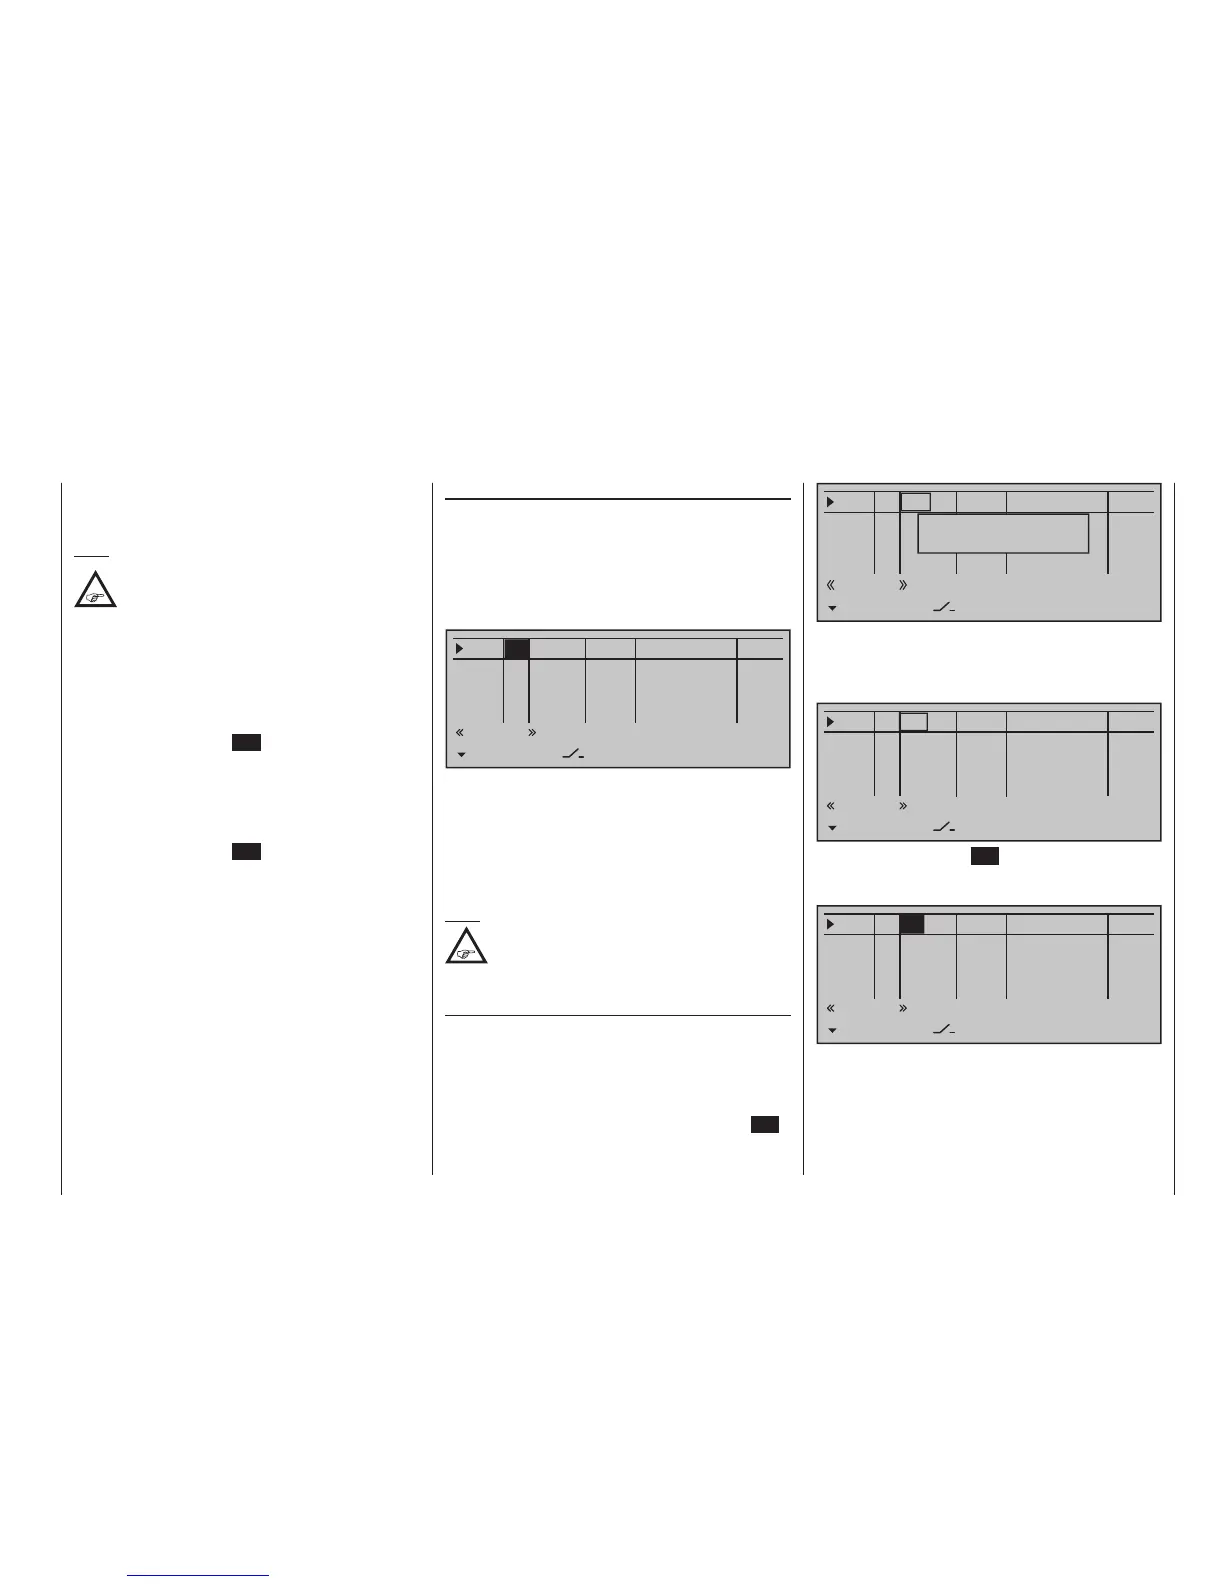
Move desired
control adj.
Now actuate the desired transmitter control: The no-
tice window will disappear and the designation of the
selected transmitter control will appear in the trans-
mitter control assignment window.
0%
+100%I5
Thr6
Gyr7
E8
TYP
SEL
+100%
0.0 0.0
– travel + –time+
0%
+100%
+100%
0.0 0.0
0%
+100%
+100%
0.0 0.0
0%
+100%
+100%
0.0 0.0
GL
GL
GL
S11 ---
fr
fr
fr
---
---
---
Offset
GL
Normal
Alternatively, the centre SET key of the right touch
pad can be tapped for a second time while the notice
window, see above, is still on the display:
0%
+100%I5
Thr6
Gyr7
E8
TYP
SEL
+100%
0.0 0.0
– travel + –time+
0%
+100%
+100%
0.0 0.0
0%
+100%
+100%
0.0 0.0
0%
+100%
+100%
0.0 0.0
GL
GL
GL
fr ---
fr
fr
fr
---
---
---
Offset
GL
Normal
Now use the selection keys of the left or right touch
pad to select the desired input out of the list if the
respective plug-in location on the transmitter board is
occupied or switch the entry to "fr" if the input is to be
decoupled from a transmitter control. In this case, or
even when a non-existent transmitter control is as-
signed, the servo corresponding to this input will be
The names assigned to given flight phases then ap-
pear in the second-from-the-bottom display line, e. g.
«Normal».
Note:
As a rule, input 6 must kept "free" for a
helicopter model. On this, see "Throttle" on
the next double page.
Basic procedure
1. Use the selection keys of the left or right
touch pad to select the desired input: I5, Thr6,
Gyr7, I8 … 15 or Tl16.
2. If necessary, use the selection keys of the left
or right touch pad to select the desired column.
3. Briefly tap the centre SET key of the right touch
pad. The corresponding input field is shown
highlighted.
4. Operate the chosen operating element or set the
desired value with the selection keys of the right
touch pad.
5. Briefly tap the centre SET key of the right touch
pad to complete data entry.
6. A simultaneous tap on the or keys of the
right touch pad (CLEAR) will any setting made
back to its respective default value.
Column 2, "typ"
Similar to the previously described »Stick mode«
menu, this column can be used to define whether
further settings for the given input are to have a
"GL(obal)" or a "PH(ase-specific)" effect. Do this by
using the selection keys of the left or right touch pad
to select the desired input 5 through 16 in the column
labeled "TYP".
0%
+100%I5
Thr6
Gyr7
E8
TYP
SEL
+100%
0.0 0.0
– travel + –time+
0%
+100%
+100%
0.0 0.0
0%
+100%
+100%
0.0 0.0
0%
+100%
+100%
0.0 0.0
GL
GL
GL
fr ---
fr
fr
fr
---
---
---
Offset
GL
Normal
"GL": The settings for the input in question affect all
flight phases programmed (if any) and thus
act "globally" on the model memory in ques-
tion.
"PH": The settings for this input take effect per
flight phase and must therefore be configured
separately for each flight phase.
Note:
See page 154 for more information about ight
phases.
Column 3, "Transmitter control/switch
assignment"
Using the selection keys of the left or right touch
pad to select an input: I5, Thr6, Gyr7, I8 … 15 or Tl16.
Transmitter control assignment
Use the selection keys to move into the column la-
belled SEL. After completing the activation of trans-
mitter control assignment by tapping the centre SET
key of the right touch pad, the message shown below
will appear in the display: