95
Program description - Base setup models | Helicopter models
Press and hold the SET button on the receiver
while the LED continues to blink red for about
3 seconds then, after about another 3 seconds,
begins to blink red/green. The SET button on the
receiver can now be released. As long as this LED
blinks red/green, the receiver is in bind mode.
Now, within this 3 second period, start the so-
called “receiver binding” process for the receiver
to the currently active model memory with a brief
tap on the centre SET key of the right touch pad.
At this time, the screen’s display will blend in a
message window for the duration of the “binding”
process.
Model name
Stick mode
1
n/a
BASIC SETTING,MODEL
Info
n/a
n/a
Module
bind
HoTT
Graubele
1234g/111111
SEL
BD1
BD2
BD3
BD4
FINDING...
If the receiver’s LED, again blinking red, changes
within about 10 seconds to continuous illumination
in green, the binding process has been success-
fully completed. Your model-memory to receiver
combination is now operationally ready. At this
time the screen will now display “ bind “ (bound)
instead of “n/a” (not attached).
Model name
Stick mode
1
bind
BASIC SETTING,MODEL
Info
n/a
n/a
Module
bind
HoTT
Graubele
1234g/111111
SEL
BD1
BD2
BD3
BD4
On the other hand, should the LED on the receiver
blink red for longer than about 10 seconds, the
binding process has failed. In this case the screen
will continue to show the status as “n/a”. If this
should happen, try changing the position of anten-
nas then repeat the entire procedure.
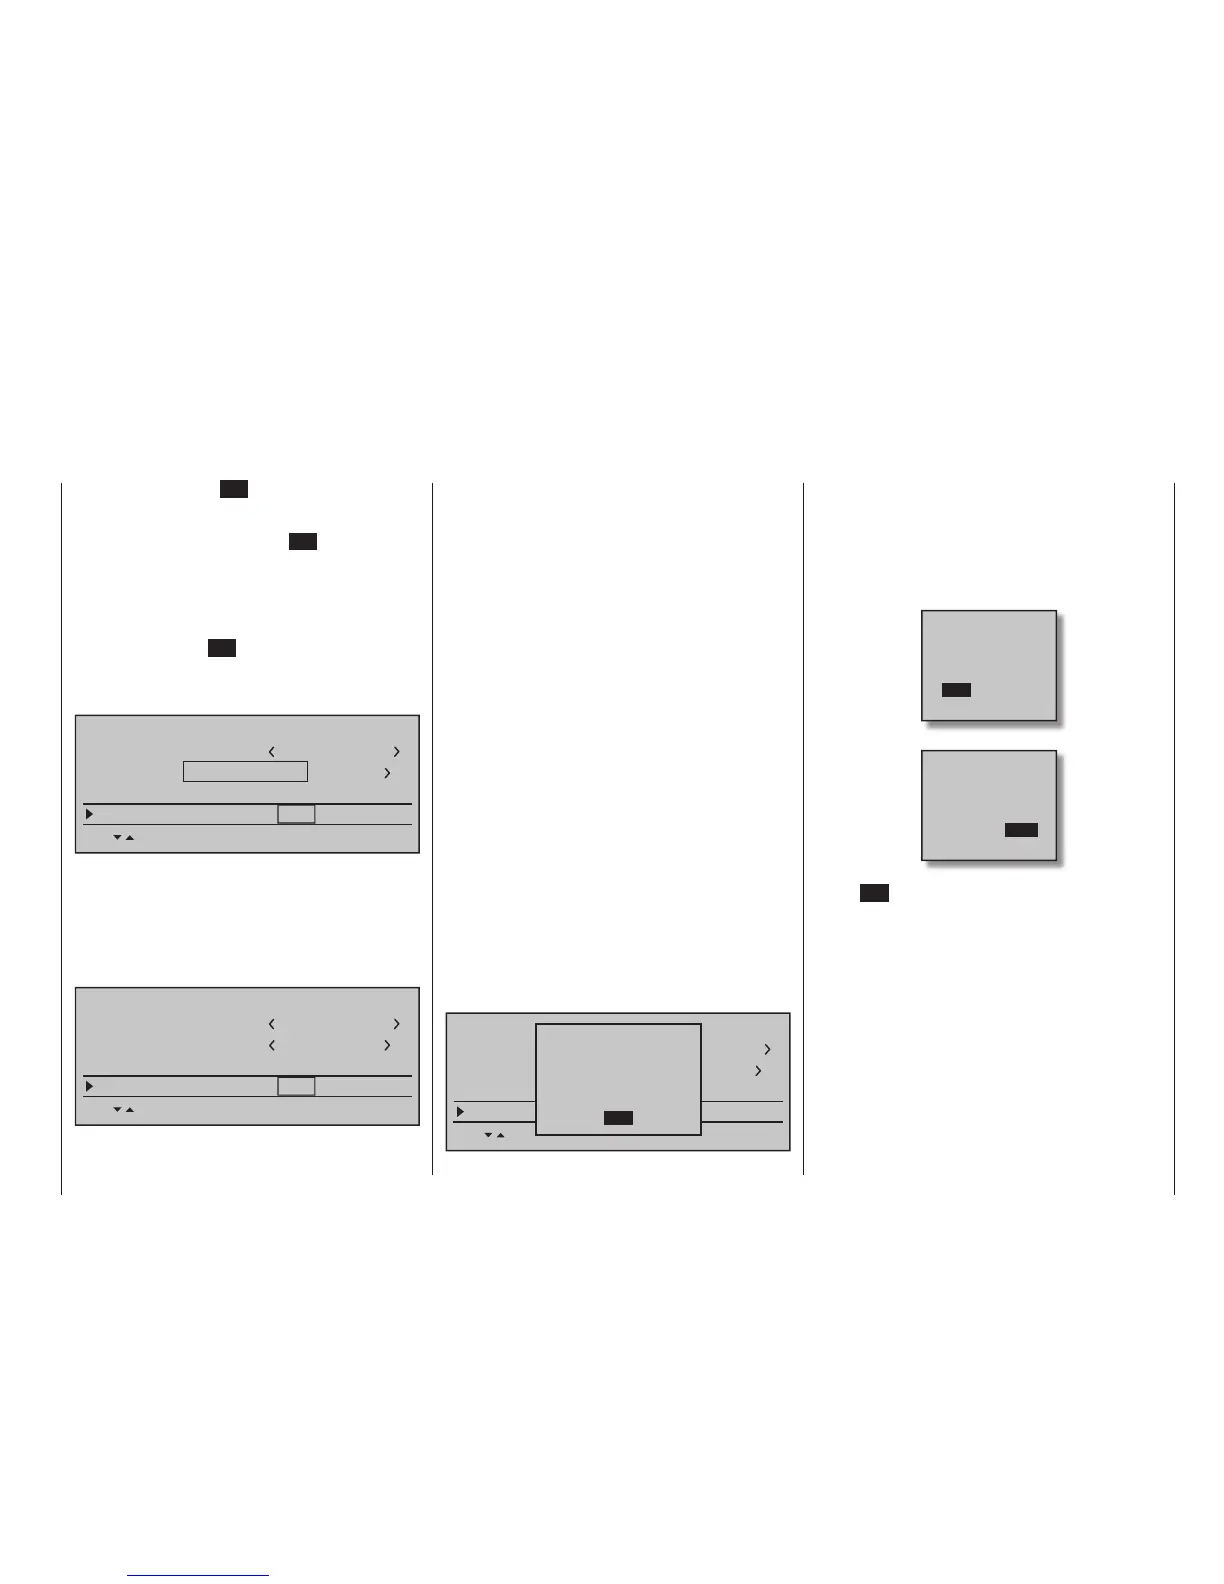
• Receiver GR-12L
At the receiver, the red LED lights. Press and hold
the SET button on the receiver until the red LED
goes out after about 3 seconds for a further 3 sec-
onds. You can now release the SET button on the
receiver. As long as the LED is off, the receiver is
in bind mode. Start now-as described above-within
these 3 s to bind the receiver to the current model
memory. If the LED of the receiver is still dark and
the display in the transmitter changes to “b”, the
binding process has been completed success-
fully. However, the red LED will light up red again
at the receiver, the binding process has failed.
At the same time appear in the line “module” of
the display again “n / a”. If necessary, change the
positions of the antennas involved and repeat the
entire procedure.
Binding other receivers
The binding channel you have chosen is already
bound (as indicated by the “bind” status). This binding
is to be replaced by another. After initiating the RF
bind process, instead of displaying “BINDING”, the
message shown below appears.
Model name
Stick mode
1
geb.
BASIC SETTING,MODEL
Info
n/a
n/a
Module
geb.
HoTT
Graubele
1234g/111111
SEL
BD1
BD2
BD3
BD4
RF
off
OK
is turned
Drop down two lines in the screen and switch off the
RF module as described on the page in section “RF
module”. Afterward, return again to the “Module” line
and restart the binding process as described above.
Alternatively, the transmitter can be switched off
briefl y then, after switching it back on again, respond
to the message window that appears …
OFFON
Please select
RF on/off?
… with “OFF” …
ON
Please select
RF on/off?
OFF
… then confi rm the selection with a brief tap on the
centre SET key of the right touch pad. From the base
screen jump again into the “Module” line of the »Ba-
sic settings, model« menu and restart the binding
process.
Dissolving a bond
Proceed as described above to initiate the binding
process but WITHOUT fi rst putting a receiver in bind-
ing readiness.