6-38
Wireless Interface Configuration
Managing Multiple WLAN (BSS/SSID) Interfaces
Note If you are connected as a wireless client to the same AP that you are admin-
istering, resetting the SSID will cause you to lose connectivity to the AP. You
will need to reconnect to the new SSID after you save this new setting.
■ Closed-System: Prohibits the broadcasting of the AP’s SSID, if enabled.
The network name will also not be displayed in the List of Available
Networks on a client station. (The default is disabled, allowing SSID
broadcasting.)
■ VLAN ID: Sets the VLAN associated for the specific SSID interface. The
valid range is between 1 and 4094 for the Internal VLAN. (The default is 1
for WLAN 1, SSID 1.)
■ Security: Displays the security mode for this WLAN.
■ [Edit]: Opens the Security pop-up window with the following tabs:
• Security tab: Enables the Security Mode drop-down with the options
for this WLAN. (This is the default tab.) For security mode configura-
tion, see “Web: Setting Security Options” on page 7-18.
• RADIUS Servers tab: Configures the primary, secondary, and
internal server for RADIUS authentication. For RADIUS server
settings, see “Web: Setting RADIUS Server Parameters” on page 7-33.
• Accounting Servers tab: Configures the primary and secondary
server for RADIUS accounting. For RADIUS accounting server
settings, see “Web: Setting RADIUS Server Parameters” on page 7-33.
• MAC Authentication tab: Configures a list of approved MAC
addresses that are permitted to access your network. For MAC
Authentication settings, see “Web: Configuring Access Control List” on page 7-45.
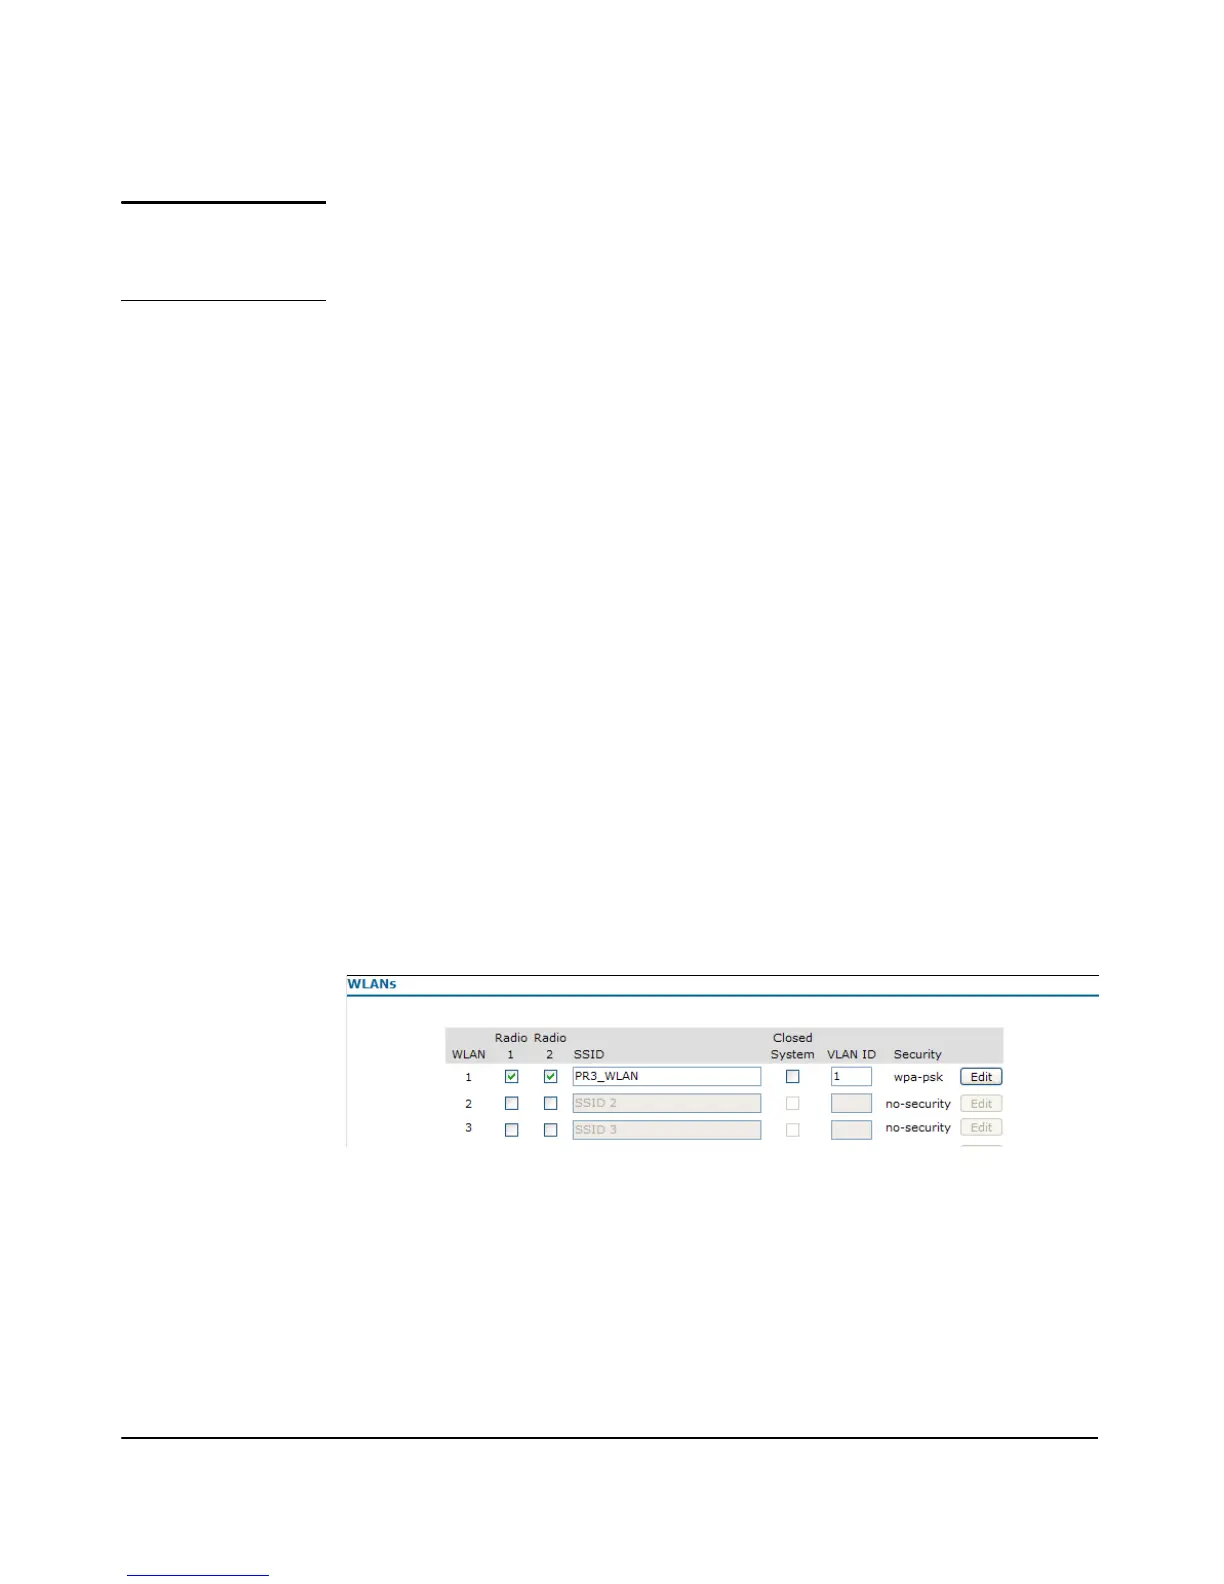
Figure 6-12. Configuring WLAN (BSS/SSID) Interfaces
To Configure a WLAN (BSS/SSID) Interface:
1. Select Network Setup> WLANs tab (see Figure 6-12).
2. Click the
Radio 1 option on the next available SSID interface.
3. Enter a unique name for the SSID interface. This name is automatically
copied over to the compatible SSID interface for Radio 2.
 Loading...