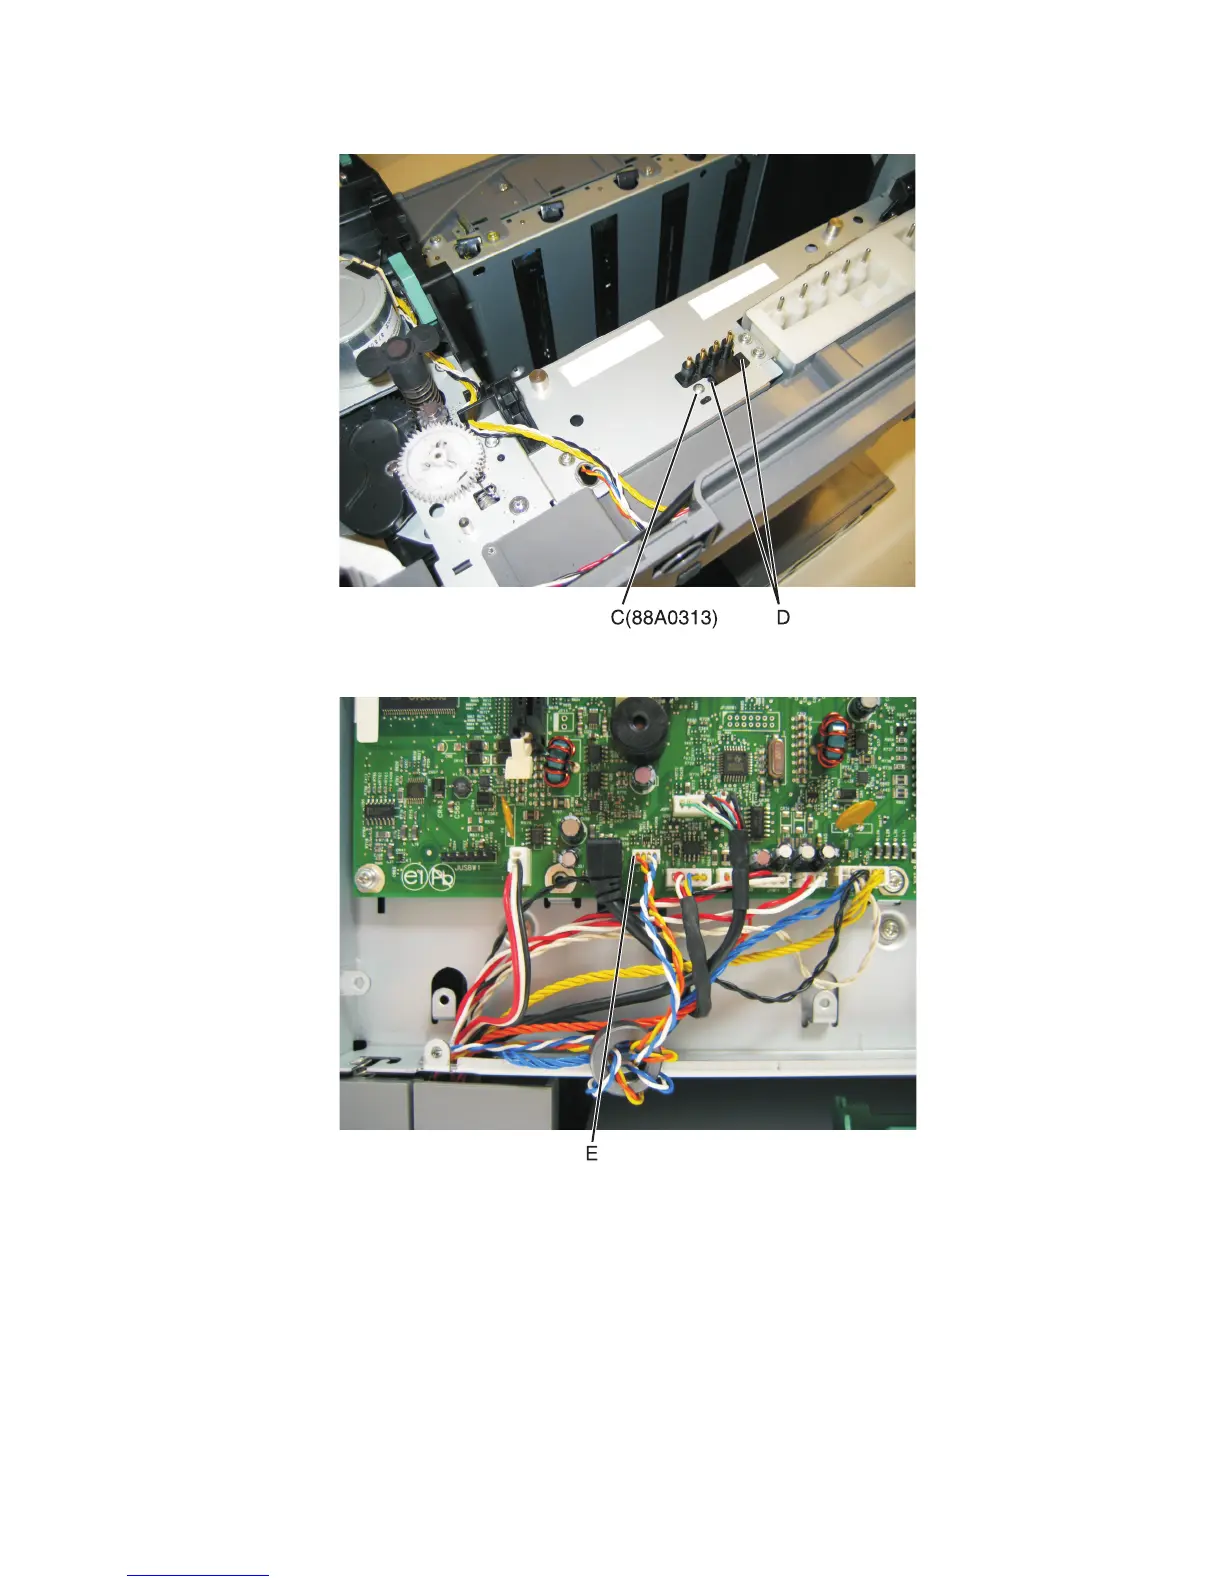
7 Release the tabs (D) on the spring contact, and slide to the left to remove.
8 Disconnect the cable (E) from the controller board at JSC1.
9 Remove the cable from the retainer on the bottom of the printer.
10 Extract the cable through the frame, and remove the cable with the spring contacts.
Note: To remove the cable, be sure to unwrap the toroid. When reinstalling, be sure to wrap the toroid five
times as shown below.
5027
Repair information
249