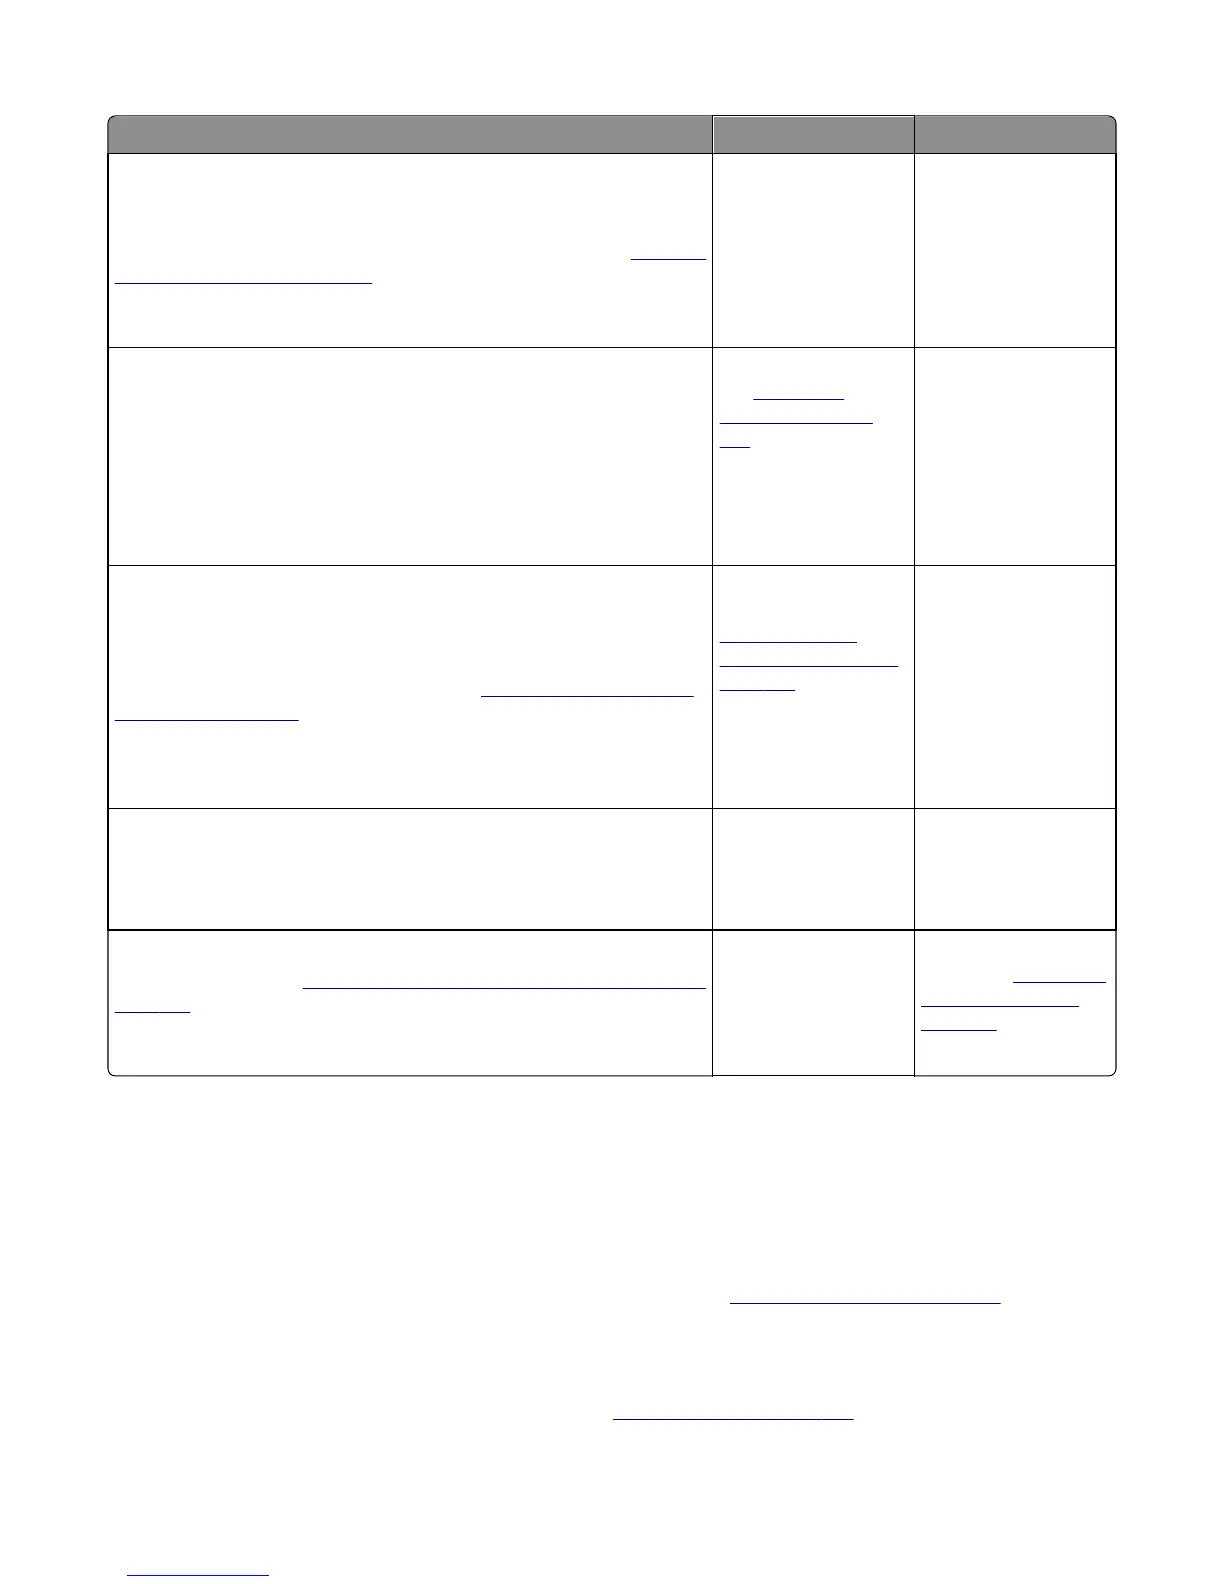
Actions Yes No
Step 1
Replace the photoconductor unit (part of the imaging unit). Remove the
imaging unit and remove the developers. Place the original developers in
the new photoconductor, and then replace the imaging unit. See
“Imaging
unit (IU) removal” on page 246.
Does this solve the problem?
Problem is solved. Go to step 2.
Step 2
A faulty printhead can cause the problem. To test the printhead for solid
colors, place a narrow strip of paper over the gap between the developers.
Make sure the paper stays in place when you replace the imaging unit.
This will block the laser from discharging the photoconductors. Select the
Print Quality Page.
Does the uniform color page have a white vertical band?
Replace the printhead.
See
“Printhead
removal” on page
299.
Go to step 3.
Step 3
Check the high-voltage contact from the HVPS to the photoconductor
charge roll. Ensure the contact springs are properly mounted and that the
charge roll contact spring is making good contact with the HVPS spring
that runs through the left printer frame. See
“Toner cartridge contacts
removal” on page 248 to view the proper mounting and for removal
procedures.
Are the springs defective?
Replace the transfer
contact assembly. See
“Toner cartridge
contacts removal” on
page 248.
Go to step 4.
Step 4
Turn the printer off, and check the continuity of the HVPS cable.
Is there continuity?
Go to step 5. Replace the cable
assembly.
Step 5
Replace the HVPS. See
“High‑voltage power supply (HVPS) removal” on
page 239.
Does this solve the problem?
Problem is solved. Replace the controller
board. See
“Controller
board removal” on
page 291.
Vertical banding check
Replace the developer cartridge.
Light print on solids check
Light print can be caused by incorrect media. For more information, see “Media guidelines” on page 23.
Color problems check
For more information on non‑mechanical color issues, see “Color theory” on page 350.
5027
Diagnostic information
44