Installation notes:
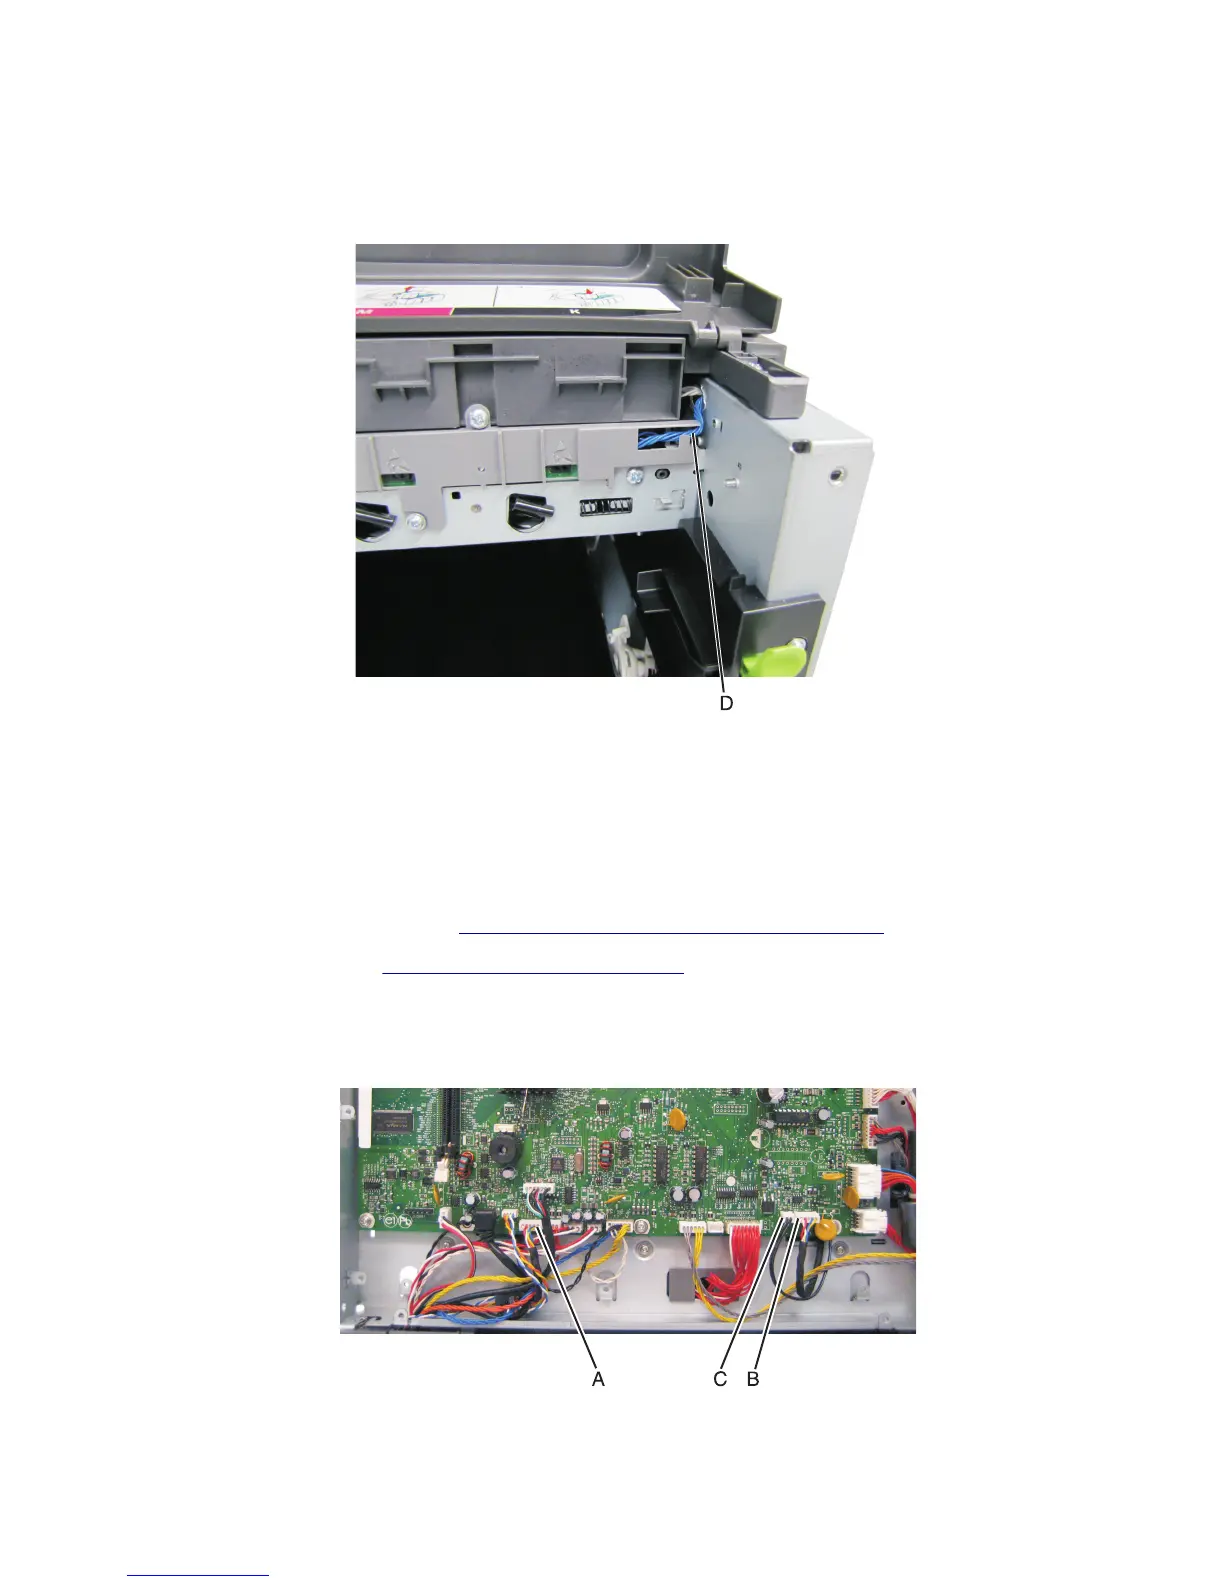
• Be sure the cable (D) runs through the retainer.
• The toner meter cycle card is a tight fit. Insert the bottom edge inside the frame, and then push down on the
top edge to clear the top cover.
Toner density sensor (TDS) (left or right sensor) removal
Note: The toner density sensor is also called the toner patch sensor (TPS).
Note: The toner density sensors are the same, but the left sensor has a thermistor attached which needs to be
removed when you install a new TDS on the left side. Reinstall the thermistor on the new TDS.
1 Remove the image transfer unit. See “Image transfer unit (ITU) removal” on page 243.
2 Remove the rear cover. See “Rear cover removal” on page 290.
3 Disconnect the toner density sensor cable from JTDS1 connector (A) or JTDS2 connector (B) on the controller board.
If you are removing the left toner density sensor, also disconnect the thermistor from JFUSES1 connector (C) on
the controller board.
Note: Be sure to pay close attention to the routing of all cables for reinstallation.
5027
Repair information
236