Actions Yes No
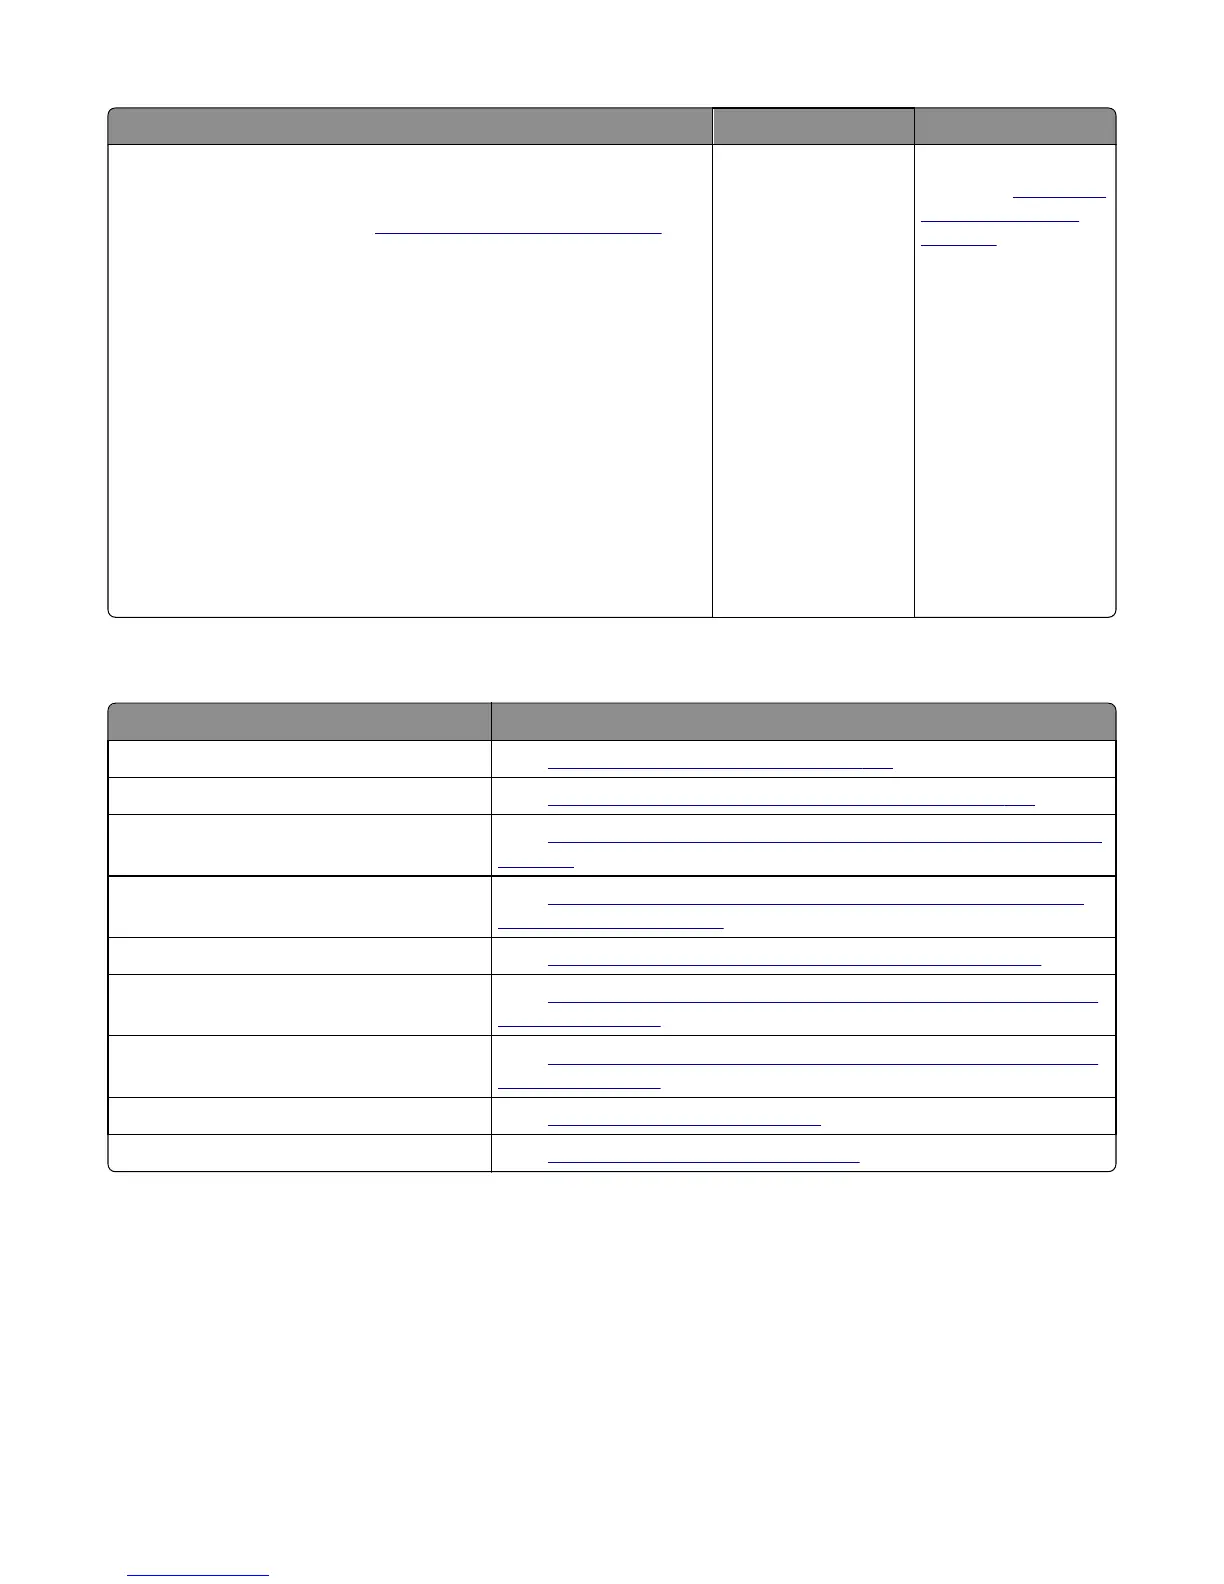
Step 11
a Turn off the printer.
b Remove the rear cover. See “Rear cover removal” on page 290.
c Disconnect the cable at JOPT1 on the controller board.
d Turn the printer on.
e Measure to voltages below:
JOPT1:
Pin 2: Ground
Pin 3: Ground
Pin 5: +24 V dc
Pin 6: Ground
Pin 7: +5 V dc
Pin 9: Ground
Pin 10: Ground
Are the voltages correct?
Contact your next level
of support.
Replace the controller
board. See
“Controller
board removal” on
page 291.
Base printer symptoms
Symptom Action
Dead printer service check Go to
“Dead printer service check” on page 117.
Front door sensor or switches service check Go to
“Front door sensor or switches service check” on page 119.
Operator panel (display is dim and
unchanging) service check
Go to
“Operator panel (display is dim and unchanging) service check” on
page 123
Operator panel (displays all diamonds, no
beeps, or five beeps) service check
Go to
“Operator panel (displays all diamonds, no beeps, or five beeps)
service check” on page 127.
Operator panel (display blank) service check Go to
“Operator panel (display blank) service check” on page 131.
Operator panel (one or more operator buttons
fail) service check
Go to
“Operator panel (one or more operator panel buttons fail) service
check” on page 135.
Operator panel USB cable service check Go to
“Operator panel (one or more operator panel buttons fail) service
check” on page 135.
USB service check Go to
“USB service check” on page 137.
Network service check Go to
“Network service check” on page 137.
5027
Diagnostic information
114