Actions Yes No
Step 4
Turn the printer off, and remove the rear cover. See
“Rear cover removal”
on page 290.
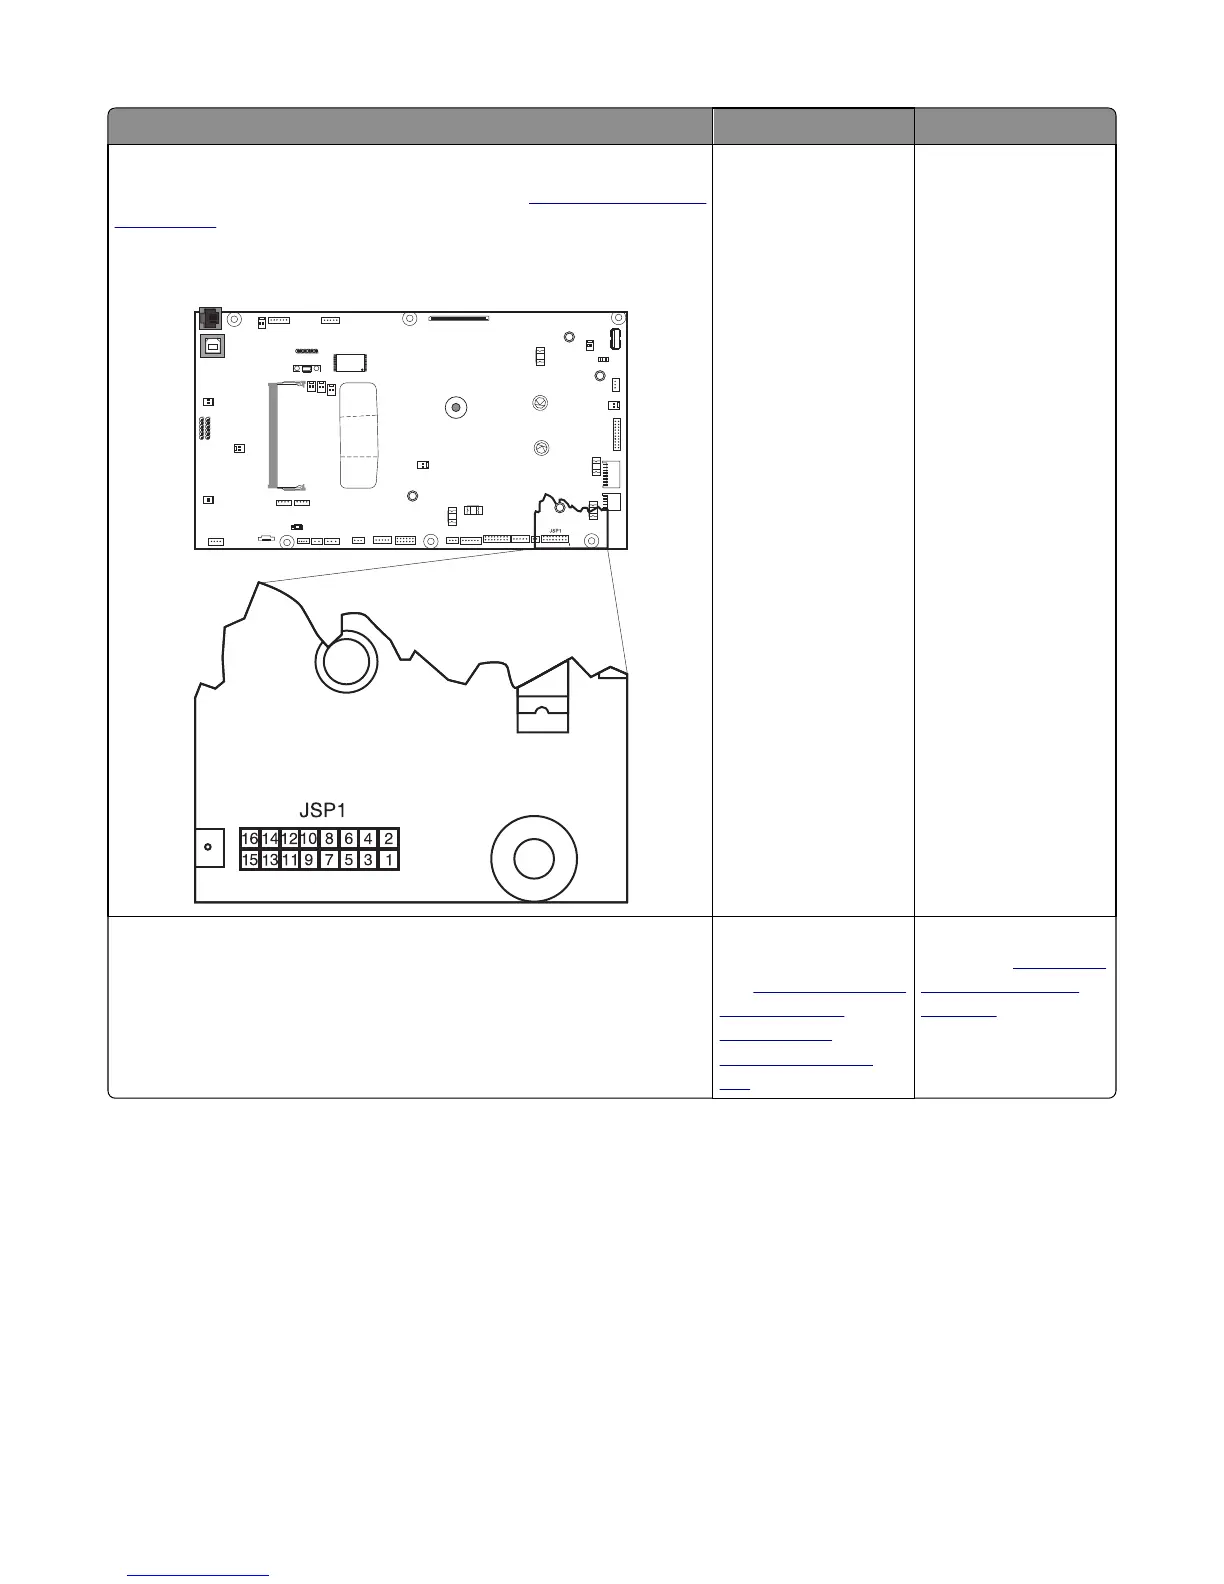
Is the JSP1 cable connector properly connected to the controller board?
Go to step 5. Reseat the connector.
Step 5
Turn the printer on, and check the voltage at JSP1 pin 15.
Is the voltage approximately +5 V dc?
Replace the paper pick
motor drive assembly.
See
“Paper pick motor
drive assembly
standard tray
removal” on page
287.
Replace the controller
board. See
“Controller
board removal” on
page 291.
202 paper jams
202 paper jams
Paper jam in the standard exit bin
1 Firmly grasp the paper on each side, and then gently pull it out.
Note: Make sure all paper fragments are removed.
5027
Diagnostic information
52