Warning—Potential Damage: When replacing the controller board, verify that the cable from the high-voltage
power supply is properly seated. The cable may have been loosened from the HVPS. Print a few pages to verify
the installation. If the pages are blank, then confirm that the high-voltage power supply cable is properly seated.
The connector may have been loosened at the HVPS. A blank page that should have toner on it could be an
indication that toner is applied to the ITU belt but is not transferred. Therefore the toner goes into the ITU
cleaner which cannot process massive amounts of toner. It is important to prevent extensive blank pages from
being processed if they should have toner on them.
Top side removals
Top cover assembly removal
1 Remove the right cover assembly. See “Right cover assembly removal” on page 232.
2 Remove the waste toner bottle. See “Waste toner bottle removal” on page 250.
3 Remove the imaging unit. See “Imaging unit (IU) removal” on page 246.
4 Remove the rear cover. See “Rear cover removal” on page 290.
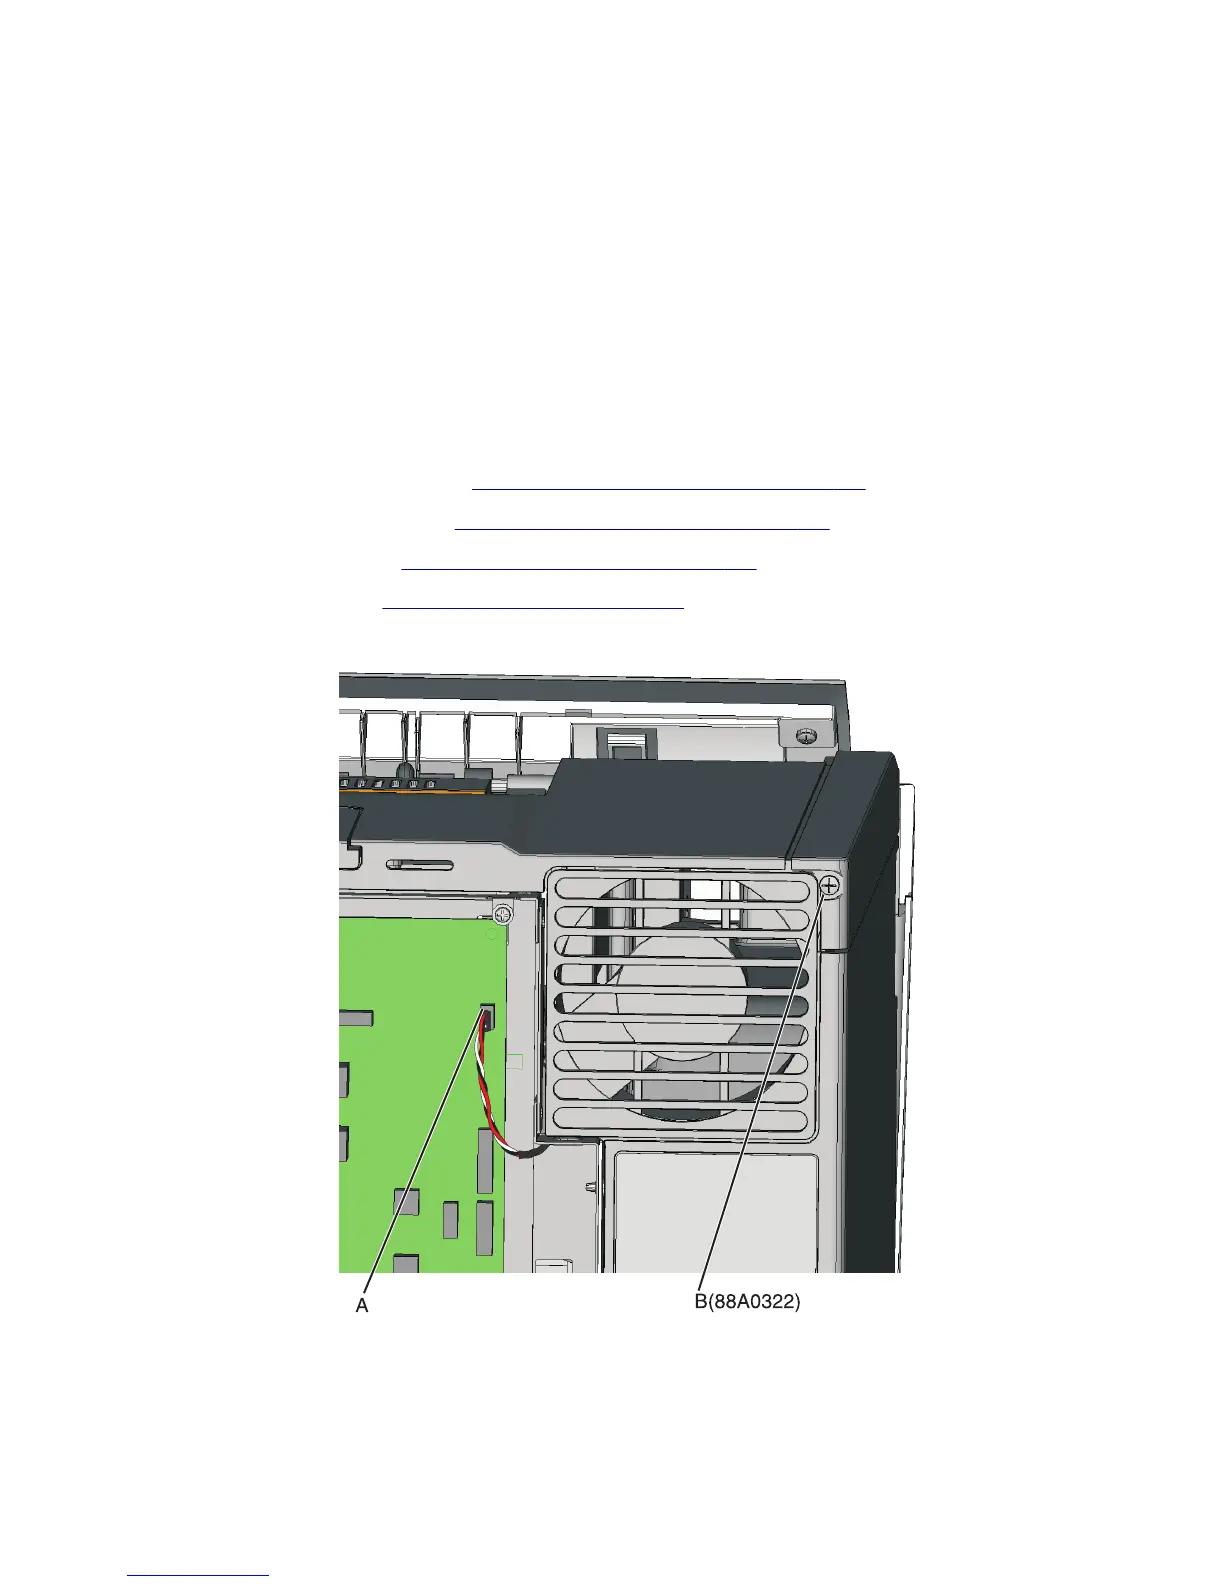
5 Disconnect the fan cable from JFAN1 (A) on the controller board, and remove the screw (B).
5027
Repair information
294