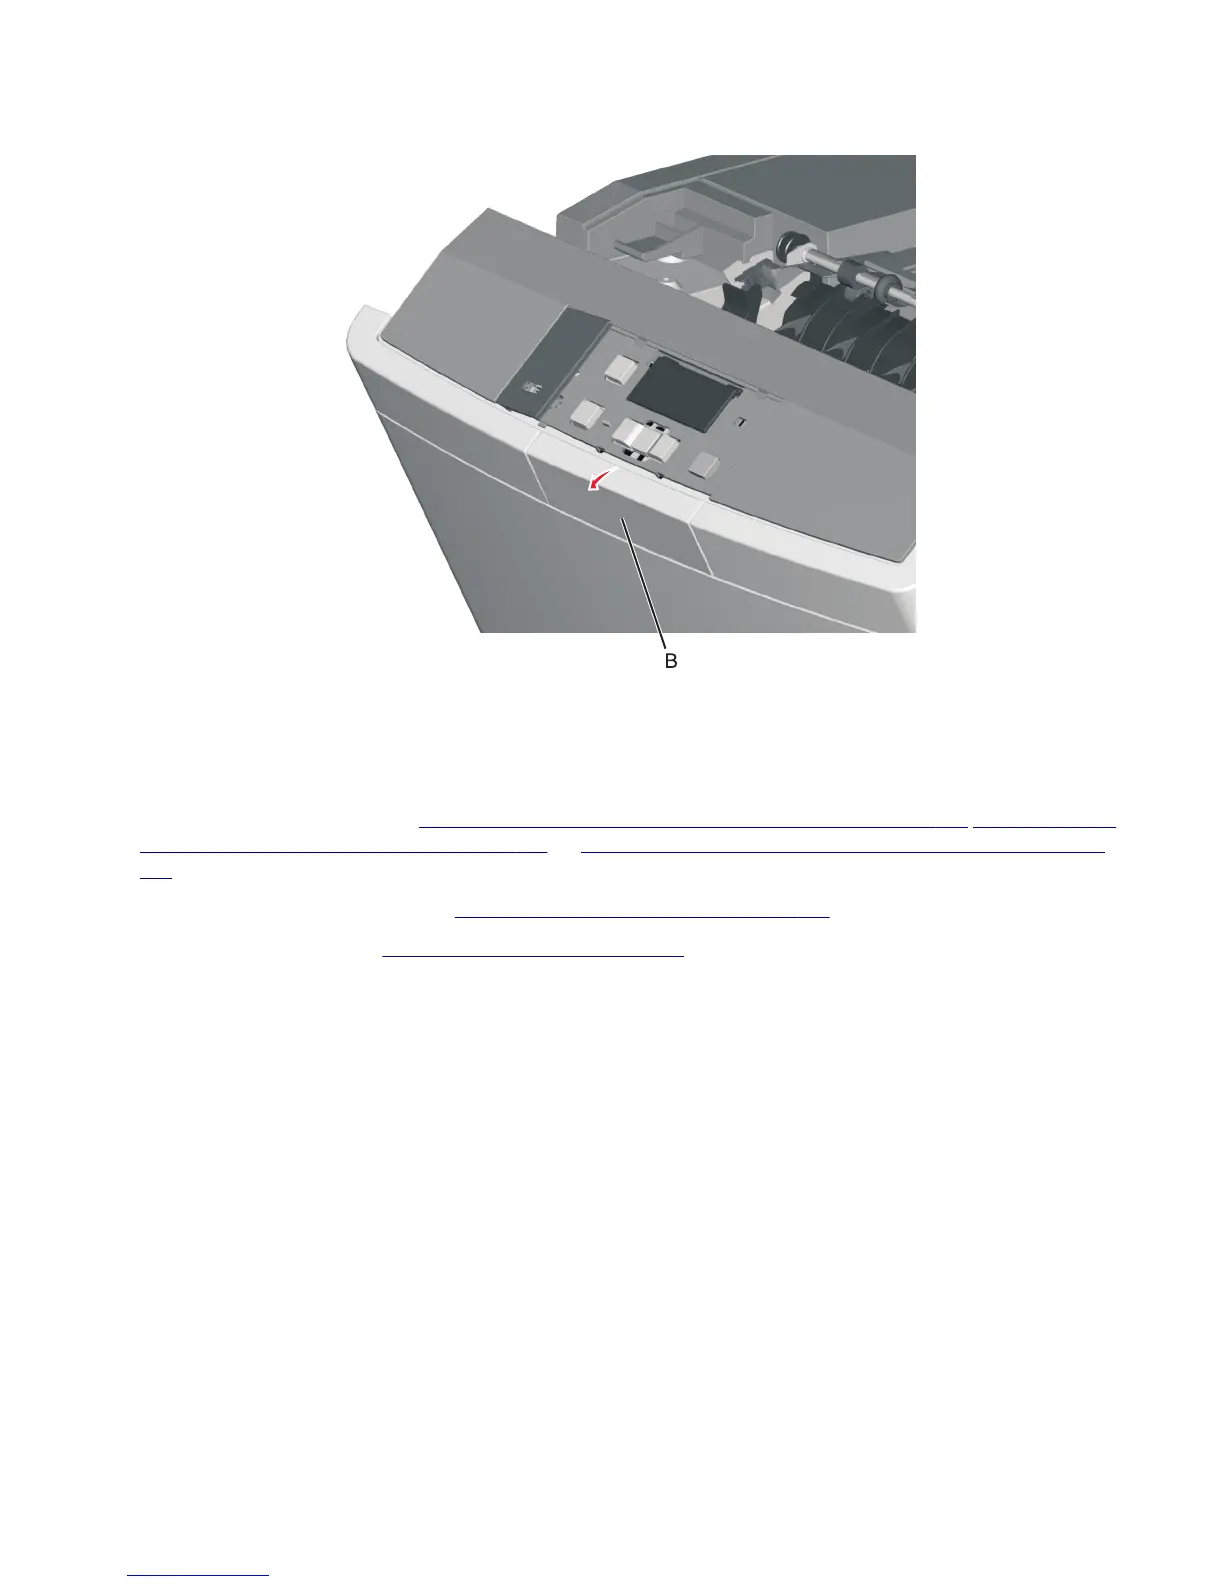
3 Remove the logo plate (B).
USB port connector removal
Note: The FRU includes the USB port connector and cable.
1 Remove the operator panel. See “Operator panel removal (for CS310 models only)” on page 254,“Operator panel
removal (for CS410 models only)” on page 256, or “Operator panel removal (for CS510 models only)” on page
259.
2 Remove the waste toner bottle. See “Waste toner bottle removal” on page 250.
3 Remove the rear cover. See “Rear cover removal” on page 290.
4 Remove the rear screw (A) from the waste toner bottle sensor contact to allow access to the cable cover.
Note: The waste toner bottle sensor contact does not need to be unplugged or removed.
5027
Repair information
263