158 MI-42-0001 Rev. 19
MAINTENANCE: Daily Gain Calibration
NOTES:
• Ring orientation does not matter when taking assessment scans. Use either STB or SAB.
• The original Trumpf Column Remote displays table height in millimeters.
- When the original Trumpf Column Remote is available, record table heights as displayed on
the remote.
- When the original Trumpf Column Remote is not available, use a metric measuring tape to
measure table height and ensure accuracy.
• When setting up manual scans for Image Quality assessment, use the settings listed in
section Set Up Image Quality Assessment Scan on page 159.
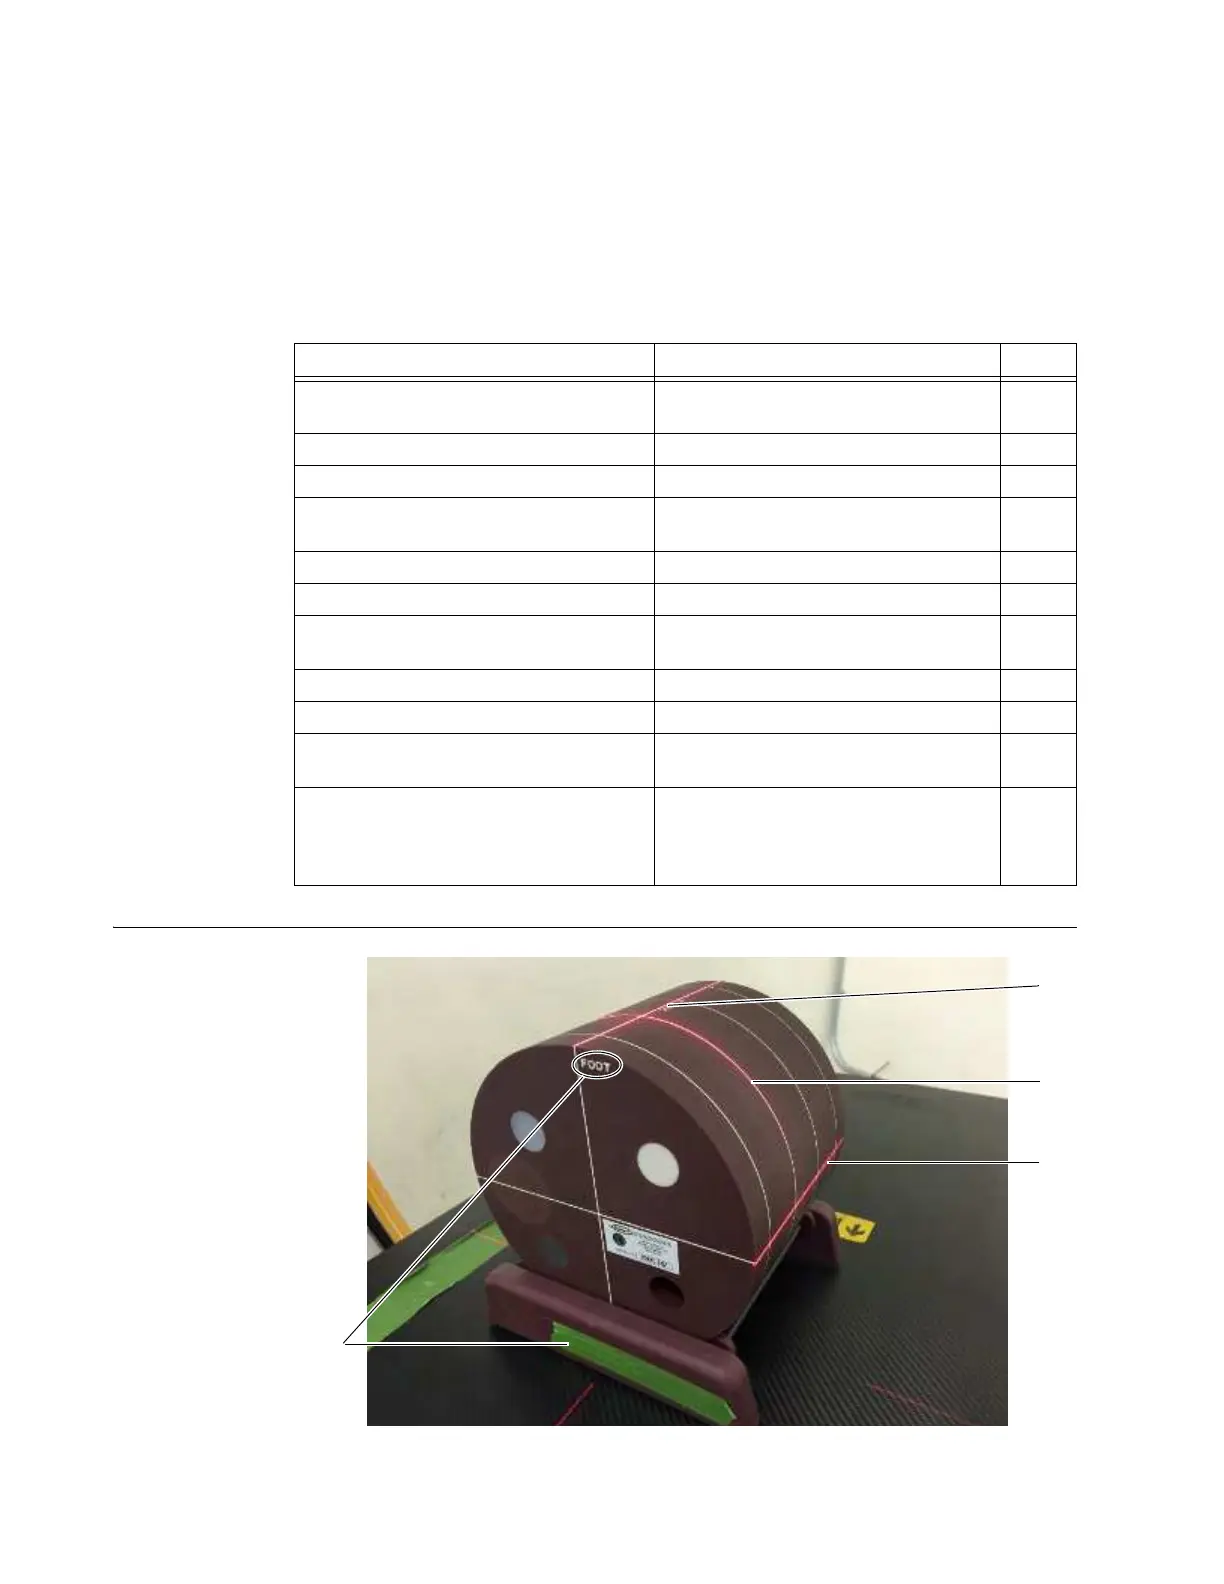
Align Gammex 464
Phantom at
Isocenter
Figure 131
Steps See Page
1. Align phantom at isocenter.
Align Gammex 464 Phantom at
Isocenter
158
2. Set up axial manual scan. Set Up Image Quality Assessment Scan 159
3. Run axial manual scan. Perform the Image Assessment Scan 160
4. Raise phantom to 75mm (2.95 in.)
above isocenter.
Raise Gammex 464 Phantom above
Isocenter
161
5. Verify phantom center alignment. Verify Gammex 464 Center Alignment 161
6. Run axial manual scan. Perform the Image Assessment Scan 160
7. Raise phantom to 150mm (5.9 in.)
above isocenter.
Raise Gammex 464 Phantom above
Isocenter
161
8. Verify phantom center alignment. Verify Gammex 464 Center Alignment 161
9. Run axial manual scan. Perform the Image Assessment Scan 160
10. View and export assessment DICOM
images to a USB storage device.
View an Existing Scan 126
11. Assess image quality of scans with
new bad detector with on-board or
separate diagnostic-quality DICOM
viewer.
Assess Image Quality 162