5-8 Motorola RF Switch System Reference
7. From the Network field, use the Associated Interface drop-down menu to define the switch interface
is used for the newly created DHCP configuration. Use VLAN1 as a default interface if no others have
been defined.
Additionally, define the IP Address and Subnet Mask used for DHCP discovery and requests between
the DHCP Server and DHCP clients.
8. Within the Lease Time field, define one of the two kinds of leases the DHCP Server assigns to its clients:
• Infinite - If selected, the client can use the assigned address indefinitely.
• Actual Interval - Select this checkbox to manually define the interval for clients to use DHCP supplied
addresses. The default lease time is 1 day, with a minimum setting of 60 seconds and a maximum
value of 946080000 seconds.
9. Within the Servers field, change the server type used with the pool and use the Insert and Remove
buttons to add and remove the IP addresses of the routers used.
10.Provide the Included Ranges (starting and ending IP addresses) for this particular pool.
Use the Insert and Remove buttons as required to define the range of supported IP addresses.
A network pool without any include range is as good as not having a pool, because it won't be useful in
assigning addresses.
11.Click OK to save and add the changes to the running configuration and close the dialog.
12.Refer to the Status field.
The Status is the current state of the requests made from the applet. Requests are any “SET/GET”
operation from the applet. The Status field displays error messages if something goes wrong in the
transaction between the applet and the switch.
13.Click Cancel to close the dialog without committing updates to the running configuration
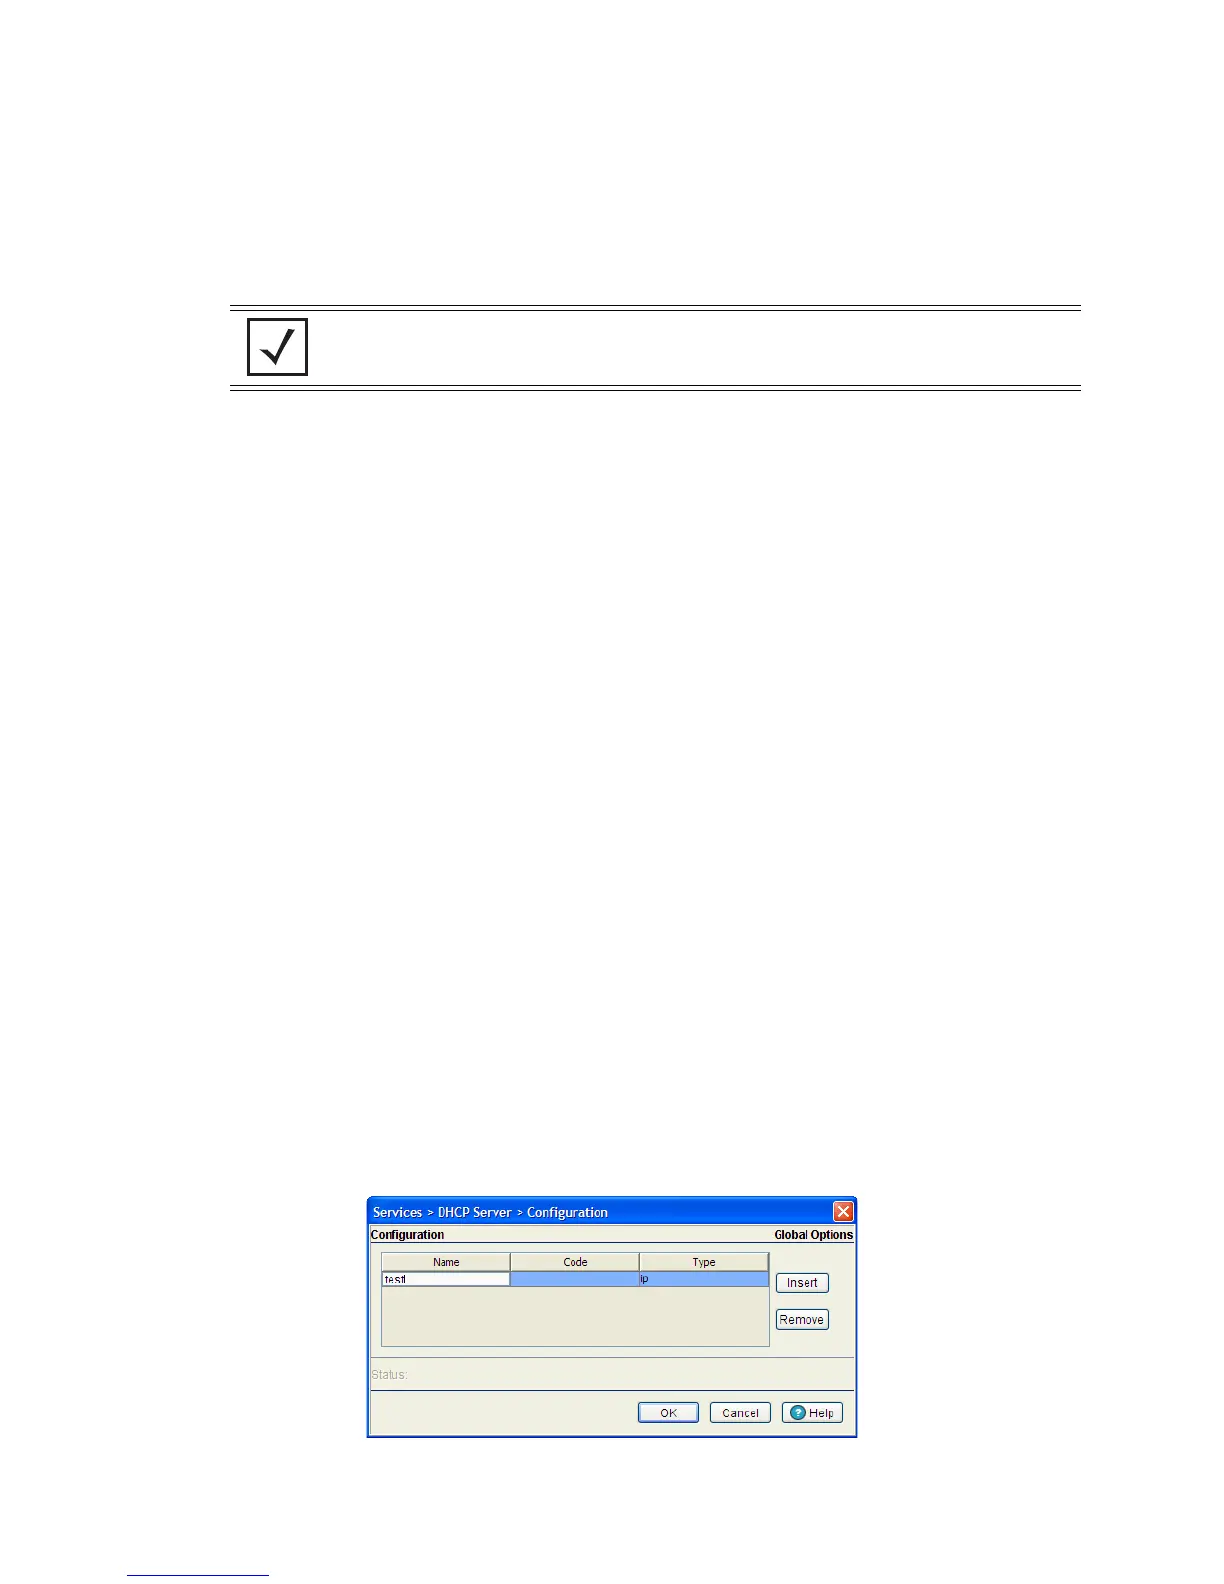
5.2.1.3 Configuring DHCP Global Options
The DHCP Server screen’s Configuration and Host Pool tabs can be used to display an additional Global
Options screen.
To define new global name and value and send it to other peer switches in the mobility domain:
1. Select Services > DHCP Server from the main menu tree.
2. Highlight an existing pool name from within either the Configuration or Host Pool tab and click the
Options Setup button at the bottom of the screen
NOTE: The IP address and subnet mask of the pool are required to match the addresses of
the layer 3 interface in order for the addresses to be supported through that interface.
 Loading...