Compax3 device description
C3I10T10
192-120100 N16 C3I10T10 - December 2010
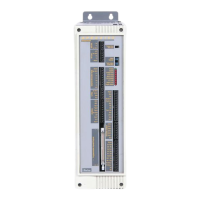
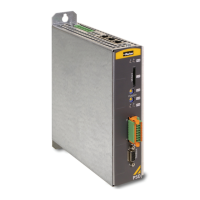
3.6 Connections of Compax3H
Compax3H plugs/connections
In this chapter you can read about:
......................................................................................... 50
Connection of the power voltage ...................................................................................... 51
Compax3H connections front plate .................................................................................. 53
Plug and pin assignment C3H ......................................................................................... 53
Motor / Motor brake C3H ................................................................................................. 55
Control voltage 24 VDC C3H ........................................................................................... 56
Mains connection Compax3H .......................................................................................... 56
Braking resistor / supply voltage C3H .............................................................................. 57
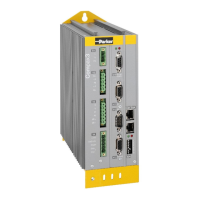
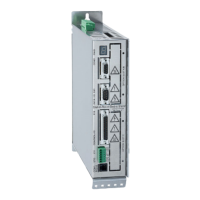
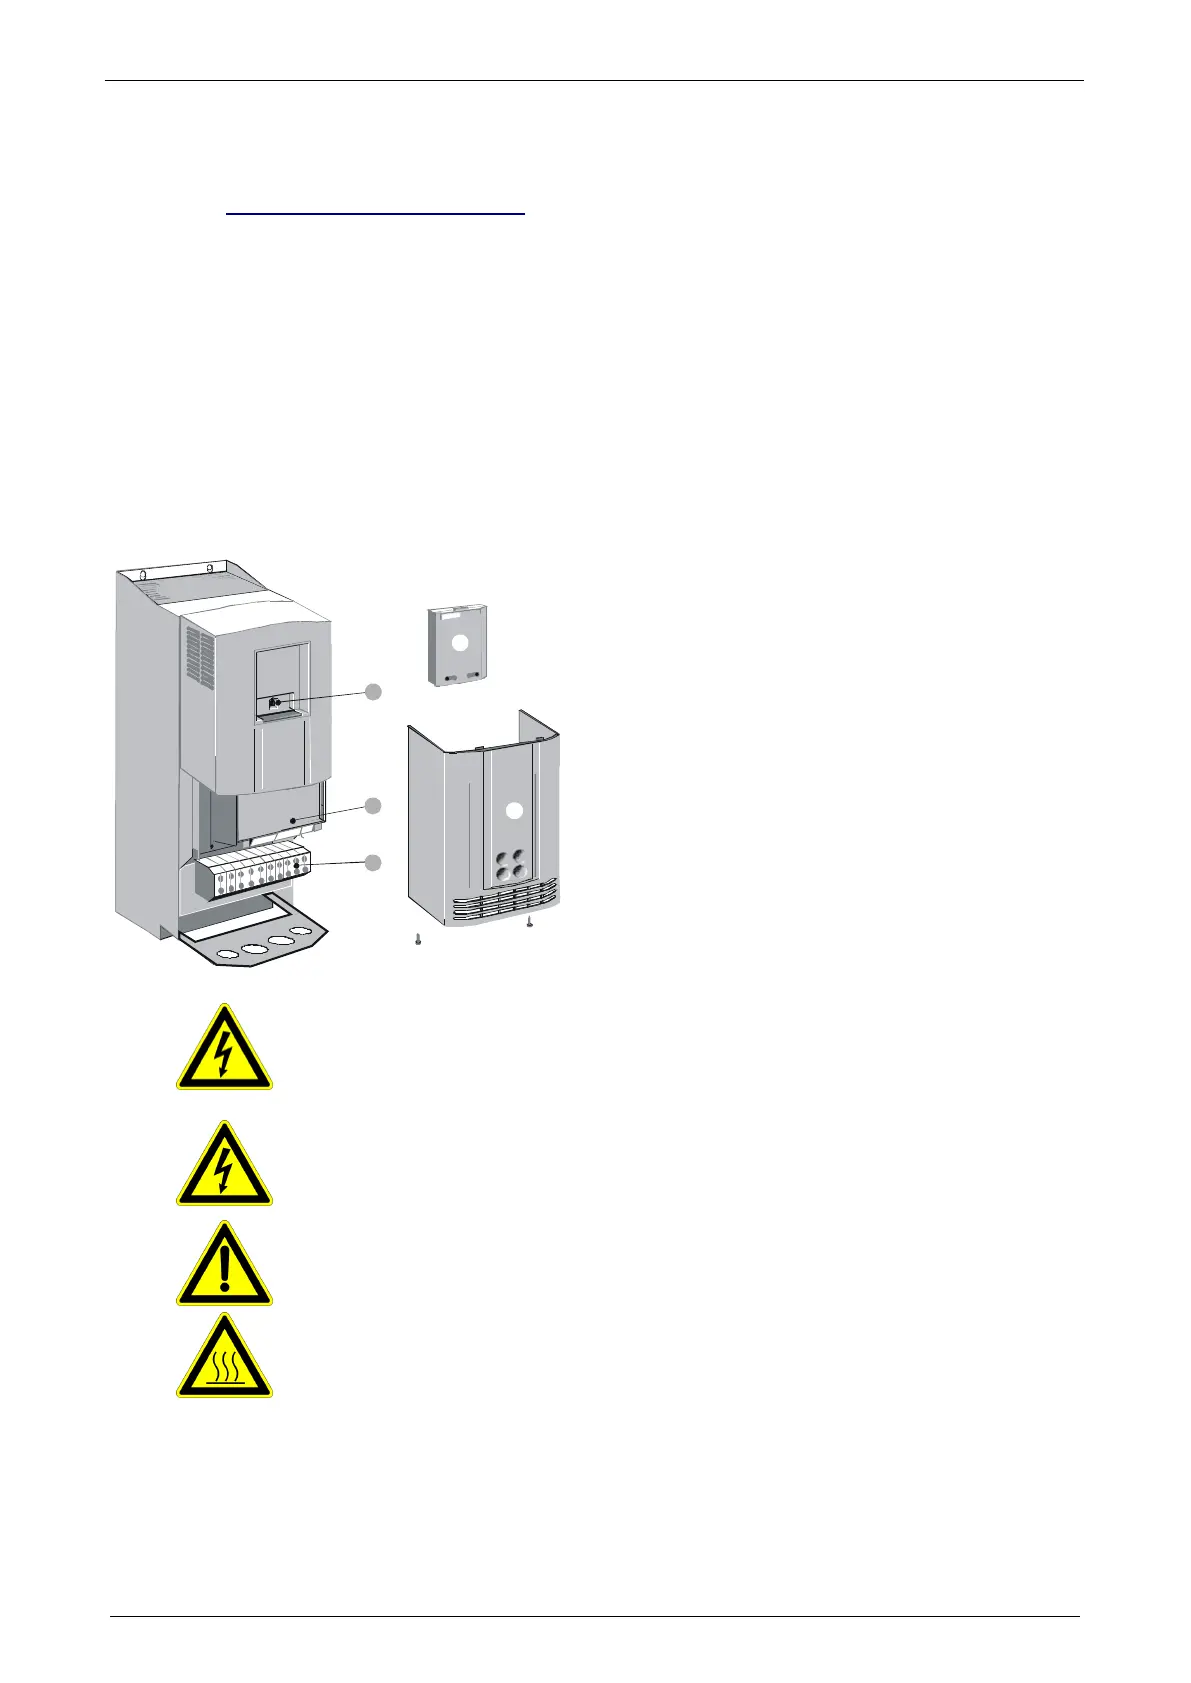
3.6.1. Compax3H plugs/connections
The following figure is an example for all sizes.
The fitting of the different controller plugs depends on the extension level of
Compax3.
(1): Dummy cover with display of the external device
status LEDs.
(2): lower clamp cover, fixed by 2 screws at the device
bottom.
(3): RS232 programming interface
Connection to the PC via adapter cable SSK32/20
(furnished with the device) and standard RS232 cable
SSK1.
(4): Control
(5): Power connections
Always switch devices off before wiring them!
Dangerous voltages are still present until 5 minutes after switching off the
power supply!
Caution!
If the control voltage is missing and if the X10-X10 jumper is not fitted (VBK17/01)
on the control part, the availability of power voltage is not displayed.
PE connection
PE connection with 10mm
2
via a grounding screw at the bottom of the device.
Attention hot surface!
Metal parts can heat up to a temperature of 90°C during operation.
 Loading...