Installing the Wave Expansion Board
47
■ USER’S GUIDE
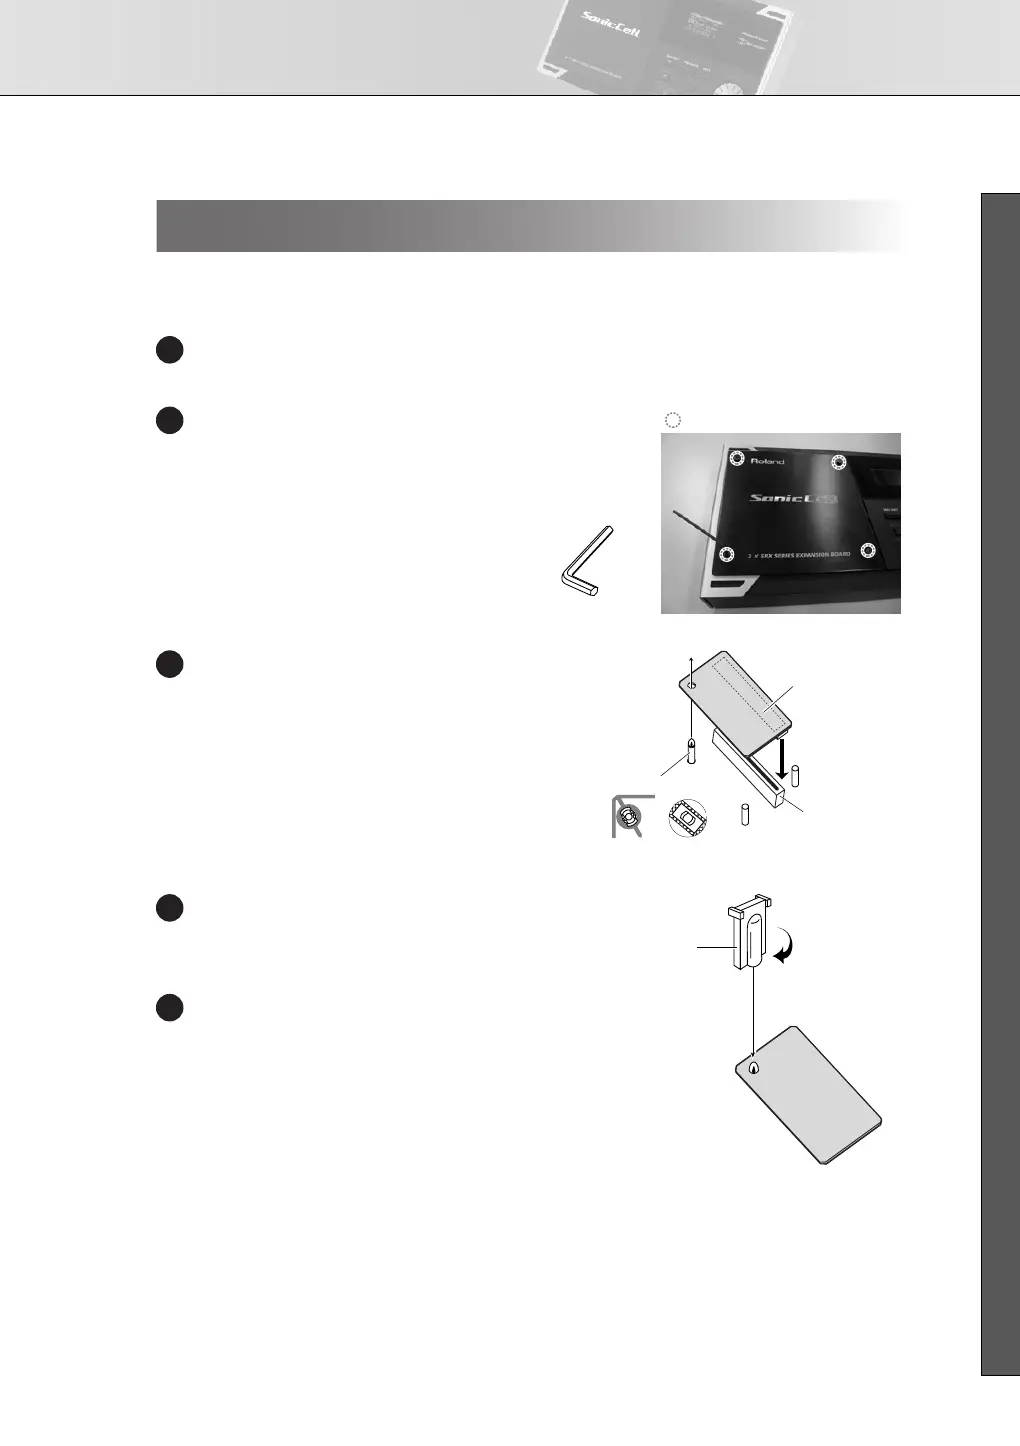
To install a wave expansion board, you’ll need to remove the top panel cover. Boards can be installed in
the EXP A-EXP B slots. These slots correspond with the Wave Expansion Board groups (XP-A-XP-B) when the
expansion Wave, patches, and rhythm sets are used.
Before installing the Wave Expansion Board, turn off the power of the SonicCell and all con-
nected devices, and disconnect all cables, including the Power cable, from the SonicCell.
fig.SRX-Install0-e.eps
From the SonicCell, remove only the
screws shown in the following diagram,
and detach the top panel cover.
v
fig.SRX-Install3-e.eps
As shown in the following illustration, plug
the connector of the Wave Expansion
Board into the connector of the relevant
slot, and at the same time insert the board
holder through the hole of the Wave
Expansion Board.
* If you install expansion boards of the same
type, only one board will be detected.
fig.SRX-Install4-e.eps
Use the Installation Tool supplied with the
Wave Expansion Board to turn the holders
in the LOCK direction, so the board will be
fastened in place.
Use the screws that you removed in step 2
to fasten the cover back in place.
How to Install a Wave Expansion Board
1
Screws to be removed
Allen Wrench
(2mm)
2
Board holder
Position them as shown
before you install the board.
Connector
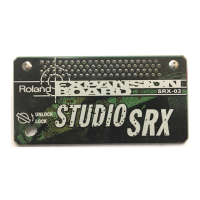
Wave Expansion Board
(SRX series)
3
Installation tool
LOCK
4
5
SonicCell_e.book 47 ページ 2007年8月9日 木曜日 午後9時17分