Scanner Data (Viewing PIDs)
70
Upper and lower trigger limit lines (red) are displayed on the graph.
Figure 5-59 Typical - Trigger upper/lower limit lines
z To use Autoscale or set the scale manually:
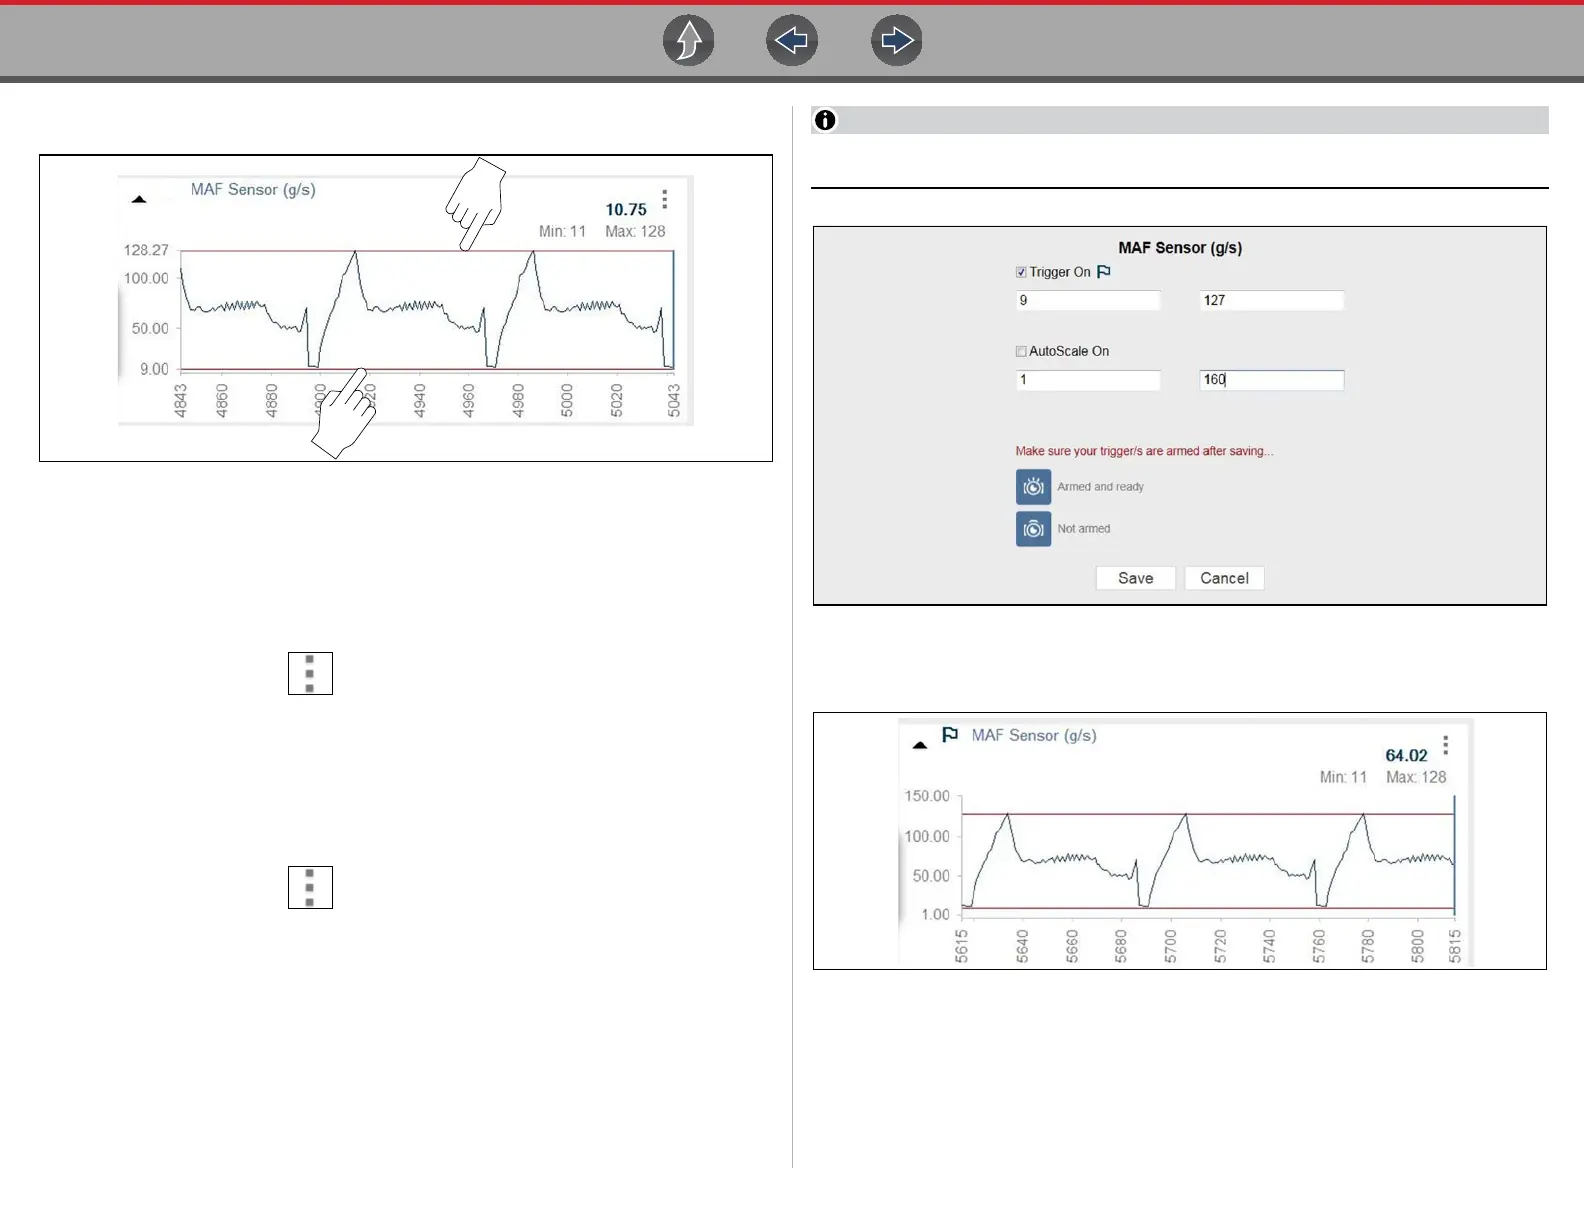
Autoscale On - The graph scale (vertical axis range) is automatically adjusted
based upon the minimum and maximum PID values. Autoscale On (checkbox
selected) is the default setting, and can be used for most testing. To access this
setting:
1. Select the Menu icon on the PID you want to set.
2. Select Setup.
The properties dialog box opens (Figure 5-58).
3. Select Autoscale checkbox.
Autoscale Off (manual setup) - Allows you to set the Graph scale (vertical axis
range).
To manually set the scale:
1. Select the Menu icon on the PID you want to set.
2. Select Setup.
The properties dialog box opens (Figure 5-60).
3. Deselect the Autoscale checkbox.
The check mark is cleared from the box and the minimum and maximum fields
activate.
4. Enter the desired upper limit in the Max field.
5. Enter the desired lower limit in the Min field.
6. Select Save.
7. To arm the trigger, see Trigger Arming/Disarming on page 71.
Minimum scale setting must be less than the maximum scale setting:
Figure 5-60 Manual scale setup (w/trigger set)
The vertical scale is now at the set values.
Figure 5-61 Manually set scale (w/trigger set)