8-42 Phaser 7750 Printer Service Manual
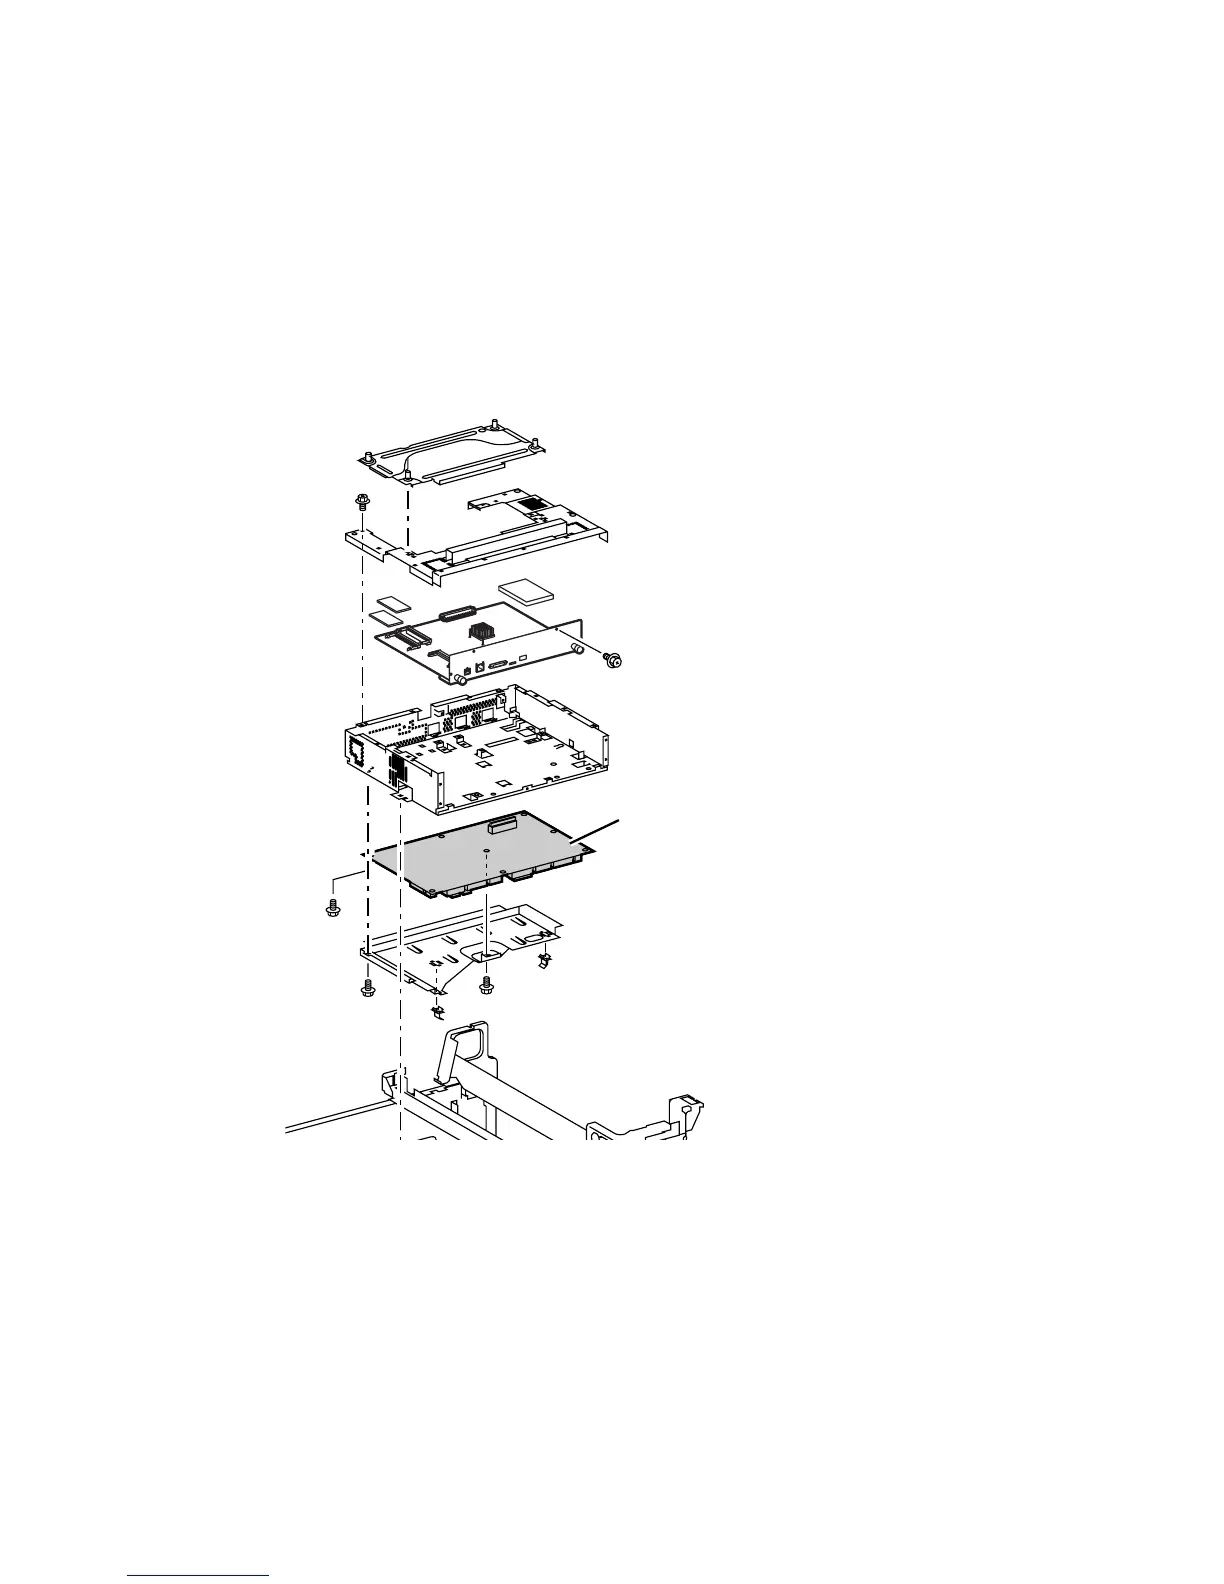
Engine Control Board
1. Store the engine board NVRAM values to the hard drive. See "Store Engine
NVRAM" on page 6-21.
2. Remove the electrical (card cage) assembly, see page 8-40.
3. Disconnect the orange ribbon cable at the engine board.
4. Remove the 8 screws securing the engine control board metal shield and remove
the shield.
5. Remove the remaining 6 screws and remove the engine control board.
Replacement Procedures
Caution
When reinstalling the engine control board, be sure to fully seat connector
P460.
1. Write the stored NVRAM values to the engine board using the Service
Diagnostics procedure "Diagnostic Engine NVRAM Reset" on page 6-20.
Engine Control Board
7750-250
 Loading...


